Air Fryer Cleaning Mistakes That Damage Your Machine (And Everything You Should Do Instead)
By Amelia Harper | Kitchen and Home Appliance Writer | Updated July 2026
The air fryer is one of the most used appliances in modern kitchens, which means it is also one of the most frequently cleaned. And based on the number of people who end up with chipped coatings, persistent smells, and deteriorating baskets after just a year of ownership, it is also one of the most frequently cleaned incorrectly.
Most air fryer cleaning mistakes fall into one of two categories. The first is being too aggressive, using tools or methods that seem thorough but physically damage the non-stick coating in ways that are irreversible. The second is being too passive, rinsing without actually cleaning and allowing residue to build up until it causes odour, smoke during cooking, or coating breakdown.
I have been writing about kitchen appliances for nearly a decade, and air fryer maintenance is a subject where small errors compound significantly over time. The habits below, corrected early, make the difference between an air fryer that performs well for five or more years and one that starts degrading within the first twelve months.
Here is every air fryer cleaning mistake, explained in detail with the correct approach for each.
1. Using Steel Wool or Abrasive Scrubbing Pads
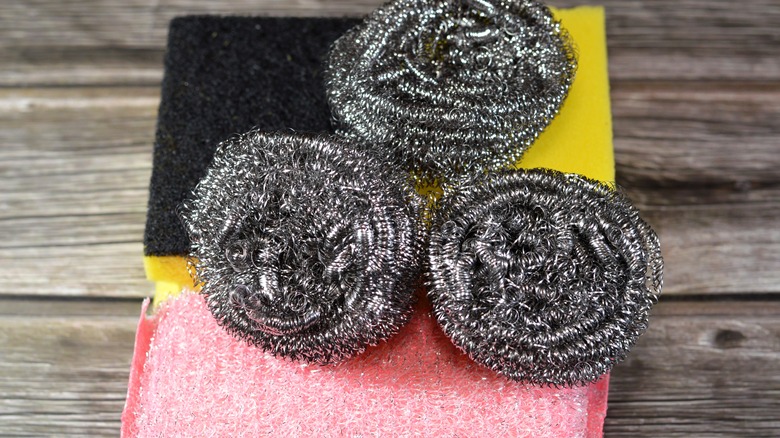
This is the most destructive air fryer cleaning mistake and the one most likely to cause irreversible damage in a single cleaning session.
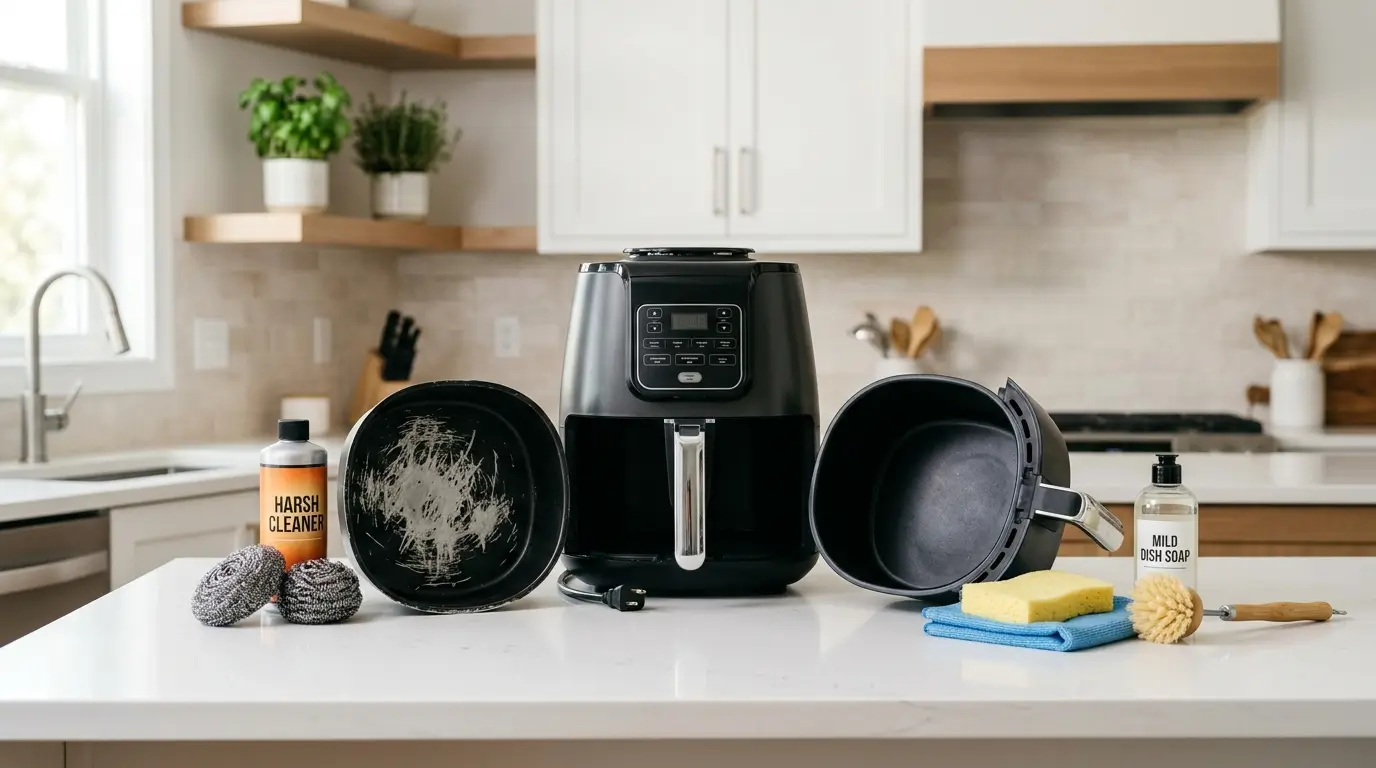
Steel wool, metal scrubbing pads, and even the rough green side of a standard dual-sided kitchen sponge are all abrasive enough to scratch the non-stick coating on air fryer baskets and trays. A single pass with any of these tools creates micro-scratches in the coating that are invisible at first but become sites where food bonds more readily, residue accumulates, and the coating progressively deteriorates with subsequent use.
Once the non-stick coating is scratched, the damage cannot be undone. The scratched areas expose the metal beneath, which has none of the non-stick properties of the coating and which can release metal particles into food if the damage is severe. The basket becomes progressively stickier, harder to clean, and eventually unusable for foods that require easy release.
The correct alternative is always a soft sponge, a microfibre cloth, or a soft-bristled brush. These tools remove residue effectively when combined with appropriate soaking and without creating the abrasion that damages the coating. If residue does not come off with a soft tool, the solution is longer soaking, not harder scrubbing.
Using the right cleaning routine is just as important as avoiding common mistakes. Read our guide on the ideal air fryer cleaning schedule to keep your appliance in top condition and extend its lifespan.
2. Putting the Basket Straight in the Dishwasher Without Checking
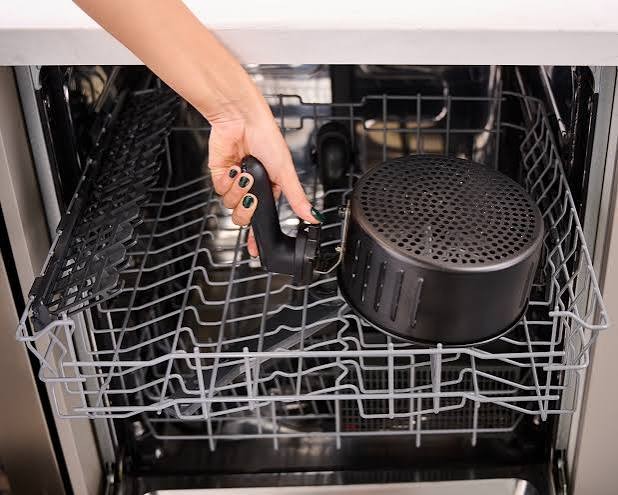
Many air fryer baskets are marketed as dishwasher safe, and some genuinely are. But dishwasher suitability varies significantly between models, and assuming the basket is dishwasher safe without confirming it is one of the more common ways that air fryer coatings are damaged prematurely.
Dishwasher cycles use high water temperature, high water pressure, and detergent formulations that are significantly more alkaline and chemically aggressive than hand-washing dish soap. These conditions are harsh on PTFE and ceramic non-stick coatings, which are designed for food-contact use rather than prolonged exposure to industrial-strength cleaning conditions.
Even baskets confirmed as dishwasher safe by the manufacturer typically last longer and maintain better non-stick performance when hand-washed rather than dishwasher-washed. The dishwasher is convenient, but convenience comes at a cost to coating longevity in most cases.
The reliable approach is to check the specific model’s manual before using the dishwasher for the first time. If the manual confirms dishwasher safety, place the basket on the top rack only, using a short or gentle cycle rather than a heavy-duty one.
3. Not Cleaning After Every Single Use
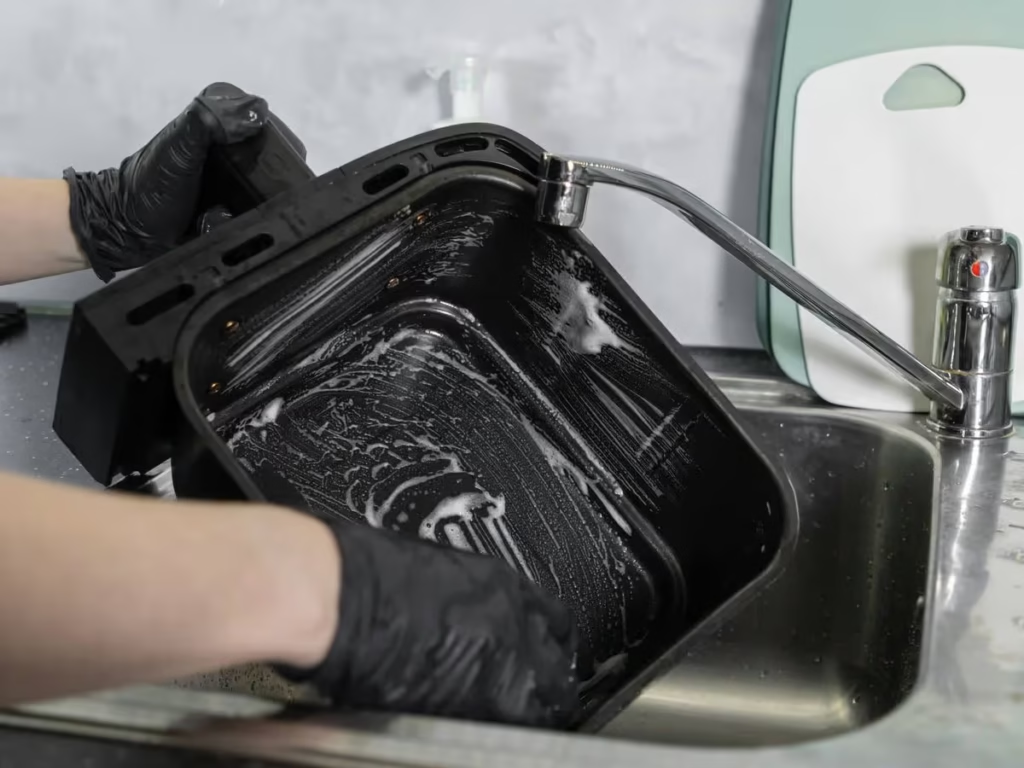
Skipping the cleaning session after a cooking session is a mistake that compounds with each subsequent use, and it is responsible for the persistent cooking odour and smoking that many air fryer owners attribute to the machine itself rather than to accumulated residue.
Residue left in the basket after cooking includes food particles, rendered fat, cooking oils, and caramelised sugars. When the air fryer is used again without cleaning, this residue is reheated to the same temperatures used for cooking. Fats and oils left on the basket surface begin to smoke at their smoke points, which produces the smoke and burning smell that fills the kitchen during cooking.
Over multiple uncleaned sessions, this residue builds into a layered accumulation of carbonised material that is much harder to remove than fresh residue and that generates more pronounced smoking with each use.
Cleaning after every use, while the basket is still warm and residue is still soft and loose, takes two to three minutes with the soft sponge and warm soapy water approach. The same cleaning after the residue has cooled and dried takes five to ten minutes of soaking and scrubbing. Timing determines the effort required.
4. Cleaning the Basket While It Is Still Hot
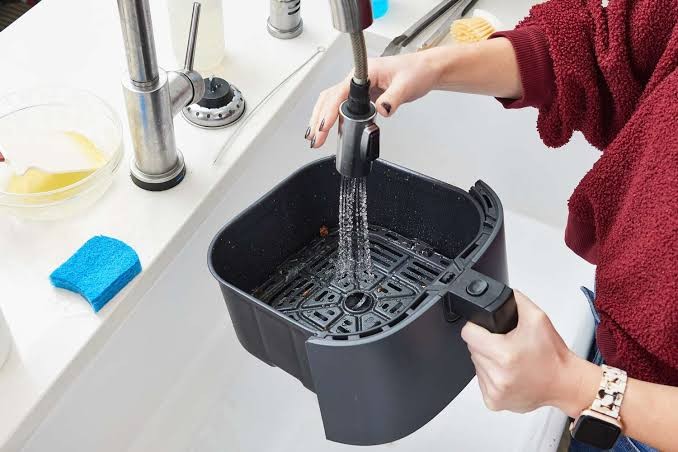
This mistake goes in the opposite direction from not cleaning promptly, and it is worth addressing specifically because the instinct to clean immediately after removing food from a hot basket is understandable but counterproductive.
Submerging a very hot air fryer basket in cold or even warm water creates thermal shock, which is the stress placed on materials by rapid temperature change. Most air fryer baskets use materials that can withstand thermal cycling during cooking, but the rate of temperature change during cooking is gradual compared to the sudden shift that immersion in water produces.
Thermal shock degrades the bonding between the non-stick coating and the metal substrate beneath it over time, causing the coating to expand and contract differently from the metal and eventually leading to delamination, bubbling, or flaking of the coating.
Allow the basket to cool to the point where it is warm but no longer hot to the touch before cleaning. This typically takes ten to fifteen minutes and costs nothing in terms of cleaning effectiveness, since residue that is warm but not hot is still significantly easier to remove than fully cooled residue.
5. Soaking the Basket for Too Long
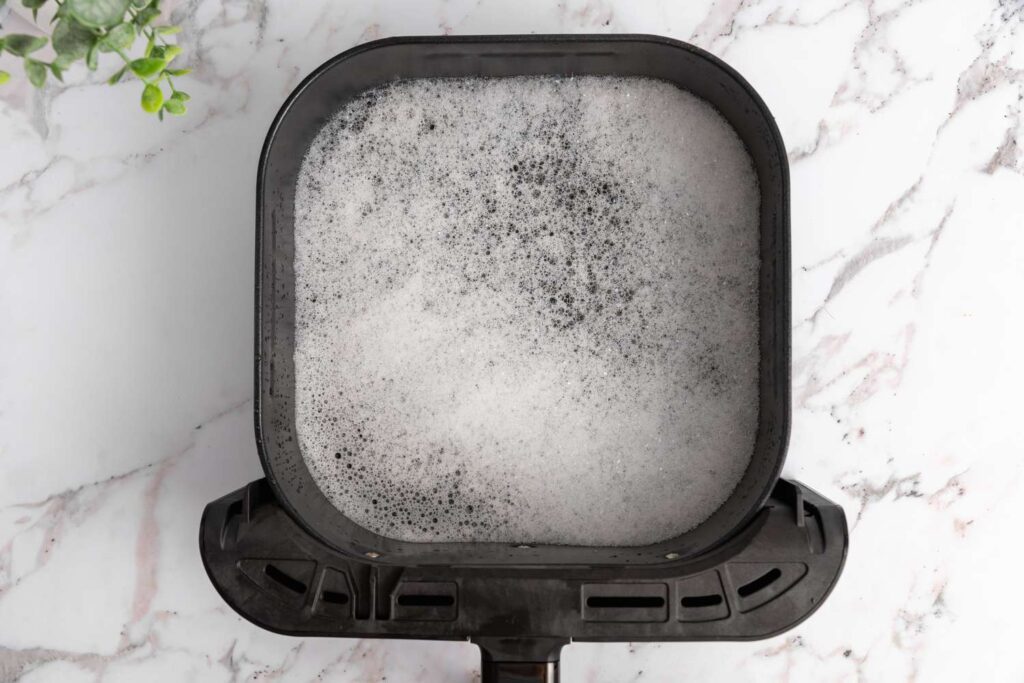
Soaking is the correct approach for stuck-on residue that does not respond to immediate cleaning, but excessive soaking duration causes its own form of damage that is less dramatic than abrasive scrubbing but cumulative over time.
Extended water contact, particularly with dish soap in the water, degrades the rubber and silicone components of the basket assembly, including any sealing rings or feet. It also accelerates the degradation of the non-stick coating by maintaining chemical contact with the detergent for longer than necessary.
For standard residue, fifteen to twenty minutes of soaking is sufficient to rehydrate and loosen everything that needs to be removed. Soaking overnight or for multiple hours is rarely necessary and introduces degradation risk that shorter soaking does not.
If twenty minutes of soaking does not loosen the residue, the issue is usually the temperature of the soaking water rather than the duration. Hot water with a few drops of dish soap loosens most air fryer residue within fifteen minutes. Adding a tablespoon of baking soda to the soaking water increases cleaning effectiveness for particularly stubborn carbonised residue.
6. Using Cooking Spray Directly on the Basket During Cleaning
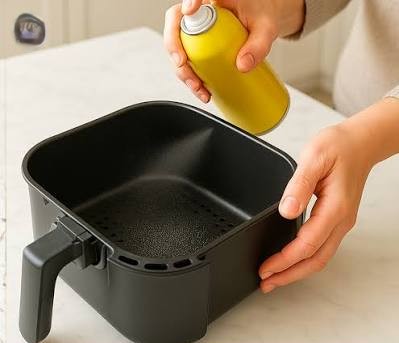
This mistake is specific and slightly unexpected: some people spray cooking spray inside the basket as part of their cleaning routine or as a routine step before seasoning after cleaning, following a habit borrowed from cast iron maintenance. This is genuinely harmful to air fryer baskets.
Commercial aerosol cooking sprays contain lecithin and other emulsifiers that bond to non-stick coatings at high temperature during cooking. These additives build up into a residue layer that is extremely difficult to remove and that progressively degrades the non-stick performance of the coating.
Many air fryer manufacturers explicitly state in their care instructions that aerosol cooking sprays should not be used on the basket, specifically because of this additive-related degradation. The same instruction applies to using cooking spray as part of a post-cleaning treatment.
If a light oil application is desired after cleaning for any reason, applying a small amount of neutral oil directly from a cloth or a dedicated oil mister filled with pure oil provides the same effect without the additives that cause coating damage.
7. Ignoring the Heating Element
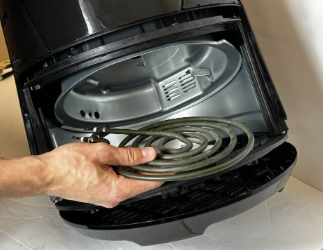
The heating element is the coiled component at the top of the air fryer interior, and it is the most commonly neglected part of the machine during cleaning because it is not removable and not obviously accessible.
Fat splatter, cooking vapour, and small food particles all reach the heating element during cooking. When the element is used again with this residue on it, the residue burns at the element’s operating temperature and produces smoke, burning smells, and carbon buildup that increases with each uncleaned cooking session.
The correct approach for heating element cleaning is to allow the machine to cool completely, invert the air fryer so the element faces downward, and use a soft brush or a damp cloth to gently clean the element’s surface. Do not apply water directly to the element or use any liquid-heavy cleaning method that allows water to contact the electrical components.
This cleaning step should be done every four to six cooking sessions or immediately if the element develops visible residue accumulation. It takes two to three minutes and significantly extends the machine’s odour-free operational life.
8. Forgetting to Clean the Interior Cavity and Drawer
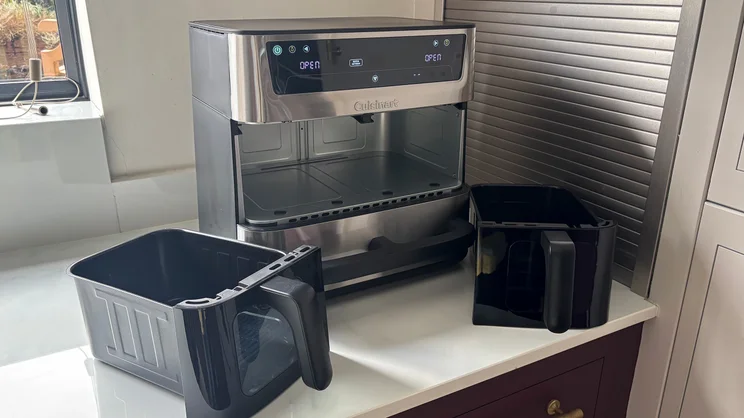
The basket is the component most visibly in need of cleaning, but the interior cavity of the air fryer, the walls, ceiling, and floor of the cooking chamber, and the outer drawer that holds the basket, also accumulate residue that is commonly overlooked.
Fat that drips from the basket during cooking accumulates on the cavity floor and walls. Cooking vapour condenses on the cavity ceiling and leaves a film of oil and cooking particles. The outer drawer accumulates fat drippings through the basket’s drainage holes.
Neglecting these surfaces means that fat sitting on the cavity floor is reheated in every subsequent cooking session and contributes to smoke and odour even when the basket itself is clean. Over time, the accumulated fat on the cavity surfaces carbonises into a layer that becomes increasingly difficult to remove.
Wipe the cavity walls, floor, and ceiling with a damp cloth after every three to four cooking sessions. Clean the outer drawer with warm soapy water at the same frequency as the basket. These surfaces take less than a minute to clean when maintained regularly and become a significant cleaning project when neglected for weeks.
Avoiding common cleaning mistakes is one of the easiest ways to extend your appliance’s life. Explore our guide to keeping your air fryer in like-new condition with simple maintenance habits that protect its performance.
9. Using Harsh Chemical Cleaners
The impulse to use powerful cleaning agents for stubborn residue is understandable, but most of the chemical cleaners that are effective on standard kitchen surfaces are inappropriate for air fryer non-stick coatings.
Oven cleaners, particularly spray-on varieties containing sodium hydroxide or potassium hydroxide, are extremely alkaline and are formulated to dissolve carbonised residue through chemical attack. They are highly effective on traditional oven surfaces but cause rapid and severe degradation of non-stick coatings, which cannot withstand the alkaline pH of these products.
Bleach-based cleaners, abrasive cleanser powders like Comet, and citric acid-based degreasers at undiluted concentration also present risks to air fryer coatings that their labels’ general kitchen suitability statements do not address.
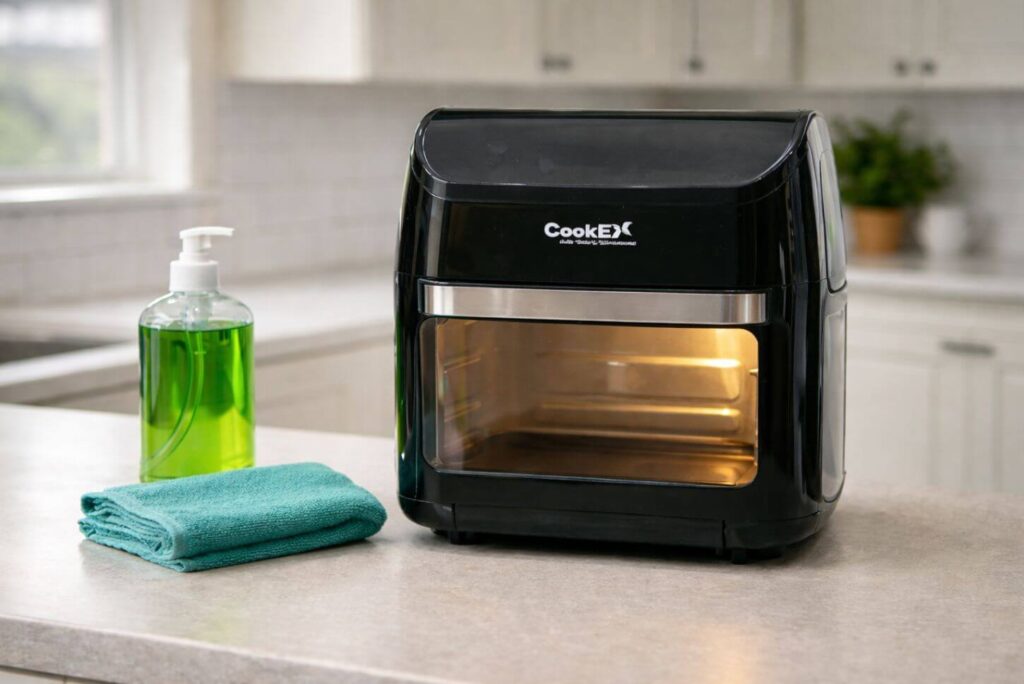
The effective and safe cleaning agents for air fryer surfaces are warm dish soap and water for standard cleaning, baking soda paste for stubborn carbonised residue, and white vinegar diluted fifty-fifty with water for degreasing and deodorising. These work on the residue without attacking the coating chemistry.
10. Cleaning the Machine While It Is Still Plugged In
This mistake is rare but worth naming explicitly because the consequences are serious rather than merely damaging to the machine.
An air fryer that is plugged into the wall is electrically live at the cord connection and at the internal components, even when it is not switched on. Cleaning the interior cavity with any damp implement while the machine is connected to power creates a genuine risk of electrical shock if the damp cloth or brush contacts a live electrical component.
The correct procedure is to switch the air fryer off, unplug it from the wall socket, and allow it to cool completely before cleaning any component. This should be the standard starting procedure for every cleaning session and should not be abbreviated even when time pressure makes it tempting to clean while the machine is still connected.
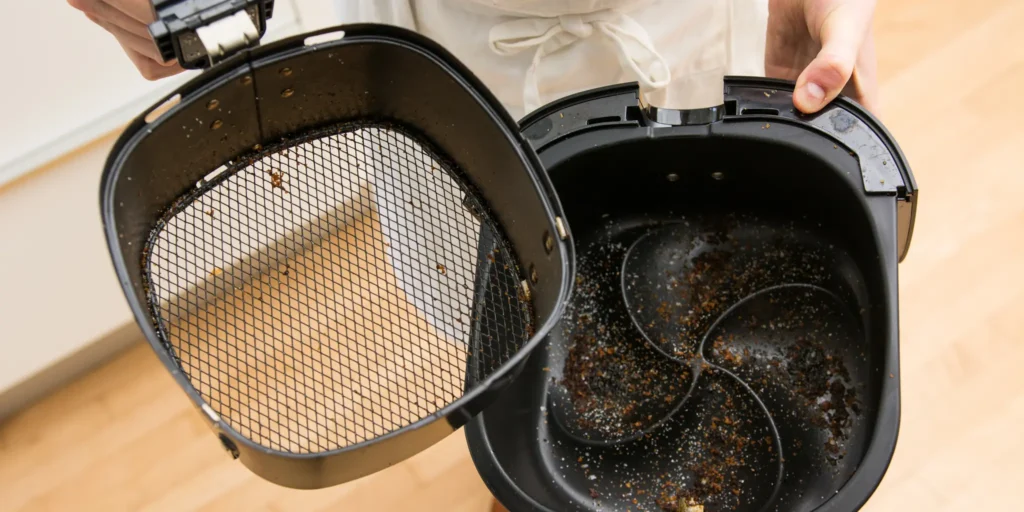
For basket and drawer cleaning, which does not involve contact with the machine’s electrical components, the plugged-in state is less immediately dangerous, but the habit of unplugging before any cleaning should still be universal because it eliminates the risk entirely rather than managing it.
Food sticking to the basket is often caused by poor cleaning habits or damaged nonstick surfaces. Discover how to prevent food from sticking in your air fryer with simple tips for better cooking results.
11. Wiping the Non-Stick Surface with Paper Towels
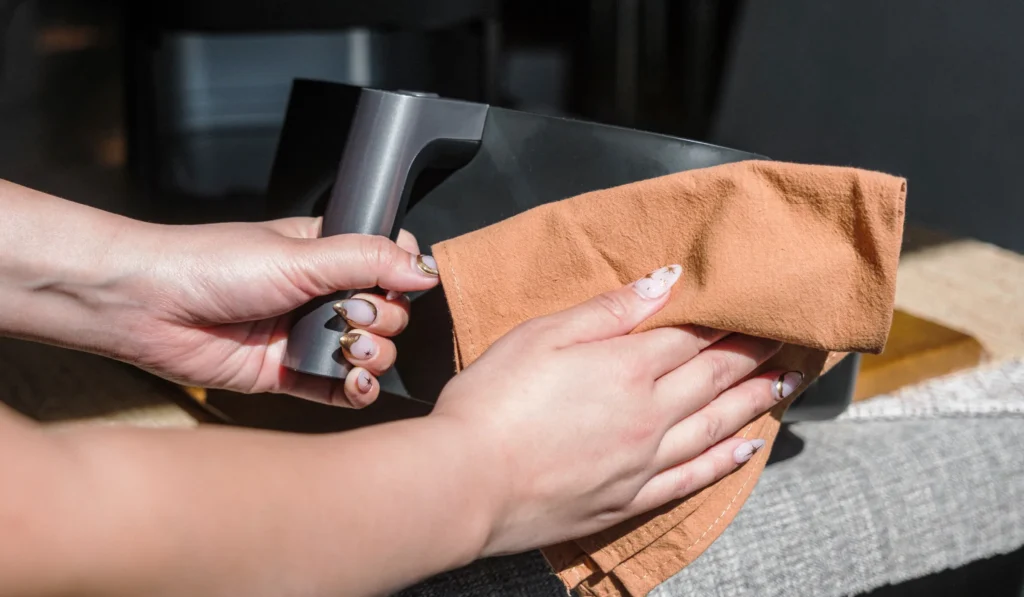
Paper towels seem like a gentle, disposable cleaning tool but they are mildly abrasive at the microscopic level, and repeated wiping of a non-stick surface with paper towels over time contributes to coating wear in the same way that other abrasive materials do, just more slowly.
The issue is the wood pulp fibres that make up paper towels, which are rigid enough to create micro-scratches in a soft non-stick surface when pressure is applied during wiping. A single paper towel wipe causes negligible damage. Daily paper towel wiping over months accumulates into meaningful coating degradation.
Microfibre cloths are the correct alternative. Microfibre fibres are fine enough to clean surfaces effectively without the stiffness that causes scratching, and they are machine washable and reusable rather than single-use. For daily light cleaning of the basket, a damp microfibre cloth removes residue effectively without contributing any abrasion to the coating.
12. Not Drying the Basket Before Storing
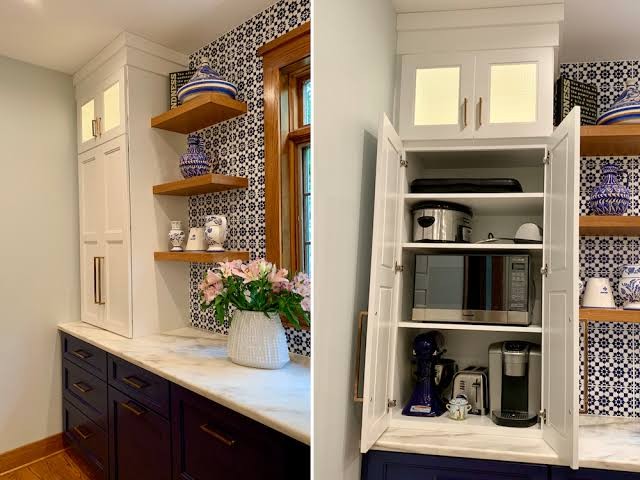
Storing the air fryer basket while it is still wet after cleaning creates two specific problems that develop gradually over time and are easy to prevent with a single additional step.
The first is that residual water remaining on or between the surfaces of the basket assembly creates the conditions for bacterial growth and the musty odour that results from it. An air fryer stored wet and not used for several days can develop this odour inside the sealed cavity.
The second is that prolonged moisture contact accelerates the corrosion of any exposed metal, including the metal mesh of basket bases and the exterior metal of the basket handle fittings. Even rust-resistant coatings develop corrosion faster in persistently wet conditions than in dry ones.
After washing and rinsing the basket and drawer, dry them thoroughly with a clean cloth before reassembling and storing. Leaving the basket outside of the machine for fifteen to twenty minutes to air-dry fully before storage is even more effective if time allows.
13. Neglecting the Exterior of the Machine
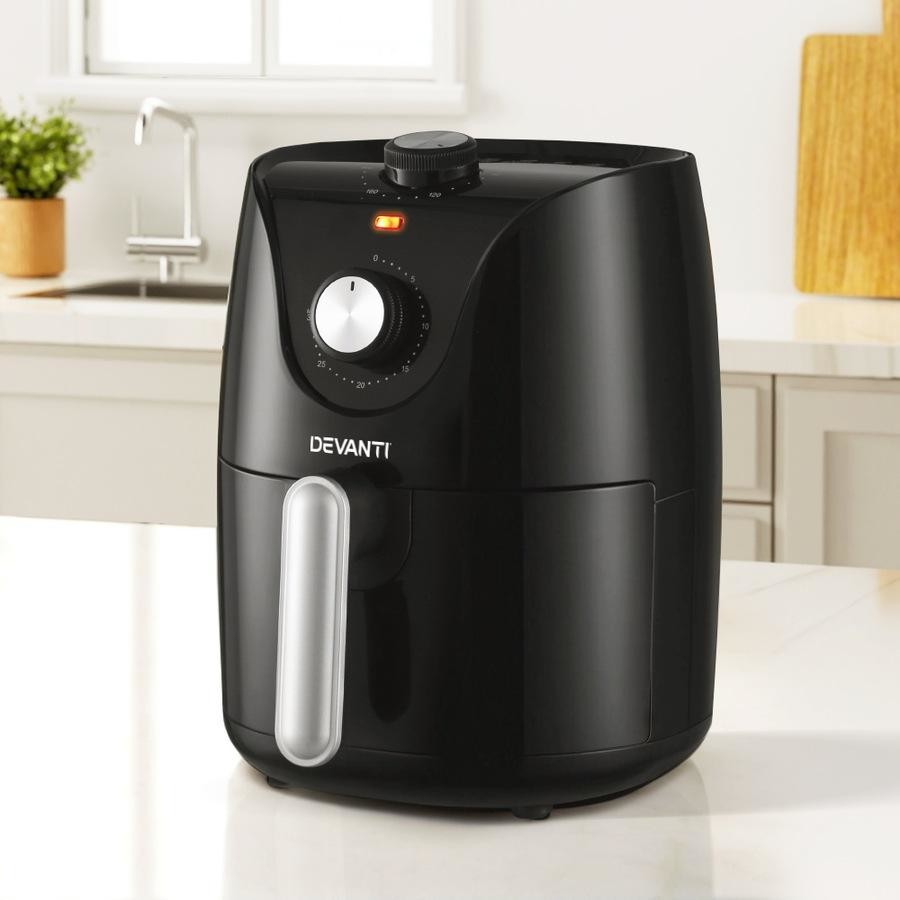
The exterior of the air fryer accumulates cooking vapour residue, fingerprints, and kitchen grease over time, and neglecting it does not affect cooking performance but does affect the longevity of the surface finish and the overall hygiene of the appliance.
Cooking vapour that escapes from the air vents deposits a thin film of grease on the surrounding surfaces including the exterior of the machine. Over repeated cooking sessions, this film builds into a visible, sticky layer that collects dust and kitchen debris and becomes increasingly difficult to remove the longer it is left.
Wiping the exterior of the machine with a damp cloth after every two to three cooking sessions prevents this accumulation before it sets. The top surface around the vents and the front panel where controls are located are the areas of highest accumulation and deserve specific attention.
The control panel should be wiped gently with a barely damp cloth rather than a wet one to avoid moisture entering the button mechanisms. For machines with touchscreen interfaces, a dry microfibre cloth is more appropriate than a damp one for the screen surface.
If your air fryer is difficult to clean or its nonstick coating is wearing out, it may be time for an upgrade. Explore our guide to the top air fryers for everyday cooking and find a model that’s easier to maintain and built to last.
The Cleaning Approach That Keeps Air Fryers Performing Well
Every mistake in this article has a straightforward correction, and most of those corrections are simply substituting a gentler tool, a shorter or more timely cleaning window, or a milder cleaning agent for a habit that was causing damage without anyone realising it.
The non-stick coating is the most functionally important component of an air fryer basket, and every decision during cleaning either preserves it or degrades it. Protecting it requires nothing more than using soft tools, appropriate soaking times, the right cleaning agents, and the habit of cleaning while residue is still fresh.
An air fryer that is cleaned correctly after every use performs at the same level in year five as it did in year one. The difference between that outcome and an air fryer that has become sticky, smelly, and coated in carbonised residue within eighteen months is entirely determined by how it is cleaned.
FAQs About Air Fryer Cleaning
A thorough cleaning of all components including the heating element, interior cavity, and drawer should be done every four to six cooking sessions or weekly for daily users. The basket and drawer should be cleaned after every single use to prevent residue buildup.
Smoke during cooking after cleaning the basket usually indicates residue on the heating element or accumulated fat on the interior cavity walls. Invert the cooled, unplugged machine and clean the heating element with a soft brush, then wipe the cavity surfaces with a damp cloth.
Yes. Baking soda paste made from baking soda and a small amount of water applied to stubborn carbonised residue and left for fifteen minutes before gently scrubbing with a soft sponge is one of the most effective and coating-safe approaches for tough air fryer cleaning.
Diluted white vinegar, fifty-fifty with water, is safe for cleaning air fryer surfaces and is particularly effective for degreasing the interior cavity and neutralising cooking odours. Do not use undiluted vinegar directly on the non-stick coating for extended periods as the acidity can degrade the coating over time.
Peeling non-stick coating is most commonly caused by previous cleaning with abrasive tools, exposure to very high heat beyond the rated temperature, or prolonged soaking combined with chemical cleaners. Once peeling begins it cannot be reversed and the basket should be replaced to avoid coating fragments entering food.
Yes. Adding a small amount of water, about one to two tablespoons, to the bottom of the outer drawer beneath the basket reduces smoke by cooling the fat drippings as they fall and preventing them from reaching smoking temperature. This is particularly useful when cooking fatty foods like bacon and chicken thighs.
Clean the basket, drawer, heating element, and cavity surfaces thoroughly. Then run the air fryer empty at 350 degrees Fahrenheit for five minutes with a small ramekin of white vinegar placed inside the cavity. The vinegar steam helps neutralise the burnt odour compounds throughout the interior of the machine.