Blender Habits That Make Smoothies Better (Small Changes That Transform the Result)
By Amelia Harper | Kitchen and Home Appliance Writer | Updated July 2026
There is a version of a smoothie that is thick, smooth, genuinely cold, and tastes exactly like what you were hoping for. And there is a version that is watery, lumpy, has chunks of unblended frozen fruit, and leaves a ring of unincorporated powder stuck to the container wall. Both come from the same blender, often with the same ingredients. The difference is almost entirely technique.
Most people learn to make smoothies by putting things in a blender and pressing a button. That works well enough most of the time, but it also produces inconsistent results, and when the result is bad, most people blame the blender or the ingredients rather than the approach. In reality, smoothie quality is almost entirely determined by a set of habits that are learnable in a few minutes and that produce noticeably better results from the very first time you apply them.
I have been writing about kitchen appliances for nearly a decade, and blender technique is one of the most practical and most underappreciated areas of home cooking knowledge. Here is every habit that makes smoothies better, explained clearly with the reasoning behind each one.
Fresh ingredients deserve a fresh blender. If you notice unpleasant odors after making smoothies, check out our guide on how to get rid of bad smells from your blender and keep your appliance clean and ready for every blend.
Add Ingredients in the Right Order
The order in which ingredients go into the blender is the single most impactful variable in smoothie making, and it is the one most people do not think about because the intuitive assumption is that order does not matter since everything ends up blended together anyway.
Order matters because of how blenders create motion. The blades spin and create a vortex that pulls material from the sides and top of the container toward the blade zone at the bottom. For this vortex to start and sustain itself, there needs to be liquid near the blade from the very beginning.
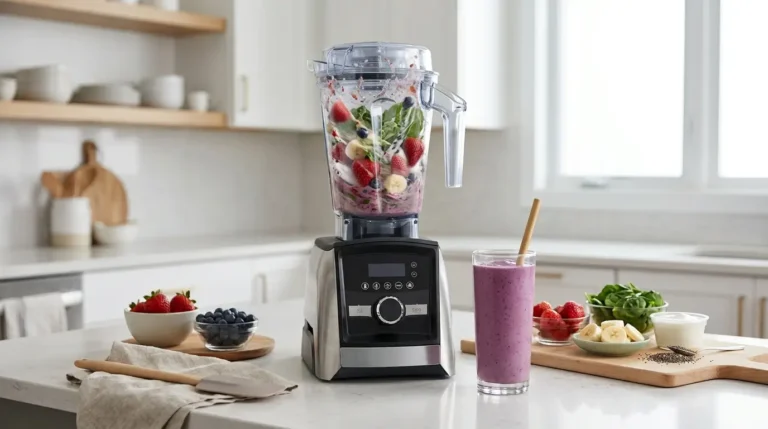
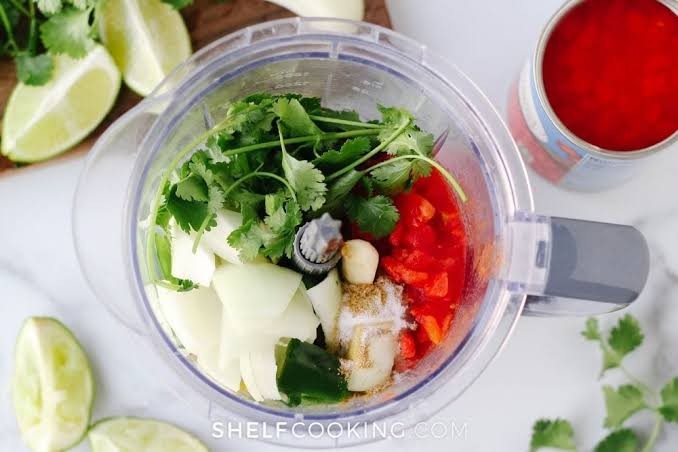
The correct order is: liquid first, then soft ingredients, then leafy greens if using, then frozen ingredients or ice on top. This arrangement puts liquid at the base where it can immediately start the vortex when the motor engages. Soft ingredients above the liquid get drawn into the vortex quickly. Frozen ingredients on top are gradually pulled down as the lower ingredients liquefy around them.
Reversing this order by putting frozen fruit at the bottom and liquid on top puts solid material directly against the blade with no liquid vortex to draw it through. The result is the motor straining against a frozen mass, an air pocket forming around the blade, and a smoothie that requires repeated stopping and redistributing to complete.
Measure Your Liquid Before Anything Else
Even experienced smoothie makers often eyeball the liquid quantity rather than measuring it, and this single variable is responsible for most of the watery or too-thick smoothie outcomes that are attributed to other causes.
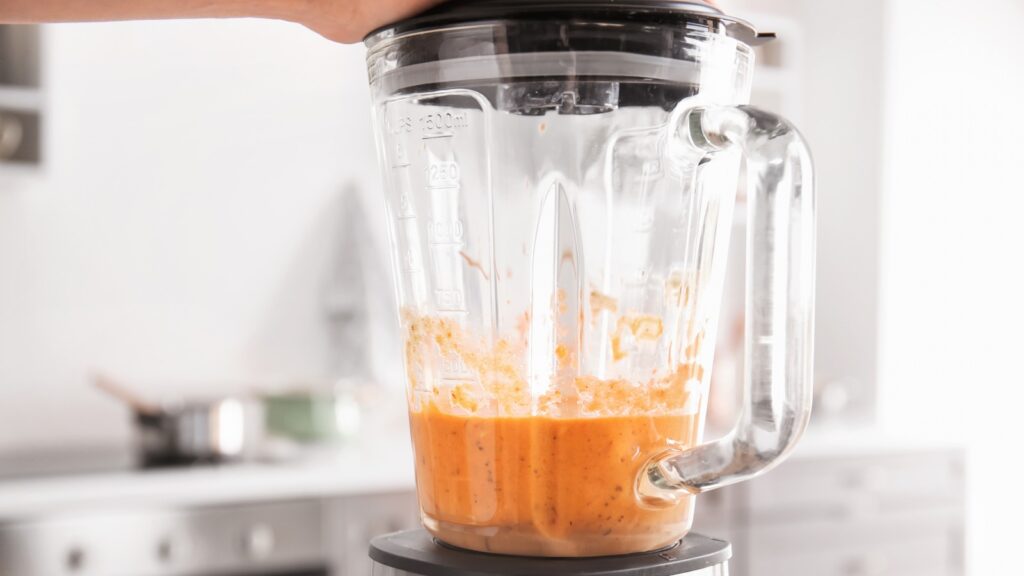
The ratio of liquid to solid in a smoothie determines its final consistency more than any other variable. Too much liquid produces a watery drink that lacks body and does not hold up well in a cup or a bowl. Too little liquid produces a smoothie that the blender cannot process smoothly, leading to chunks, an air pocket, and motor strain.
A useful starting point for most standard smoothie preparations is one cup of liquid per one to one and a half cups of frozen fruit. From this baseline, adjustments in either direction based on personal texture preference produce consistent results because they start from a known ratio rather than from a guess.
Measuring just once while learning what the correct ratio looks like for your specific blender and typical ingredient set trains the eye to estimate accurately over time. The measurement habit is most valuable at the beginning when building familiarity with the ratio, and less necessary once the result is predictable.
Use Frozen Fruit Instead of Fresh Plus Ice
This habit makes a more significant difference to smoothie quality than most people expect, and the reasoning behind it is simple once understood.
Fresh fruit plus ice produces a smoothie that is cold but diluted. As the ice melts during and after blending, it dilutes the flavour of the fruit. Ice cubes also require more motor power to crush than frozen fruit, and the inconsistent size of ice cubes produces less even blending than the more uniform consistency of frozen fruit pieces.
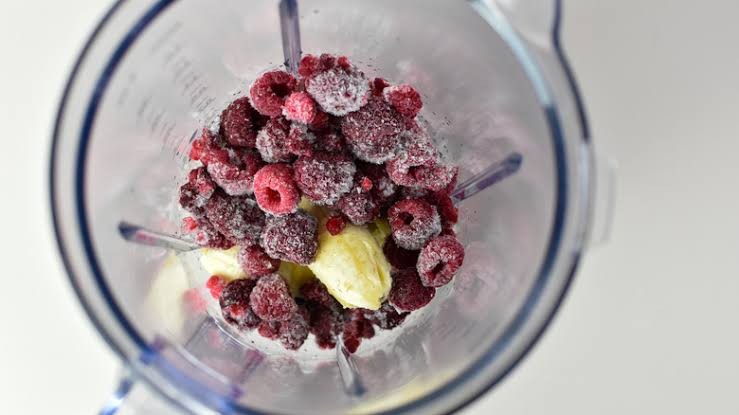
Frozen fruit used without ice produces a smoothie that is equally cold, noticeably more flavourful because there is no melt dilution, and smoother in texture because the frozen fruit provides both the chilling and the thickening function without the dilution ice introduces. The frozen fruit also contributes its full nutritional value with no dilution, which matters if the smoothie is a meaningful part of a nutrition plan.
Pre-portioning smoothie ingredients, including frozen fruit, into individual bags or containers and storing them in the freezer is a practical extension of this habit. It means that making a smoothie takes thirty seconds of active time rather than measuring and preparing individual ingredients each morning.
Let Frozen Ingredients Sit for Two to Five Minutes Before Blending
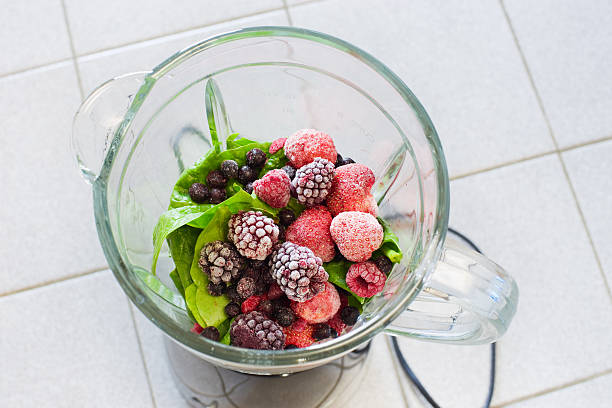
Taking straight-from-the-freezer ingredients and blending them immediately puts maximum resistance on the blade and motor from the first second of operation, which strains the motor, creates air pockets, and often produces uneven results with some portions blended and others still chunky.
Allowing frozen fruit, frozen vegetables, and frozen liquid cubes to sit on the counter for two to five minutes before blending softens the outer layer of each piece while the interior remains frozen. This softer outer layer allows the blade to penetrate each piece more easily at the start of blending, creating initial flow that draws the remaining solid material through the vortex more effectively.
The two to five minute rest does not significantly affect the coldness of the finished smoothie because the interior of the frozen pieces remains frozen throughout. The finished smoothie is equally cold compared to blending from fully frozen, but the blending process is noticeably smoother and faster.
This habit is particularly useful for blenders in the mid-range power category that handle adequately softened frozen ingredients well but genuinely struggle with the hardest-frozen preparations straight from the freezer.
Keeping your blender clean after every use makes smoothie prep faster and prevents stubborn residue. Check out our guide to quick blender cleaning tips that save time for easy ways to keep your blender spotless.
Blend Liquid and Greens First
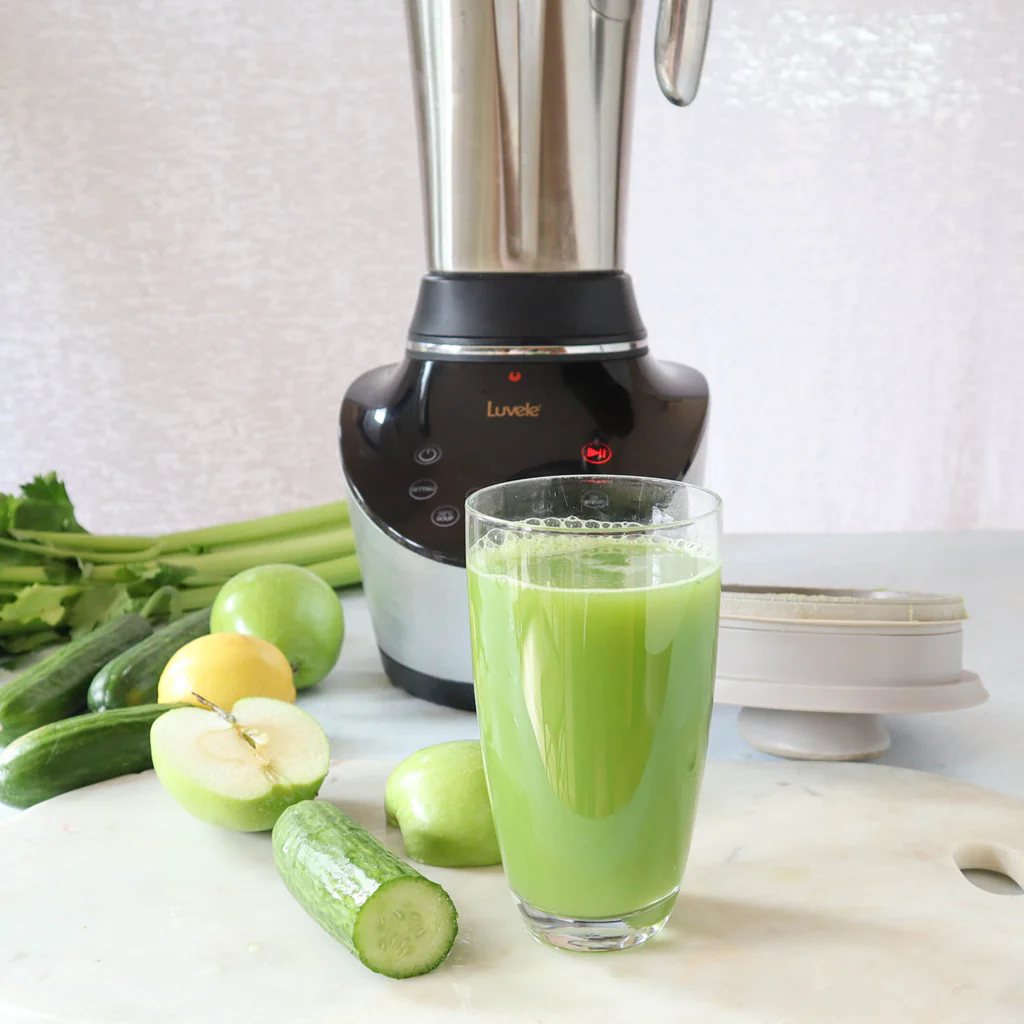
When adding leafy greens like spinach, kale, or chard to a smoothie, blending them with the liquid before adding fruit and other ingredients produces a significantly smoother result than blending all ingredients together from the start.
Leafy greens present a specific blending challenge: their flat, wide leaf surfaces catch air and resist being drawn into the vortex in the same way that denser ingredients do. When everything is blended together, pockets of partially blended greens often end up floating above the vortex where they are not fully processed.
Pre-blending the greens with the liquid for fifteen to twenty seconds at medium speed creates a fully liquefied green base before any other ingredients are added. The greens are completely broken down and incorporated into the liquid before the denser and heavier ingredients are introduced. The finished smoothie has no remaining leaf texture or visible green flecks regardless of what blender power level is being used.
This technique makes a particularly noticeable difference in lower-powered blenders where greens can be a genuine challenge to fully process. In high-powered blenders, it still produces a smoother result than blending everything simultaneously, though the difference is less dramatic.
Use the Correct Speed Sequence
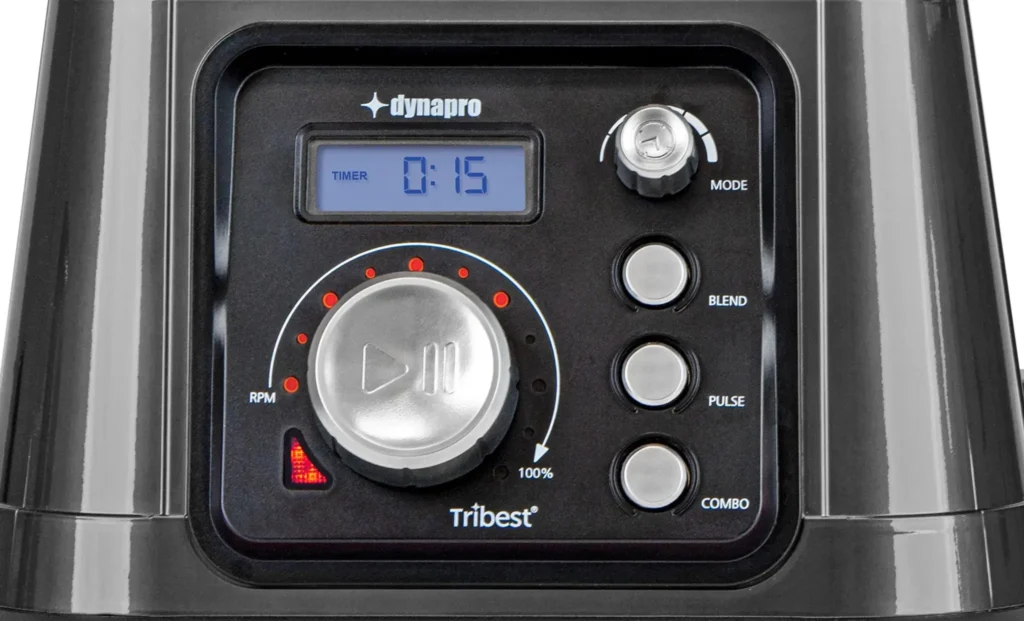
Starting a smoothie on high speed from a stopped position with solid ingredients in the container is a reliable way to create an air pocket, strain the motor, and produce uneven early blending. The correct approach is a speed sequence that builds from low to high.
Start the blender on low speed or use pulse mode for the first five to ten seconds. At low speed, the blade moves material more gently and establishes the beginning of the vortex without generating the centrifugal force that can throw solid ingredients to the sides of the container before they can be drawn down to the blade.
Once the initial movement has established a basic vortex and the liquid has begun incorporating the first layer of ingredients, increase to medium speed for another ten to fifteen seconds. By the time the smoothie is ready for high speed blending, the vortex is fully established and the high-speed blending accelerates the fine processing that produces smooth texture.
The full sequence from low to high typically adds ten to fifteen seconds to the total blending time but produces noticeably more consistent results and puts less strain on the motor than starting at high speed immediately.
Blend Longer Than You Think You Need To
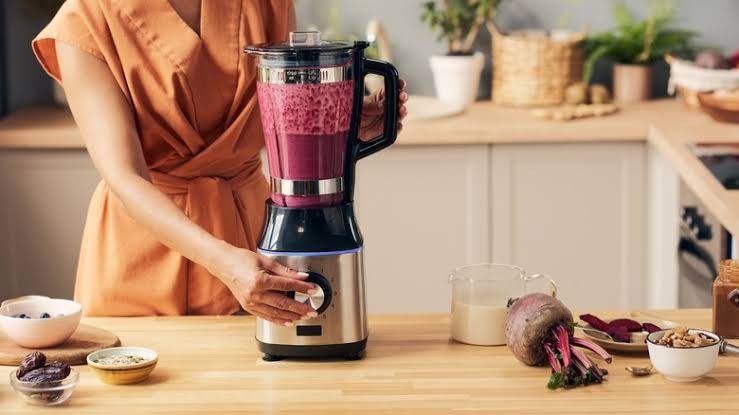
The most common smoothie blending error after ingredient order is stopping the blender too soon. Most home smoothies are blended for twenty to thirty seconds when they would benefit from sixty to ninety seconds for genuinely smooth results.
The difference between a thirty-second smoothie and a ninety-second smoothie is not just texture uniformity. Extended blending also incorporates more air, which gives the smoothie a lighter, almost whipped quality that many people prefer. It also breaks down fibrous plant cell walls more completely, which improves the bioavailability of certain nutrients and produces a more thoroughly integrated flavour.
The test for whether a smoothie has been blended long enough is to stop the motor, remove the lid, and inspect the surface. A properly blended smoothie has a glossy, uniform surface with no visible chunks, seeds, or unblended particles and a consistent colour throughout. An underblended smoothie has a matte surface with visible variation in colour and texture.
Run the blender for an additional fifteen seconds after it looks done. This final interval breaks down any remaining small particles that are not visible from above and produces the smoothest possible texture from the current ingredient set.
Use the Tamper When the Blender Has One
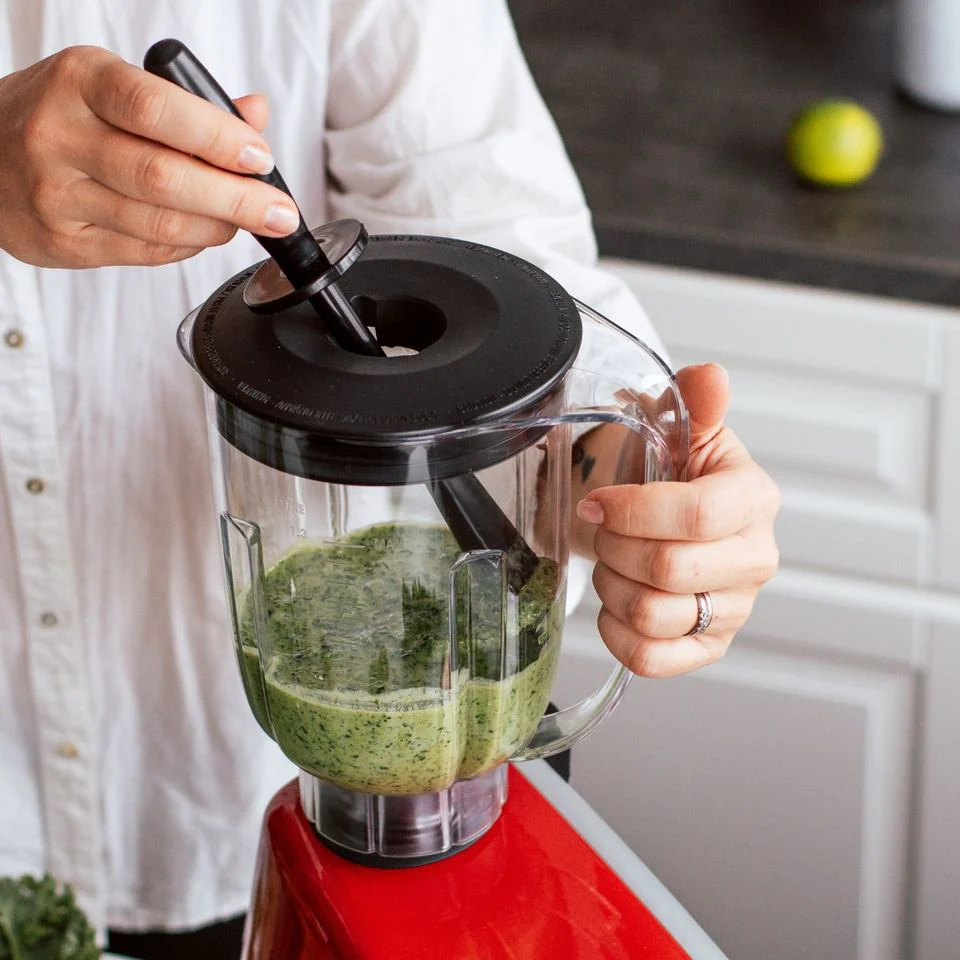
A tamper is the long, narrow tool that fits through the centre hole in the lid of certain blenders, specifically designed to push ingredients toward the blade while the motor runs without touching the blade itself.
Many people own blenders with a tamper and almost never use it, not understanding what it is for or when it helps. The tamper is most useful for thick smoothies where the high ratio of solid to liquid creates an air pocket or a column of unmoving thick mixture in the centre of the container above the blade.
Inserting the tamper through the lid hole while the blender runs and gently pushing the stuck mixture downward toward the blade breaks the air pocket and redistributes material into the active blending zone. This produces smooth results from thick preparations that would otherwise require stopping the motor, redistributing by hand, and restarting.
The tamper must not extend past the tamper guide in the lid or it contacts the blade, which is dangerous and damages both the tamper and the blade. Follow the blender manufacturer’s guidance on tamper length and use.
Add Protein Powder and Supplements Last
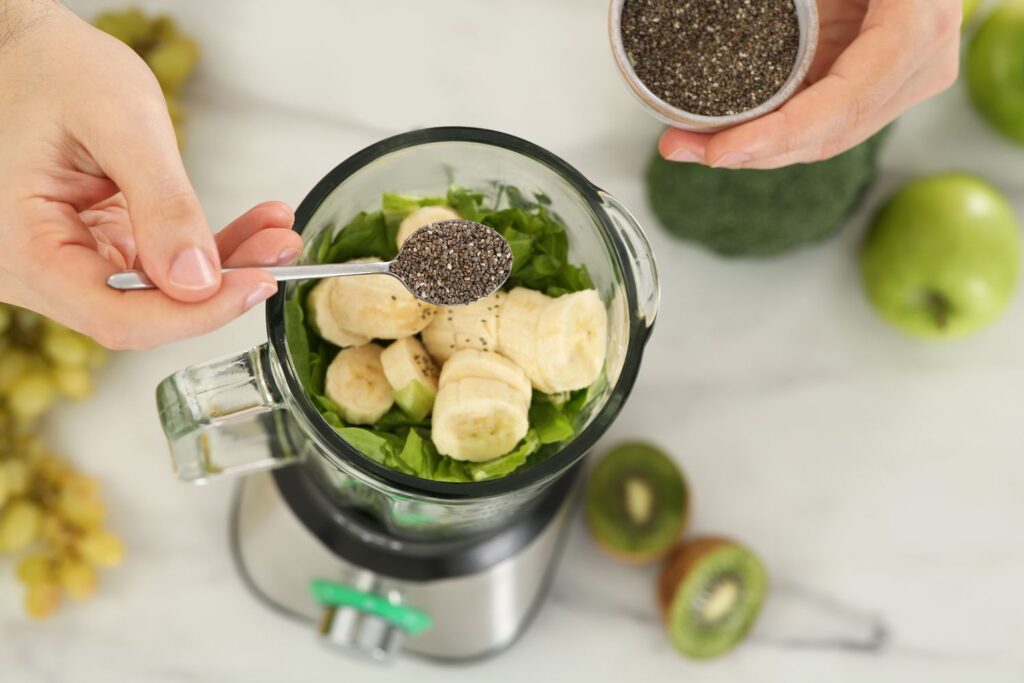
Protein powder, collagen, greens powders, and similar supplement additions are commonly added to the blender container before other ingredients, either out of habit or because the container is used as a measuring vessel.
Adding powder first and then liquid and other ingredients over it produces a specific and consistent problem: the powder clumps when the liquid contacts it and does not fully incorporate into the smoothie. Clumped protein powder is one of the most persistent texture problems in home smoothie making, and it is entirely prevented by the simple habit of adding powder last.
Adding powder through the feed hole in the lid while the blender is running at low or medium speed distributes it into already-moving liquid before it has a chance to clump. The moving liquid disperses the powder immediately rather than allowing a concentrated mass to form that the blade then has to break apart.
If adding through the feed hole while running is not practical for your setup, adding the powder after all liquid and soft ingredients but before frozen ingredients allows the liquid-first blending action to begin incorporating the powder into motion before the heavier frozen ingredients arrive.
Great smoothie habits also depend on a blender that performs well. If your drinks are coming out chunky or uneven, read our guide on fixing common blender performance problems for simple solutions.
Taste Before Pouring
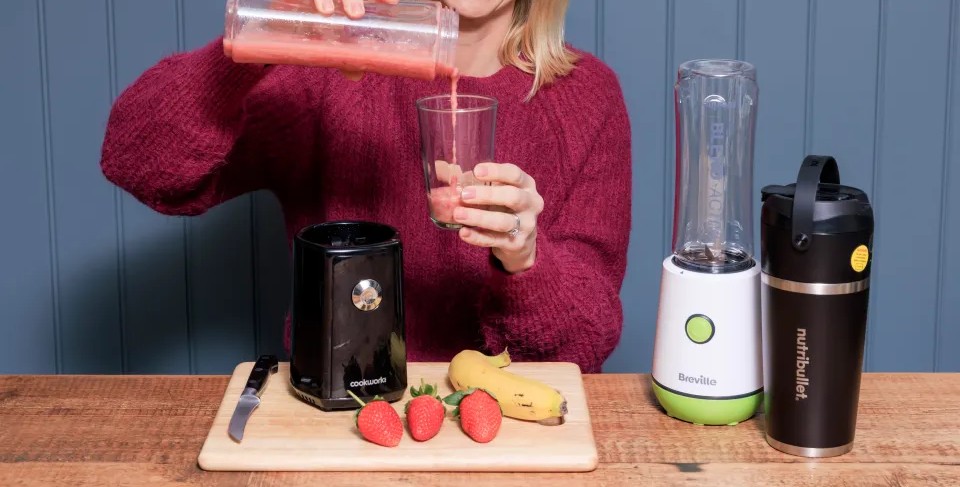
This habit is deceptively simple but prevents the consistent disappointment of discovering that the smoothie is too sweet, too tart, too thick, or too watery after it has already been poured into a glass.
Stopping the blender before the final pour and tasting a small amount from a spoon provides an opportunity to make adjustments while the smoothie is still in the blender. A smoothie that is too thick receives a splash of additional liquid and another ten seconds of blending. A smoothie that is too tart receives a small amount of banana, honey, or date to balance the acidity. A smoothie that lacks sweetness receives the same adjustments.
Making these adjustments before pouring is significantly more effective than trying to adjust after pouring because the blender can incorporate additions evenly. Adding honey to an already-poured smoothie and stirring by hand rarely distributes it as evenly as the blender would.
Building this habit also builds sensory familiarity with what a good smoothie tastes like at various stages of completion, which progressively reduces the frequency of adjustments needed because the ingredient decisions improve with informed feedback.
Chill the Container Before Blending
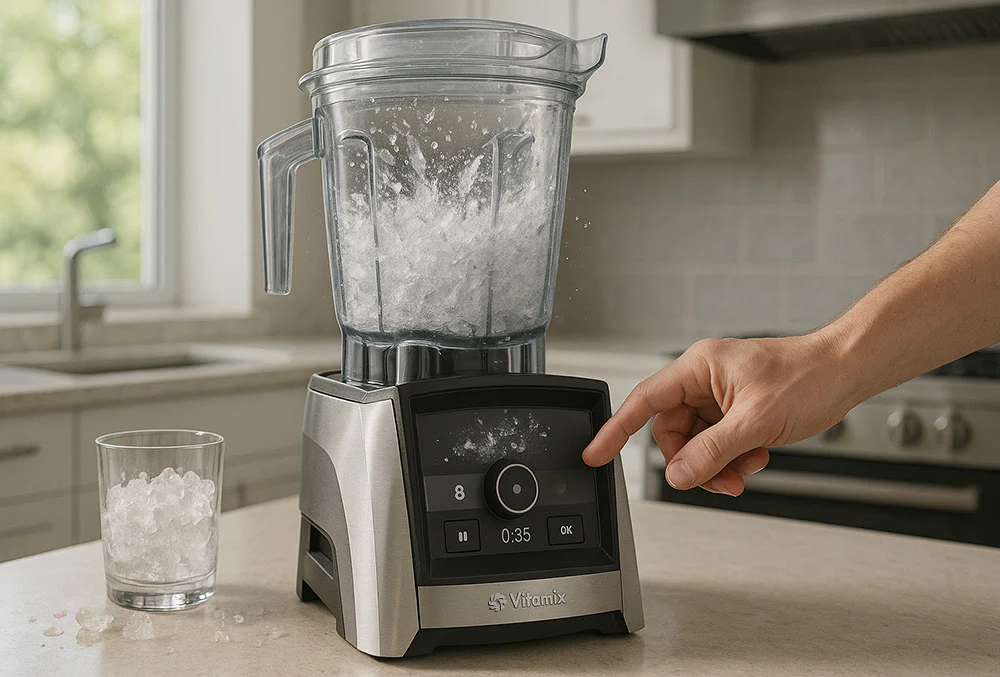
Pre-chilling the blender container in the refrigerator for fifteen minutes before making a smoothie keeps the finished smoothie colder throughout the blending process and results in a colder finished drink.
Blending generates heat through the friction of the blades moving through cold material, which is why a smoothie blended in a room-temperature container is noticeably warmer than the same smoothie made in a chilled container, even when the ingredients are identical.
For most daily smoothie makers, keeping the container in the refrigerator between uses rather than on the counter makes this habit effortless. The container is already cold when needed and returns to cold storage immediately after cleaning.
This habit is most noticeably beneficial during summer months when ambient temperature is higher and the warming effect of blending is more pronounced. In cooler months, the difference is less dramatic but still measurable in the finished product.
Clean Immediately After Every Use
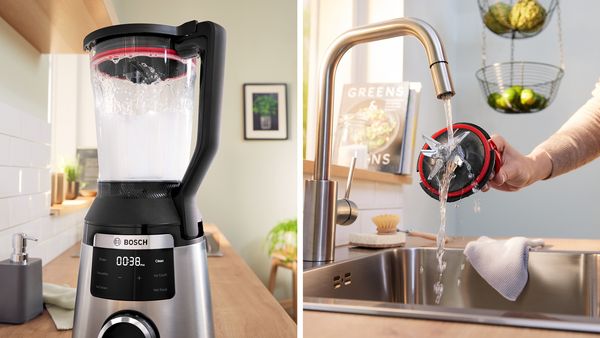
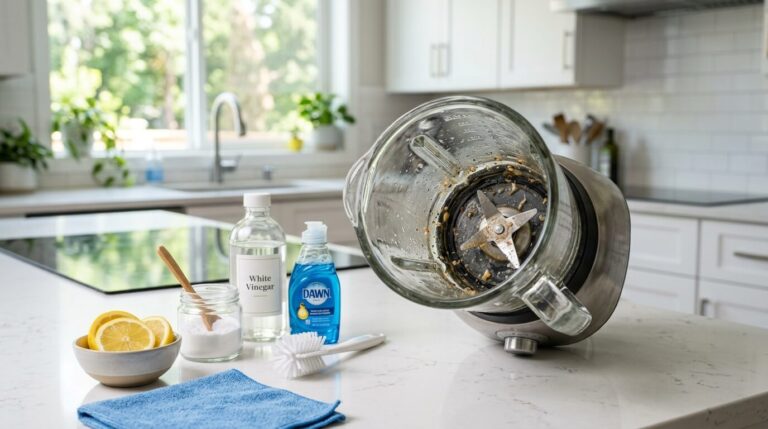
Cleaning habit is included here not as a maintenance reminder but as a smoothie quality habit, because a blender container with dried residue from previous smoothies contaminates the flavour of every subsequent smoothie made in it.
Rancid coffee, fermented fruit residue, and decomposed protein from previous blending sessions all contribute off-flavours to fresh smoothies at concentrations that are subtle but detectable, particularly as a flat or slightly stale background note that dulls the flavour of fresh ingredients.
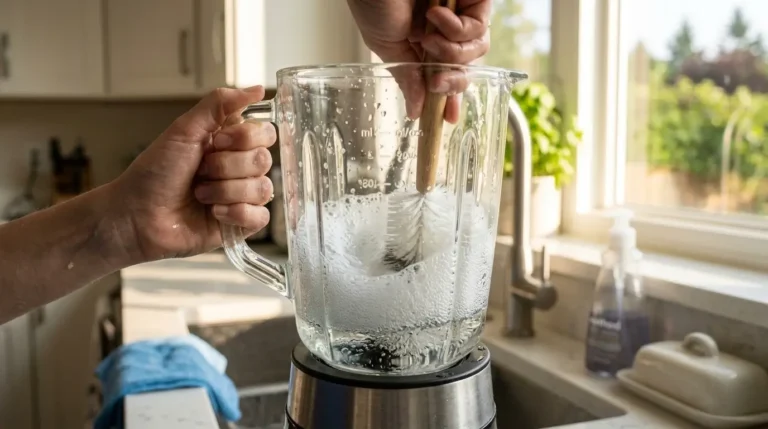
The thirty-second self-clean method, warm water and a drop of dish soap blended for thirty seconds followed by a rinse, addresses this immediately and prevents any residue from developing into the more persistent problem that dried residue becomes. The cleaner the container at the start of each smoothie, the more the fresh ingredients come through without interference.
The Smoothie You Were Always Trying to Make
Looking across all of these habits, none of them are difficult or require any additional equipment. They are approaches that align the way you use the blender with how the blender actually works, rather than working against the machine’s mechanics through habit and assumption.
The order of ingredients, the speed sequence, the timing of the blend, and the cleanliness of the container all work together to produce a smoothie that is genuinely better than the one most people have settled for. Each habit is a small improvement. Together they produce the smoothie you always imagined the blender was capable of making.
The right habits work even better with the right appliance. Explore our guide to the top blenders for smoothies and everyday use to find a model that delivers consistently smooth results.
FAQs About Making Better Smoothies
Separation happens when fats, fibres, and water in the smoothie are not fully emulsified together during blending. Blending for longer at higher speed more fully emulsifies the components. Adding a small amount of fat such as nut butter, avocado, or full-fat yogurt also stabilises the emulsion and significantly reduces separation.
Browning in green smoothies is caused by oxidation of the fruit and vegetable compounds when exposed to air during blending. Adding a small amount of citrus juice, lemon, lime, or orange, to the smoothie provides ascorbic acid that slows oxidation significantly and preserves the bright colour for longer.
Adding a tablespoon of chia seeds, a quarter of an avocado, a tablespoon of nut butter, or a frozen banana thickens a smoothie without adding bulk from additional fruit. Greek yogurt and silken tofu also add thickness and creaminess with minimal flavour impact on fruit-forward smoothies.
Foam forms when air is incorporated into the smoothie at high speed during blending. Some foam is normal and desirable, but excessive foam comes from blending at high speed for too long, from very watery liquid ratios, or from high-protein ingredients like protein powder. Blending at medium rather than maximum speed for the final thirty seconds reduces foam noticeably.
Yes, but store it in a sealed container filled as close to the top as possible to minimise air exposure, which causes browning and separation. Give it a good shake or stir before drinking. Adding lemon juice before refrigerating slows oxidation. Most smoothies keep acceptably overnight but are best consumed within twelve to fourteen hours.
Fruit ripeness at the time of freezing has the largest effect on flavour variability. Fruit frozen at peak ripeness is sweeter and more flavourful than fruit frozen before fully ripening. Liquid measurement variation also plays a role, as a small difference in liquid quantity noticeably affects concentration and sweetness perception. Measuring consistently and using fruit from the same source reduces variability.
Glass containers do not absorb odours or flavours from previous blending sessions and do not contribute any off-flavours to the smoothie. Plastic containers can absorb flavours over time, particularly from strong ingredients like garlic or fish, which then transfer at low concentrations to subsequent smoothies. Keeping plastic containers clean and deodorised with baking soda and lemon treatments addresses this.