Blender Cleaning Tricks That Save Time (And Keep Your Blender Working Better)
By Amelia Harper | Kitchen and Home Appliance Writer | Updated July 2026
The blender is one of those appliances that people love using and dread cleaning. The blade assembly is sharp, the residue sticks to the sides and bottom, and the whole thing feels like it requires more effort to clean than it took to actually make the smoothie. So it sits on the counter with residue drying inside it while you talk yourself into dealing with it later.
Later arrives and the residue has hardened. What would have taken thirty seconds is now a scrubbing project. This is the cycle that makes blender cleaning feel like a burden, and it is entirely avoidable once you know the right techniques.
I have been writing about kitchen appliances for nearly a decade, and blender cleaning comes up more consistently as a pain point than almost any other kitchen task. The tricks below are not elaborate hacks. They are simple techniques that work because they address the actual chemistry of why blender residue sticks, and most of them take far less time than the rinsing and scrubbing approach most people default to.
Regular cleaning helps, but lingering odors often need extra attention. Discover what causes unpleasant smells in your blender and learn simple ways to keep it fresh after every use.
1. The Self-Clean Method: Your First Line of Defence
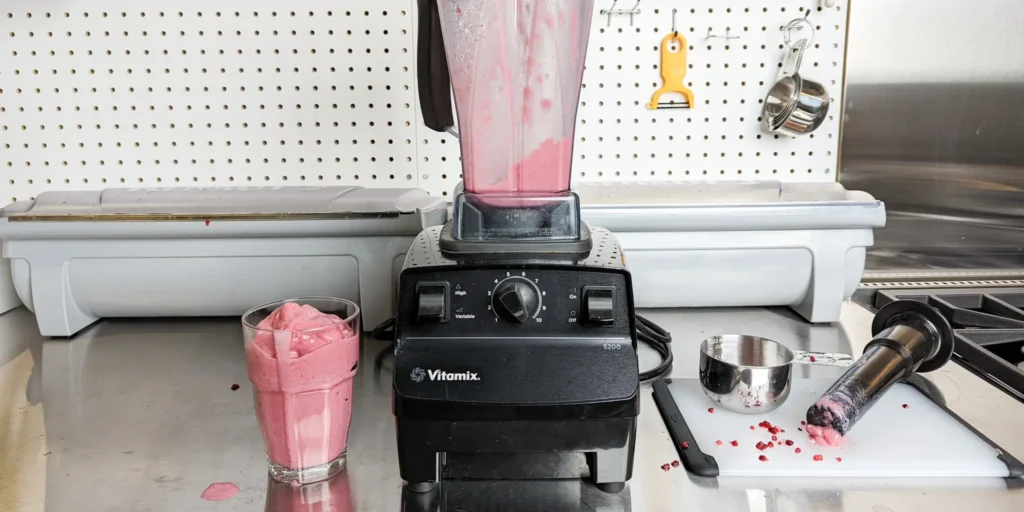
The single most effective time-saving blender cleaning technique is the one built into every blender that was ever made, and it requires no scrubbing, no disassembly, and approximately sixty seconds from start to finish.
Immediately after emptying the blender, add warm water to about halfway up the container. Add one or two drops of dish soap, nothing more. Place the lid on firmly, hold it down with your palm, and run the blender on high speed for thirty to sixty seconds.
The soapy water reaches every surface the blade touched during blending, the turbulence dislodges residue before it has had time to bond to the container surface, and the soap emulsifies the oils and food particles. Empty the container, rinse with clean water once or twice, and the blender is clean.
This method works reliably for smoothies, sauces, soups, and most standard blending preparations when done immediately after use. It is the most important blender cleaning habit to build because timing is everything: the same residue that cleans in sixty seconds with this method requires ten minutes of soaking and scrubbing if left for two hours.
2. Always Clean Immediately, Not Eventually
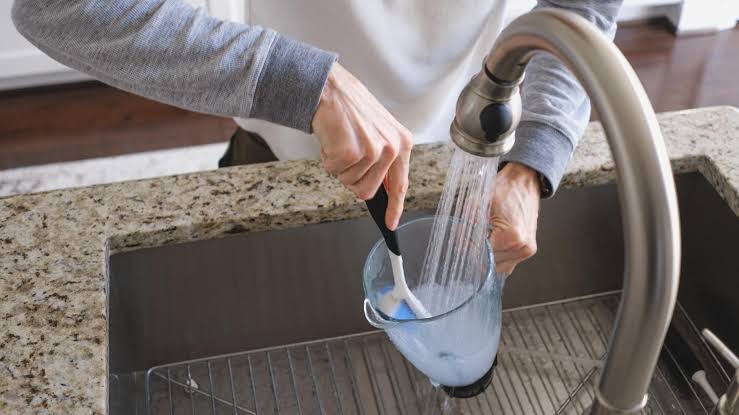
The principle behind the self-clean method applies to every blender cleaning approach: cleaning immediately is categorically easier than cleaning later, regardless of the method used.
Freshly made residue is still wet, still loosely bonded to the container surface, and still fully emulsifiable by soap and water. The blending action distributed a thin film of whatever you made across the full interior surface of the container, and that film clings by surface tension rather than by chemical bonding. A quick rinse or a thirty-second self-clean cycle removes it completely.
The same film, left to dry, undergoes a different process. Proteins denature and contract, forming tighter bonds with the surface. Starches set like paste. Oils polymerise and become water-resistant. The result is a container that requires soaking, scrubbing, and physical force to clean, rather than the simple dilution and emulsification that works on fresh residue.
Building the habit of cleaning the blender before doing anything else after using it, before eating the smoothie you just made, before sitting down, before anything, is the single change that makes blender cleaning feel effortless rather than like a chore.
3. Use Warm Water, Not Cold
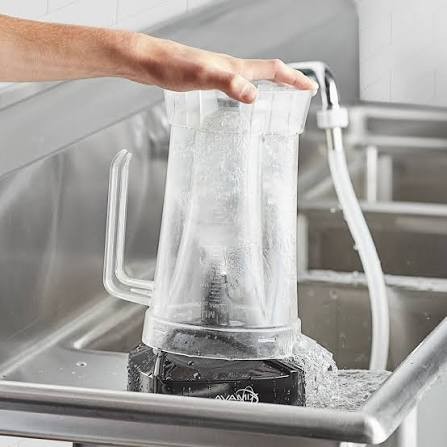
This is a small detail that makes a measurable difference in cleaning speed, and it is worth understanding why.
Warm water accelerates the dissolving and emulsification of food residue in two ways. The elevated temperature increases the kinetic energy of the water molecules, which speeds up the chemical reactions that break down oils and food particles. It also reduces the surface tension of the water, allowing it to penetrate into residue more effectively than cold water does.
For the self-clean method, warm rather than hot water is the right choice. Very hot water in a sealed blender creates steam pressure that builds during blending and can cause the lid to pop off or the contents to expand unexpectedly. Comfortably warm water provides the cleaning benefit without this risk.
For rinsing after cleaning, running warm water through the container and over the blade assembly rinses away soap residue more completely than cold water because the warmth keeps oils and soap in their dissolved state rather than allowing them to re-deposit on the surface.
4. Soak for Stubborn Residue
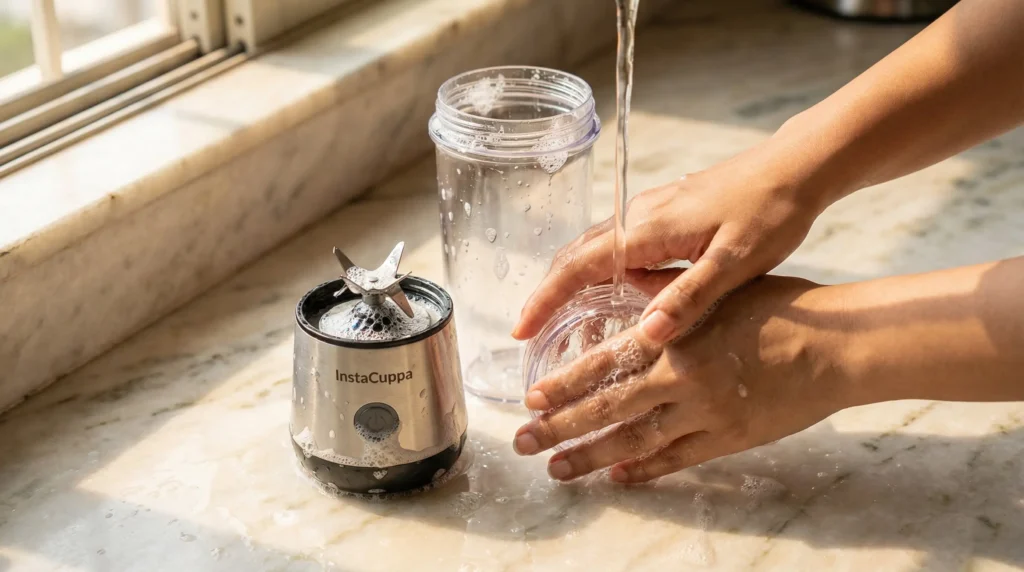
When residue has dried before cleaning, soaking is the approach that restores it to a removable state without requiring abrasive scrubbing that can damage the container.
Fill the blender container with warm water and a generous amount of dish soap, and leave it to soak for fifteen to thirty minutes. The extended contact time allows the soap and water to penetrate the dried residue layer, re-hydrate it, and begin breaking the bonds between the residue and the container surface.
After soaking, run the self-clean cycle, which now works on residue that has been loosened rather than dried and hardened. The results from soaking followed by a self-clean cycle are comparable to cleaning fresh residue, with the added fifteen to thirty minutes of wait time as the only cost.
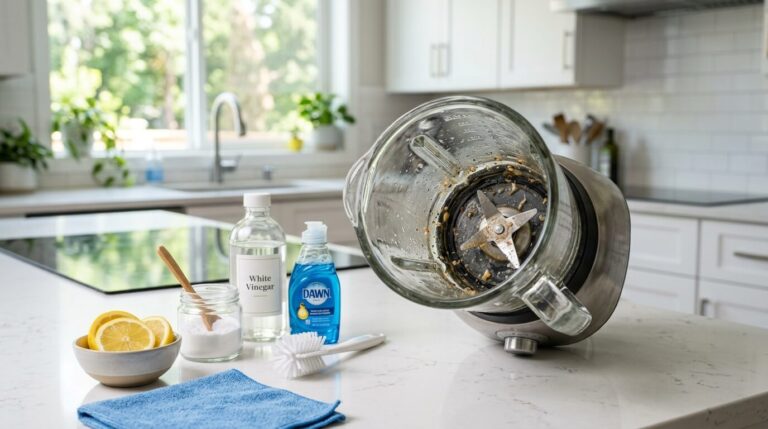
For particularly thick or sticky residue from nut butters, protein shakes, or starchy soups, adding a teaspoon of baking soda to the soaking water increases its cleaning effectiveness. Baking soda’s mild alkalinity helps to break down the protein and oil bonds that make these residues especially stubborn.
A clean blender also performs better. If you’re still getting uneven results, explore our guide on how to fix a blender that won’t blend properly and discover simple solutions for smoother blends.
5. Disassemble Only When Necessary
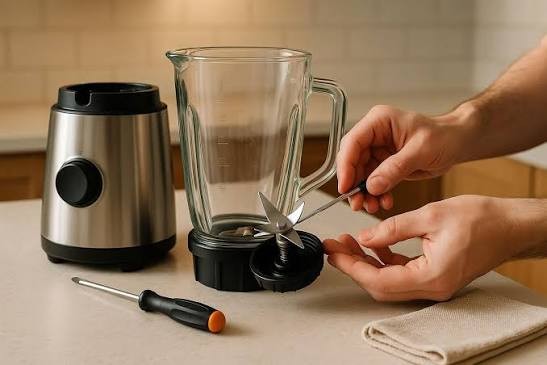
Many blender owners disassemble the blade assembly for every cleaning session, which is unnecessary for most blending tasks and adds handling time and reassembly effort to what could be a simple process.
The self-clean method cleans the interior of the container, the blade faces, and the underside of the blades effectively without disassembly for standard blending preparations. The only situations that genuinely require disassembly are when thick residue has accumulated in the housing around the blade base, when something has become physically stuck in the blade mechanism, or when the blender has not been cleaned promptly and residue has hardened in areas the self-clean cycle cannot reach.
For daily smoothie making, sauce blending, and soup pureeing, the self-clean method followed by a rinse is sufficient to keep the container and blades clean without any disassembly. Reserving disassembly for the weekly thorough cleaning, rather than doing it every time, saves meaningful time across a week of regular blending.
When disassembly is needed, handle the blade assembly carefully from the side rather than the top, always with the blade facing away from the hand, and use a cleaning brush designed for the purpose rather than a cloth that can catch on the blade edges.
If cleaning doesn’t improve your blender’s performance, it may be time for an upgrade. Explore our guide to the top blenders for everyday kitchen use and find the perfect model for smoothies, soups, and more.
6. Clean the Blade Base with a Bottle Brush
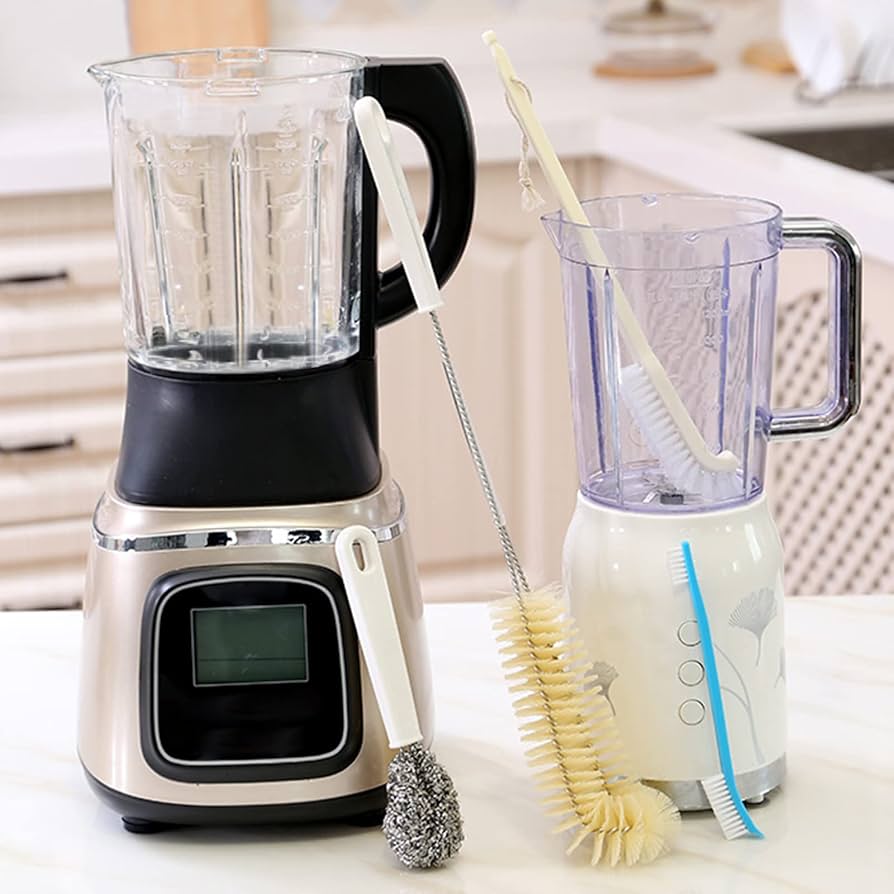
The area around the blade base, where the blade assembly meets the bottom of the container, is the single most difficult area to clean in any blender and the location where residue accumulates most persistently.
This area is difficult to reach with a sponge, awkward to see clearly during cleaning, and positioned directly at the point of greatest contact with the blending material. Over time, residue that is not addressed here polymerises into a coating that becomes progressively harder to remove and that contributes a stale, rancid flavour to subsequent blending sessions.
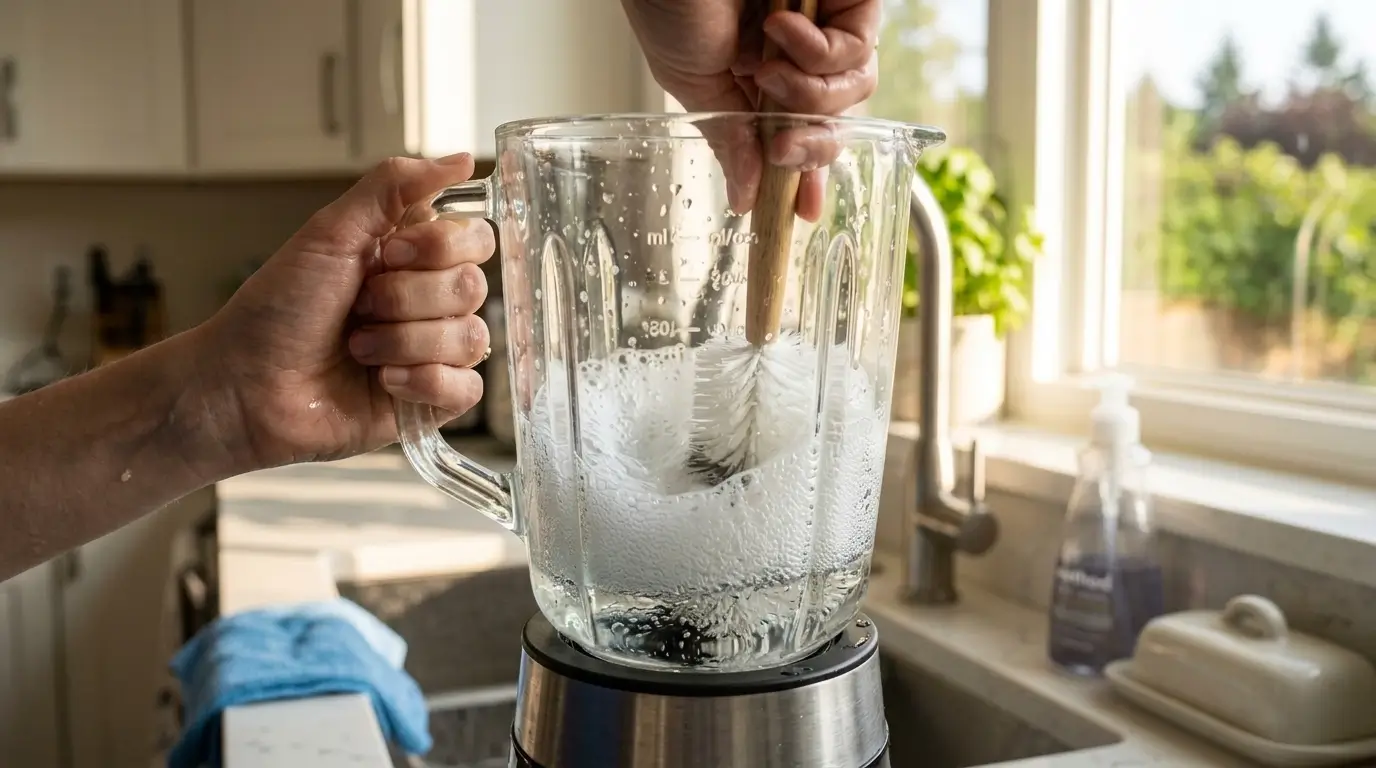
A narrow bottle brush with firm but non-abrasive bristles reaches this area effectively. Insert the brush while running water into the container, directing the bristles specifically at the base of the blade assembly and the junction between the blade and the container floor. A few circular brush strokes in this area during the weekly cleaning addresses what the self-clean cycle leaves behind.
A dedicated small brush kept near the blender and used exclusively for this purpose prevents cross-contamination with other cleaning tasks and makes the step convenient enough to be completed as part of the regular routine rather than skipped.
7. Baking Soda for Odour and Staining
Blenders used frequently for strongly flavoured or pigmented ingredients develop odours and staining over time that standard dish soap and the self-clean method do not fully address.
Garlic, onion, fish, fermented ingredients, and strong spices leave volatile aromatic compounds in the container that water-based cleaning dissolves but does not fully remove. Brightly coloured ingredients like berries, turmeric, and tomatoes leave pigment deposits on plastic and even on glass containers that become visible as a persistent tint over time.
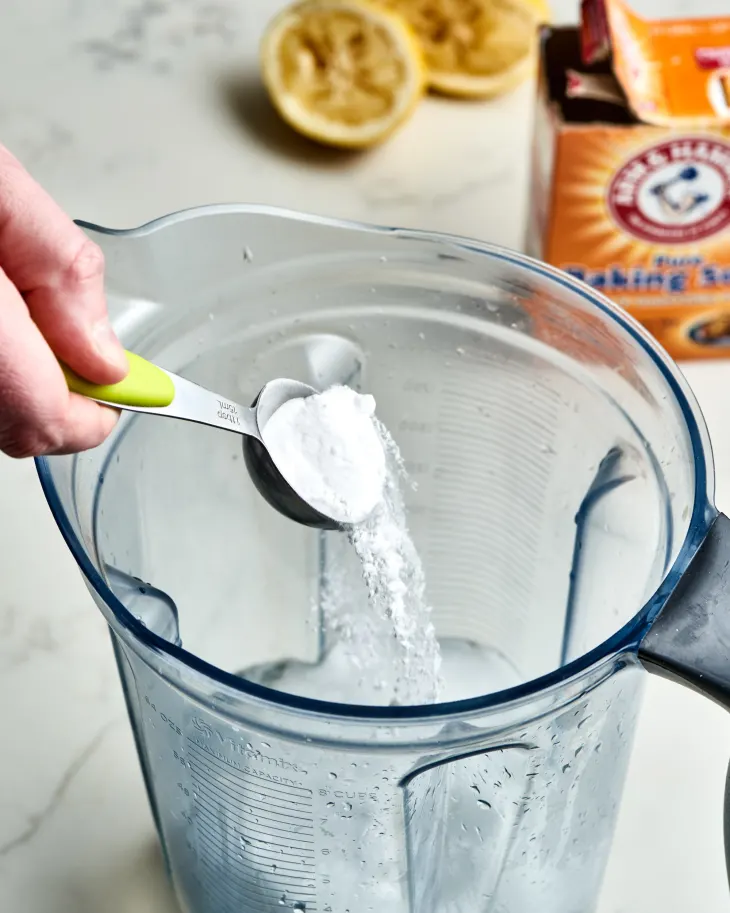
Baking soda addresses both issues effectively. For odour removal, fill the container with warm water and two tablespoons of baking soda, run the self-clean cycle, let it soak for ten minutes, and rinse thoroughly. The baking soda neutralises the acidic and sulphurous compounds that cause most food odours in blender containers.
For staining, a paste of baking soda and a small amount of water applied to the stained area and left for fifteen minutes before scrubbing gently with a soft sponge removes the majority of pigment deposits without scratching the container surface.
8. White Vinegar for Mineral Deposits
Blenders used in hard water areas develop a white, hazy film on the container interior over time. This film is mineral scale, the same calcium and magnesium deposits that affect coffee makers and kettles, deposited on the container walls from the water used in both blending and cleaning.
White vinegar dissolves mineral scale through its acidity, which reacts with the alkaline calcium and magnesium compounds and breaks them down into soluble forms that rinse away with water.
To remove mineral film from a blender container, fill it with equal parts white vinegar and water, run the self-clean cycle for thirty seconds, and allow the solution to soak for fifteen to twenty minutes before running the self-clean cycle again and rinsing thoroughly with clean water.
The vinegar smell dissipates completely with thorough rinsing and does not transfer to subsequent blending sessions. The result is a container that looks significantly cleaner and more transparent than before the vinegar treatment.
9. Dry the Container Immediately After Rinsing
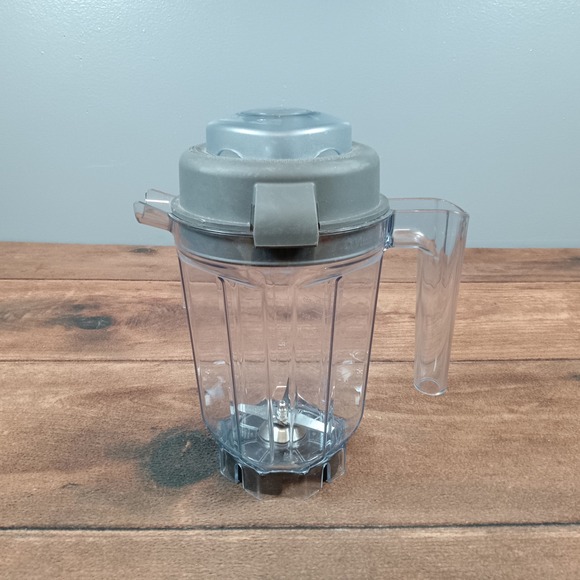
Drying the blender container immediately after the final rinse prevents mineral deposits from forming and prevents the damp, enclosed environment from developing the musty odour that signals bacterial growth.
The same minerals dissolved in tap water that form scale in heating elements and coffee maker boilers deposit on blender containers as the water dries. Rinsing removes soap and loosened residue but leaves a thin film of mineral-laden water on the container surface. When this water dries naturally, the minerals it contained are left behind as a thin deposit.
Wiping the container dry with a clean cloth immediately after the final rinse removes this water before the minerals can deposit. Repeating this practice after every cleaning keeps the container surface in its cleanest possible condition without any additional time investment beyond the wiping motion itself.
Storing the blender with the container inverted on a clean drying mat allows any remaining moisture to drain and dry completely before the container is reassembled on the base, preventing the closed-container moisture retention that encourages microbial growth.
10. The Lemon Trick for Freshness
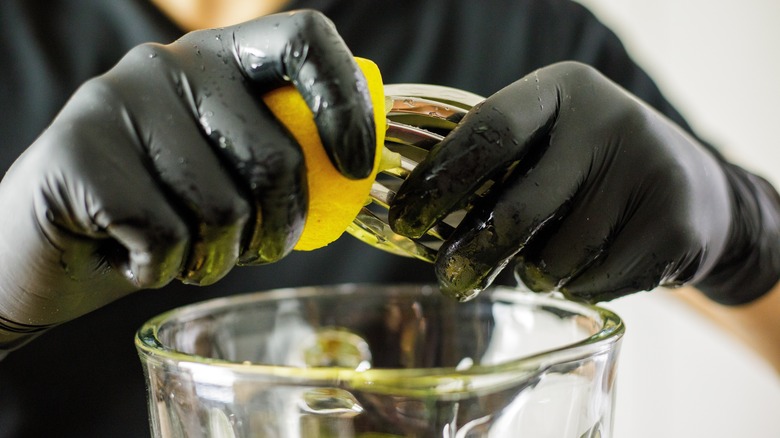
For a quick refresh between thorough cleaning sessions, blending a slice of lemon with warm water is a fast and effective way to neutralise odours and leave the container smelling genuinely fresh rather than merely clean.
Lemon contains citric acid, which has mild antibacterial properties and dissolves light mineral deposits and soap film, and the aromatic compounds in lemon peel are among the most effective natural deodorisers available for kitchen surfaces.
Blend half a cup of warm water with one slice of lemon, skin included, for twenty to thirty seconds. The citric acid and aromatic oils contact the full interior surface of the container. Rinse thoroughly afterward and the container will smell noticeably fresher than before.
This is particularly useful after blending fish, garlic, or strong spices, where the standard self-clean cycle leaves a residual odour that transfers to the next preparation if not addressed. The lemon treatment takes less than a minute and requires only a single slice of lemon, making it practical for regular use.
11. Keep the Lid and Gasket Clean
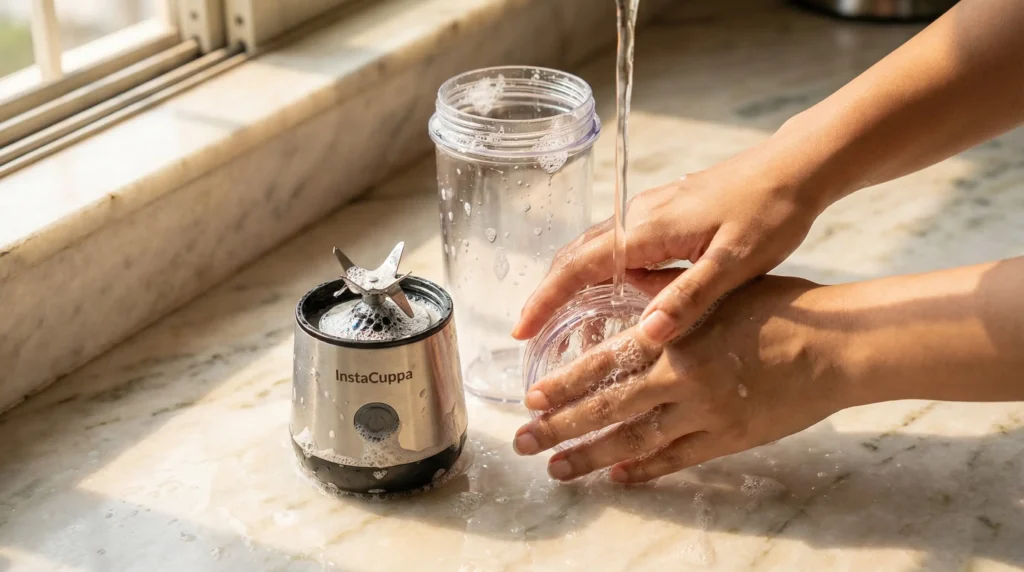
The lid and its gasket seal are components that receive less cleaning attention than the container but accumulate residue at a comparable rate and contribute to flavour contamination and odour if neglected.
The underside of the lid contacts the blended material during every cycle and receives a film of residue from the splashing and aeration that occurs during high-speed blending. The pour spout, the central cap opening, and any vents in the lid design all trap residue that is not removed by rinsing alone.
The gasket, which creates the airtight seal between the lid and the container, is a soft rubber or silicone ring that stretches into a groove in the lid body. Food particles trapped in this groove create an ideal environment for bacterial growth because the compressed rubber prevents water from circulating through the gap during rinsing.
Removing the gasket from the lid monthly and washing both the gasket and the lid groove separately with soap and a small brush removes the trapped residue and keeps the seal functioning correctly. The gasket should be completely dry before reinsertion to prevent moisture being sealed inside the groove where it cannot dry.
12. Establish a Weekly Deep Clean
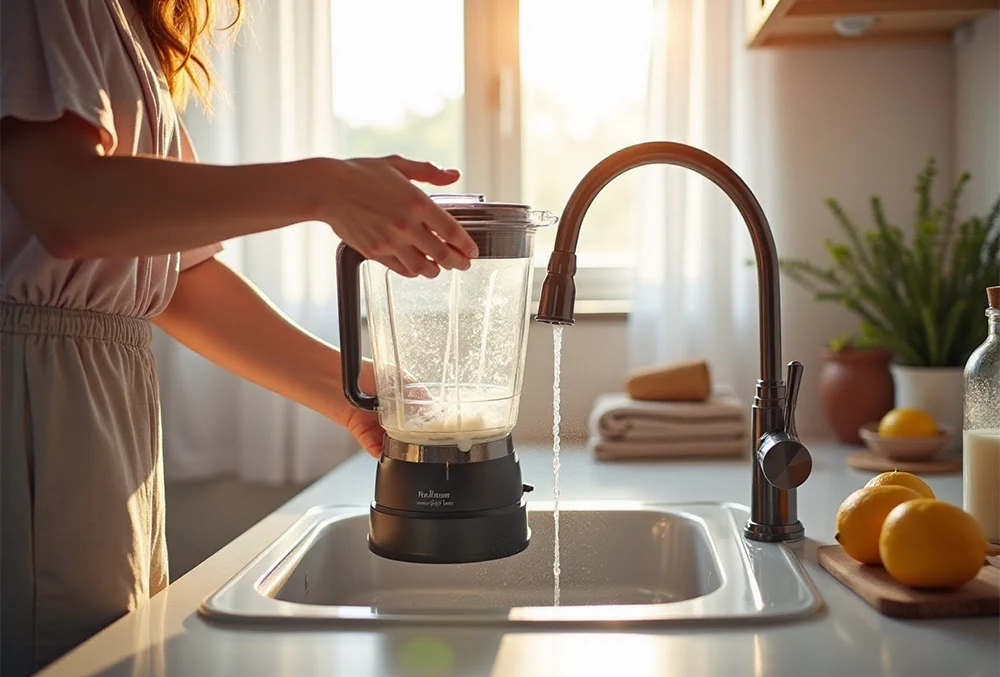
The self-clean method handles daily maintenance effectively, but a brief weekly deep clean addresses the accumulation that daily cleaning does not fully reach and keeps the blender in genuinely good condition over the long term.
The weekly deep clean involves disassembling the blade assembly, washing all components including the container, lid, gasket, and blade assembly separately with warm soapy water, addressing the blade base area with a bottle brush, and treating any mineral deposits or staining with vinegar or baking soda as needed.
The whole process takes approximately ten minutes when the blender has been maintained daily and no significant buildup has accumulated. A blender that has not had a deep clean in several months requires more effort for the first session and progressively less for each subsequent weekly session as the maintenance baseline improves.
Making the weekly deep clean a specific scheduled task rather than something done when it becomes obviously necessary keeps the effort level consistent and low rather than allowing it to build into an occasional major cleaning project.
Want even better blending results? Explore our guide to simple blender habits for smoother, tastier smoothies and learn easy tips that improve texture and flavor every time.
The Principle That Makes All of This Work
Every trick in this article is an application of the same underlying principle: cleaning is easier when addressed immediately and when the right tool or approach is matched to the specific type of residue being removed.
The self-clean method works because timing eliminates the need for scrubbing. Soaking works because re-hydration restores removability to dried residue. Baking soda works because its chemistry addresses the specific compounds that create odour and surface bonding. Vinegar works because its acidity dissolves the specific chemistry of mineral scale.
None of these techniques are complicated, and none of them require more than a few minutes when applied at the right moment. The blender that felt like a burden to clean is only one small habit change away from being an appliance you reach for without hesitation.
FAQs About Blender Cleaning
Most blender containers are dishwasher safe, but check the manufacturer’s instructions for your specific model before doing so. Repeated dishwasher cycles can cloud plastic containers over time and may degrade rubber gaskets faster than hand washing. The top rack with a gentle cycle is recommended for containers that are dishwasher safe.
Persistent odour usually indicates residue trapped in the blade base area or the lid gasket that the self-clean cycle has not reached. Disassemble the blade assembly, clean the base area with a bottle brush, remove and wash the lid gasket separately, and treat the container with the baking soda or lemon methods described above.
Most manufacturers advise against putting the blade assembly in the dishwasher because the high heat and harsh dishwasher detergents can degrade the blade gasket and the bearings in the blade hub over time. Hand washing with warm soapy water and a brush is the method that extends the blade assembly’s functional life longest.
A paste of baking soda and a small amount of hydrogen peroxide, applied to the stained area and left for twenty to thirty minutes before scrubbing gently, is the most effective household approach for berry pigment staining. Sunlight also naturally bleaches plastic staining over time, so setting a clean wet container in direct sunlight for a few hours can reduce visible pigmentation.
The blade assembly does not have a fixed replacement schedule but should be replaced when the blade edges are visibly dull or chipped, when the gasket around the blade base shows cracking or deterioration, or when leaking from the blade housing begins to occur. For daily use, this is typically every one to three years depending on what is being blended and how the assembly is cleaned and stored.
Extended soaking can degrade the rubber gasket in the blade assembly, particularly in water with high detergent concentration. Fifteen to thirty minutes of soaking is sufficient for even difficult residue. If overnight soaking seems necessary, use plain warm water without soap and address the residue the following day with the self-clean cycle applied to the pre-soaked container.
Do not blend very hot liquids for cleaning purposes. Hot liquid creates steam inside the sealed container that builds pressure during blending and can cause the lid to release unexpectedly, spraying the contents. Use comfortably warm rather than hot water for all cleaning methods in this article.