How to Keep Your Coffee Maker Working Longer: A Complete Maintenance Guide
By Amelia Harper | Kitchen and Home Appliance Writer | Updated July 2026
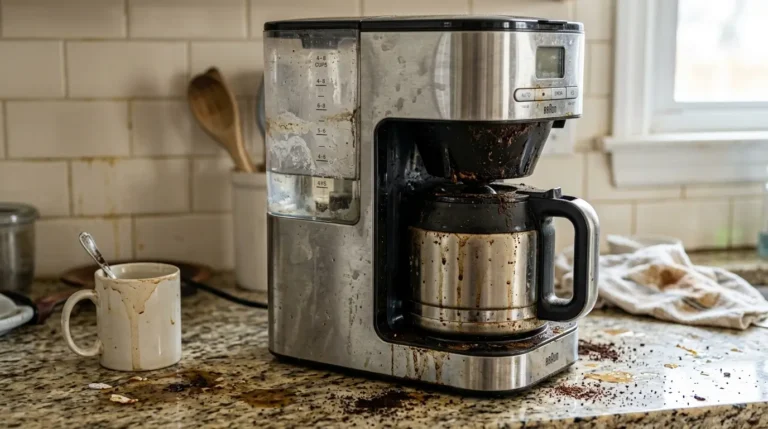
A coffee maker is one of the most used appliances in most households, often running at least once every single day for years. It is also one of the most neglected when it comes to maintenance. People descale their kettles, clean their ovens, and filter their water, but the coffee maker often gets nothing more than a quick rinse of the carafe and maybe a wipe of the exterior once in a while.
Then one day the machine starts brewing slowly, the coffee tastes bitter and stale, or the machine simply stops working, and the assumption is that it has simply reached the end of its life.
In most cases, that assumption is wrong. The vast majority of coffee maker failures and performance declines are caused not by mechanical fault or age, but by mineral buildup, bacterial growth, and neglected components that could have been maintained easily throughout the machine’s life.
A coffee maker that is genuinely well-maintained can last five to ten years or longer, delivering consistently good coffee right up to the end. A neglected one deteriorates in performance and can fail in as little as a year or two.
I have been writing about kitchen appliances for nearly a decade, and coffee maker maintenance is one of those subjects where the gap between what most people know and what they actually need to know is surprisingly large.
This guide covers everything that actually matters, including how to descale properly, how often to clean different components, what water to use, and how to diagnose and address the most common performance issues before they become permanent problems.
You can also read our guide to find Best Coffee Makers.
Understanding What Happens Inside a Coffee Maker Over Time
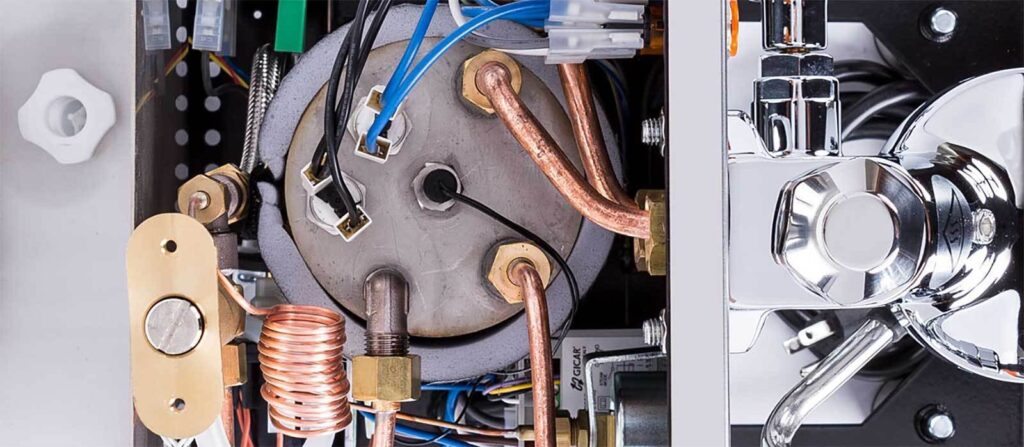
Before getting into specific maintenance tasks, it helps to understand what is actually happening inside the machine during regular use, because the maintenance recommendations below make much more sense when you understand the underlying process they are addressing.
Mineral scale is the primary enemy. Tap water contains dissolved minerals, primarily calcium and magnesium, in concentrations that vary by location. Every time water passes through your coffee maker and is heated, these minerals precipitate out of the water and deposit on the internal surfaces they contact. Over months and years of daily use, this mineral scale accumulates on the heating element, inside the water lines, and throughout the brewing path.
Scale acts as an insulator on the heating element, forcing it to work harder to reach the correct brewing temperature. It narrows the internal water passages, slowing water flow and extending brew time. It can even block passages entirely in severe cases, reducing the amount of water that makes it through to the brewing chamber.
If your coffee maker is taking longer to brew than it used to, producing less coffee per cycle, or the coffee has become consistently weaker or more bitter, mineral scale is almost certainly the primary cause.
Coffee oils and residue accumulate on every surface they contact. Ground coffee is not just cellulose and caffeine. It contains oils that coat brewing surfaces, filters, carafes, and baskets with every brew cycle. These oils oxidise over time and develop a rancid, bitter flavour that transfers to every subsequent cup of coffee.
A coffee maker with significant coffee oil buildup produces coffee that tastes stale and bitter even when brewed with fresh, quality beans. The oils are invisible in most cases but their flavour impact is unmistakable once you know what to look for.
Moisture inside the machine creates conditions for mould and bacteria. A coffee maker’s warm, dark interior with residual moisture from each brew cycle is a hospitable environment for microbial growth, particularly in the water reservoir and in any areas where water sits stagnant between uses.
Studies have found that coffee maker reservoirs are among the more germ-laden surfaces in the average kitchen, not because coffee makers are particularly unhygienic by design but because most people never clean the reservoir with anything more than water.
Understanding these three processes, mineral scale, coffee oil oxidation, and microbial growth, clarifies why each of the maintenance tasks below matters and what problem each one is specifically addressing.
How Often to Perform Each Maintenance Task
Different components of the coffee maker require attention on different timescales, and knowing which tasks belong to which frequency is the most practical way to build a maintenance routine that actually gets followed.
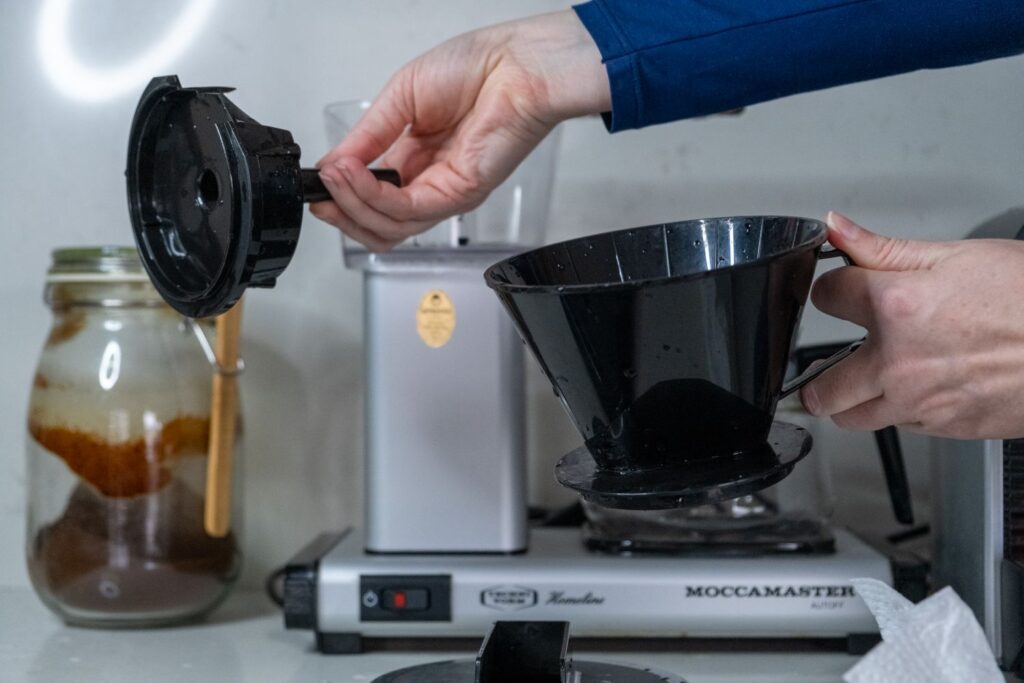
After every use: Rinse the carafe, the filter basket, and the filter basket holder under warm water immediately after brewing. Coffee oils begin oxidising within hours and become significantly harder to remove the longer they sit. This thirty-second task prevents the most stubborn type of residue from forming in the first place.
Weekly: Wash the carafe, filter basket, and any removable parts with warm, soapy water rather than just rinsing. Pay particular attention to the seams, hinges, and any textured surfaces where residue accumulates. If your machine’s components are dishwasher safe, the weekly run through the dishwasher is fully sufficient.
If they are not, hand washing with dish soap and a bottle brush or sponge removes oils and residue that rinsing alone cannot reach. Wipe the exterior, the warming plate, and the lid or lid mechanism with a damp cloth weekly as well. The warming plate in particular accumulates dripped coffee that bakes onto the surface and becomes difficult to remove if left for extended periods.
Monthly: Wipe down the water reservoir with a damp cloth and inspect it for any visible residue, discolouration, or growth. The reservoir is one of the components most people never clean deliberately. For machines with a fixed reservoir, use a clean, damp cloth or a dedicated reservoir brush to wipe the interior walls.
Every one to three months: Descale the machine. This is the single most important maintenance task and the one most people either do too infrequently or skip entirely. The appropriate descaling frequency depends on your local water hardness. In areas with very hard water, monthly descaling may be warranted.
In areas with soft water, every three months is generally sufficient. Most coffee machine manufacturers recommend descaling every one to two months as a standard interval, and many newer machines include a descaling indicator light that triggers based on usage volume.
How to Descale a Coffee Maker Properly
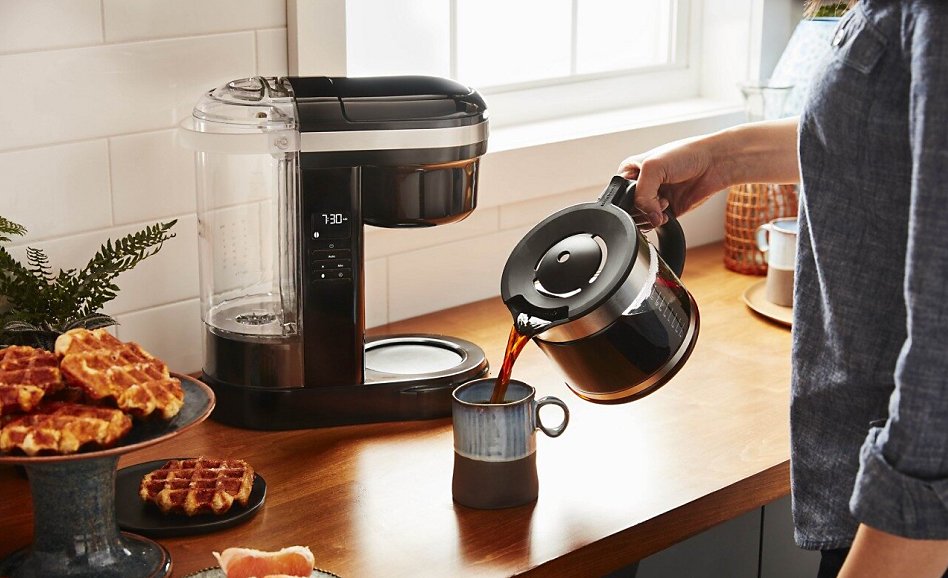
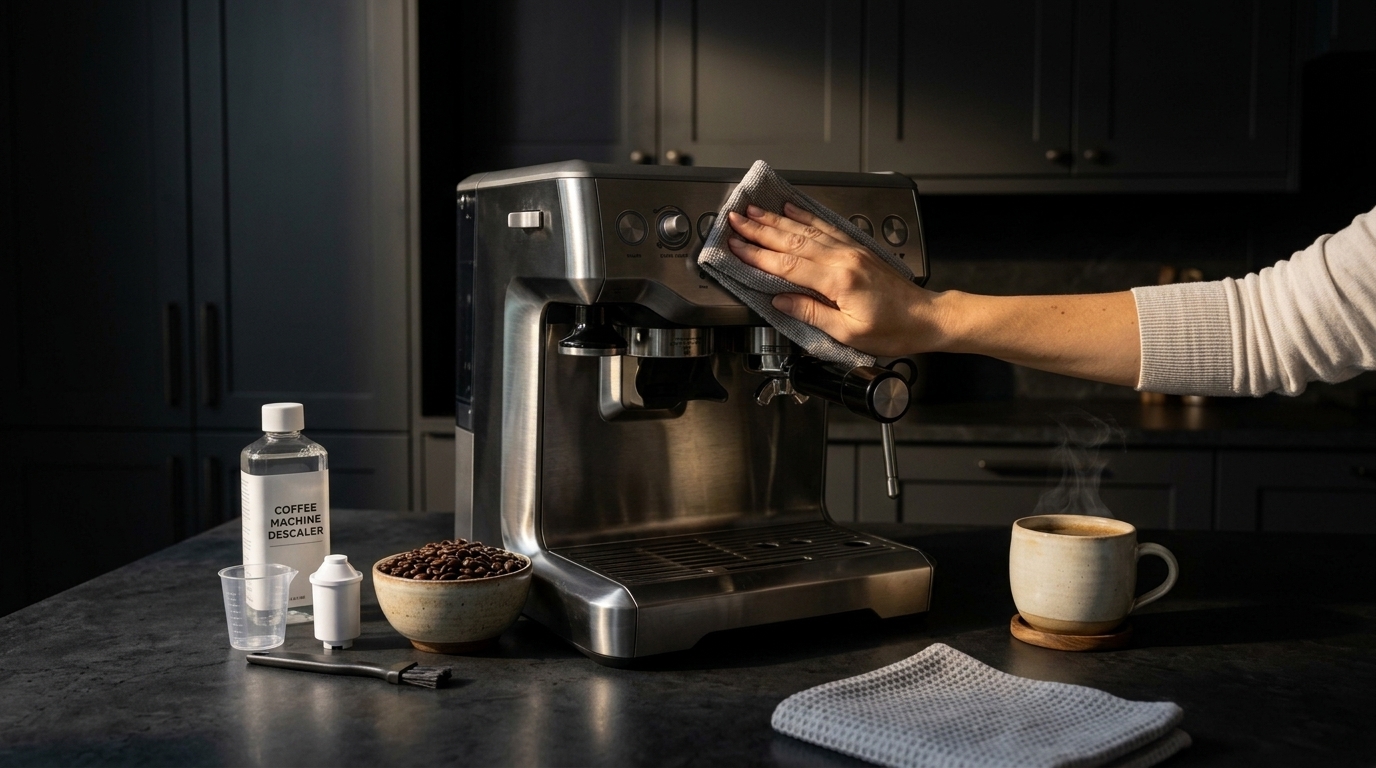
Descaling is the process of running an acidic solution through the machine to dissolve and flush out the mineral deposits that have accumulated on internal surfaces. It is not complicated, but doing it correctly matters both for effectiveness and for the health of the machine.
What to use for descaling. There are two main options: a commercial descaling solution specifically formulated for coffee machines, or a homemade solution of white vinegar and water. Commercial descalers, typically citric acid-based, are formulated to dissolve mineral scale efficiently while being safe for the materials used in coffee maker construction.
They are rinsed out cleanly and do not leave a lingering smell or taste. White vinegar is acidic enough to dissolve calcium and magnesium scale and is inexpensive and widely available, but it has a strong odour during the descaling process and can leave a faint vinegar taste that requires additional rinse cycles to fully remove. Both options are effective. The choice comes down to preference and convenience.
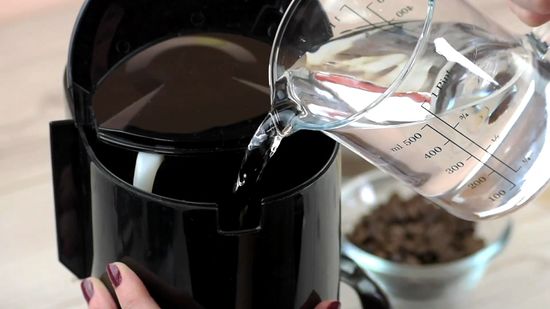
The descaling process, step by step. Empty the water reservoir completely and remove any paper filter from the basket. If using white vinegar, fill the reservoir with a mixture of equal parts white vinegar and fresh water. If using a commercial descaling solution, follow the concentration instructions on the packet. Most specify a particular ratio of solution to water.
Run a full brew cycle without coffee. When the cycle is complete, turn the machine off and allow it to sit for thirty minutes with the solution in the carafe. This soaking period allows the acidic solution to continue dissolving scale in the lower portions of the machine that the cycle may not have reached fully. After soaking, discard the solution from the carafe.
Fill the reservoir with fresh, clean water and run a full rinse cycle. Discard that water. For vinegar descaling, run two to three additional fresh water cycles to ensure all traces of vinegar are flushed from the system before brewing coffee again. For commercial descalers, one to two rinse cycles is typically sufficient.
Signs that your machine needs descaling more urgently. If the brew cycle has become noticeably slower than when the machine was new, if the coffee is consistently weaker than expected from the beans and grind you are using, if you can hear the machine working harder or differently during brewing, or if the machine has a descaling indicator light and it is illuminated, these are all signals that scale has built up to a level that is meaningfully affecting performance.
In these cases, two consecutive descaling cycles with a thirty-minute soak between them may be more effective than a single cycle.
The Water You Use Matters More Than Most People Realise
Water quality is probably the most underappreciated variable in both coffee taste and coffee maker longevity, and addressing it is one of the most impactful changes a coffee maker owner can make.
The case against distilled water. It might seem logical to use distilled or completely purified water to eliminate mineral scale entirely. This is actually counterproductive in two ways. First, most coffee machine manufacturers specifically advise against using distilled water because it is corrosive to certain metals and rubber seals used in the machine’s internal construction, and using it can void the warranty on some machines.
Second, water with zero mineral content produces noticeably flat, lifeless coffee because the minerals in water play an important role in extracting and carrying the aromatic compounds in coffee that produce its flavour.
The case for filtered water. Water filtered through a carbon filter, such as a pitcher filter or a faucet-mounted filter, removes the most problematic contaminants including chlorine, chloramine, and various organic compounds that negatively affect coffee flavour, while retaining the mineral content at appropriate levels for both taste and machine health.
Filtered water also reduces but does not eliminate mineral scale formation, meaning descaling intervals can be extended somewhat compared to using unfiltered tap water, but cannot be eliminated entirely.
The case for understanding your local water. Water hardness varies enormously by location. If your tap water is very hard, as measured by a home water hardness test kit available inexpensively at hardware stores, you may want to use a filtered water source specifically for your coffee maker and increase your descaling frequency regardless. If your tap water is relatively soft, standard tap water may be entirely adequate and your descaling needs will be less frequent than for someone in a hard water area.
Many premium coffee machine manufacturers include a water hardness test strip with the machine specifically to help owners calibrate their maintenance schedule to their local water conditions. If yours included one and you have not used it, it is worth doing.
Cleaning the Carafe and Filter Basket Thoroughly
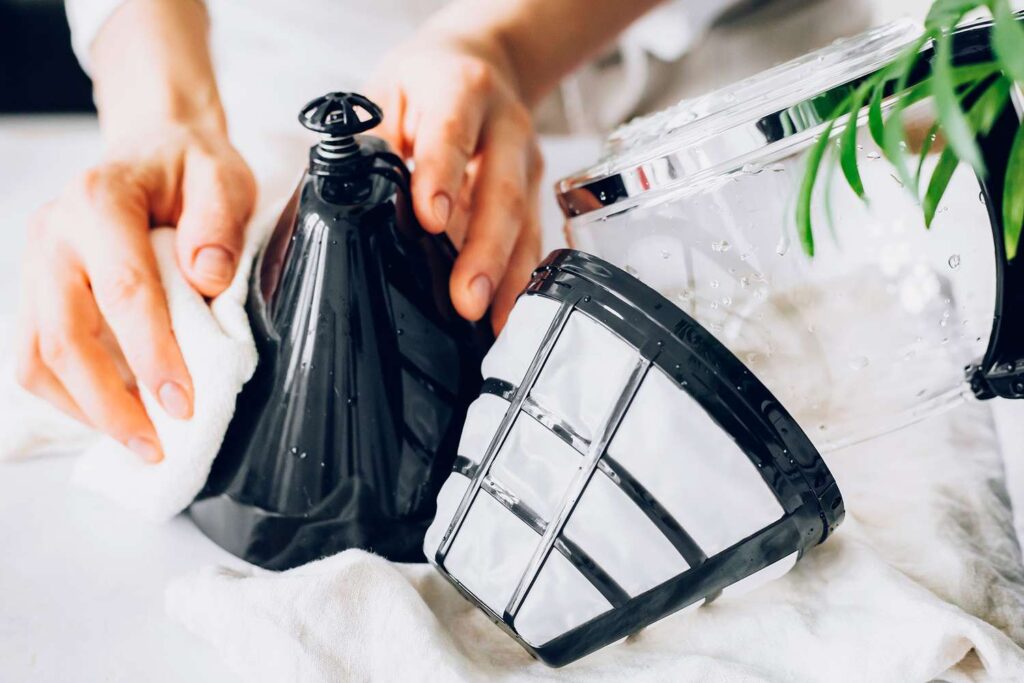
The carafe and filter basket are the components most directly exposed to coffee and therefore the ones that accumulate coffee oil residue most rapidly. They are also the most commonly under-cleaned components because a quick rinse after each use gives the impression of cleanliness while coffee oils continue to build up on the surfaces that water alone cannot reach.
For glass carafes. A glass carafe that has developed a brown, stained interior can be cleaned effectively with a mixture of coarse salt and ice cubes, or with a solution of baking soda and warm water allowed to soak for fifteen to thirty minutes before scrubbing gently with a soft brush.
Commercial coffee carafe cleaning tablets are also available and dissolve the staining without abrasion. Avoid steel wool or abrasive scrubbers on glass, which can scratch the surface and create additional texture for residue to bond to in future.
For stainless steel thermal carafes. The interior of a stainless steel carafe is harder to inspect visually but equally prone to coffee oil accumulation. A solution of hot water with a tablespoon of baking soda or a dedicated thermal carafe cleaning tablet, allowed to soak for thirty to sixty minutes and then shaken and rinsed thoroughly, cleans the interior effectively. A narrow bottle brush helps reach the lower interior where carafe cleaning tools cannot reach by soaking alone.
For the filter basket. The filter basket, including any mesh or permanent filter it holds, accumulates coffee oil residue in its pores and seams with every brew cycle. A weekly wash with dish soap and a small brush designed to fit in the basket’s corners cleans these surfaces more effectively than rinsing alone.
For permanent metal mesh filters, a soak of fifteen to thirty minutes in a solution of hot water and white vinegar, followed by scrubbing with a brush, removes the fine coffee oil coating from the mesh openings that can restrict water flow and contribute to over-extraction and bitterness.
Maintaining the Heating Element and Warming Plate
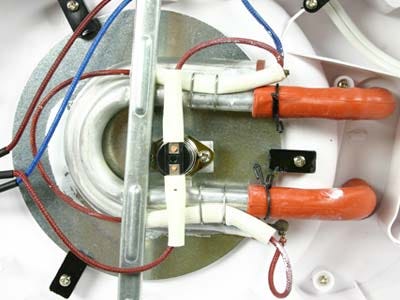
The heating element is inside the machine and is primarily maintained through the descaling process described earlier, since scale buildup on the element is the main issue affecting its performance and longevity. However, there are external components related to heat that benefit from direct attention.
The warming plate, the flat hot surface that keeps the carafe warm after brewing, accumulates dripped coffee that bakes onto the surface every time the plate is heated. Baked-on coffee residue on the warming plate eventually affects heat distribution and creates a burning smell during operation as old residue is repeatedly heated.
Cleaning the warming plate while it is completely cool and unplugged, using a damp cloth with a small amount of baking soda as a gentle abrasive, removes this buildup effectively. For particularly stubborn baked-on residue, a paste of baking soda and a small amount of water applied and left for five minutes before wiping usually loosens it without requiring aggressive scrubbing.
Water Reservoir Maintenance
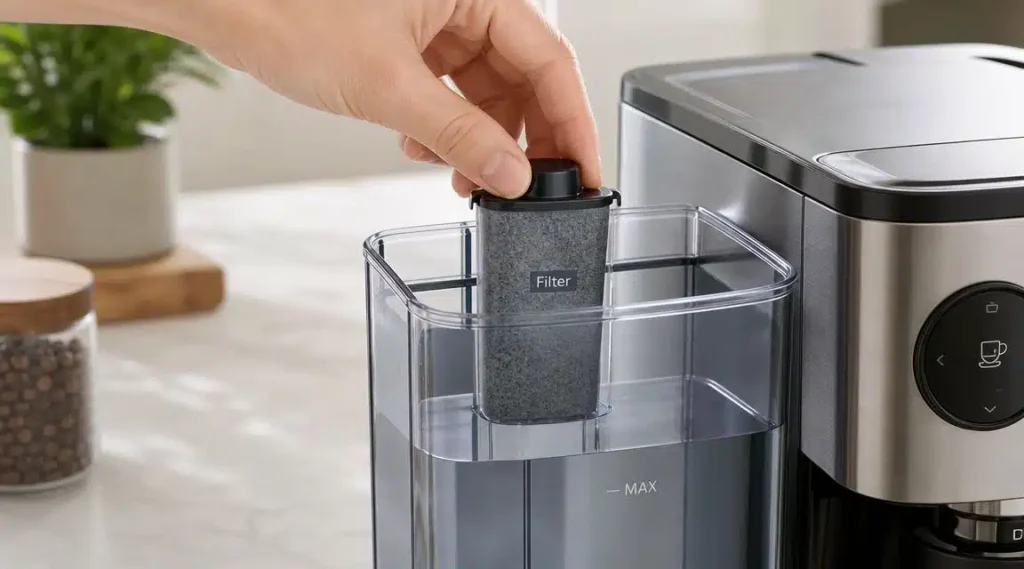
The water reservoir deserves more deliberate attention than it typically receives. Because it holds water continuously and is rarely emptied completely between uses, it is particularly susceptible to biofilm formation on its interior walls, discolouration from minerals, and in some cases visible mould or bacterial growth if the machine is not used for an extended period.
Once a month, empty the reservoir completely and wipe the interior walls with a clean cloth dampened with a small amount of white vinegar, then rinse thoroughly with fresh water before refilling. If your machine has been unused for a week or more, empty any standing water from the reservoir before using it again, as stagnant water in a warm, enclosed environment can develop bacterial growth that you do not want passing through your coffee maker and into your cup.
For machines with a fixed, non-removable reservoir that cannot be directly wiped, running a vinegar and water solution through the machine as a cleaning cycle monthly, even outside of the full descaling schedule, addresses the reservoir interior indirectly. This is particularly important for machines with dark-coloured reservoirs where any discolouration or growth is difficult to see.
Diagnosing Common Performance Problems
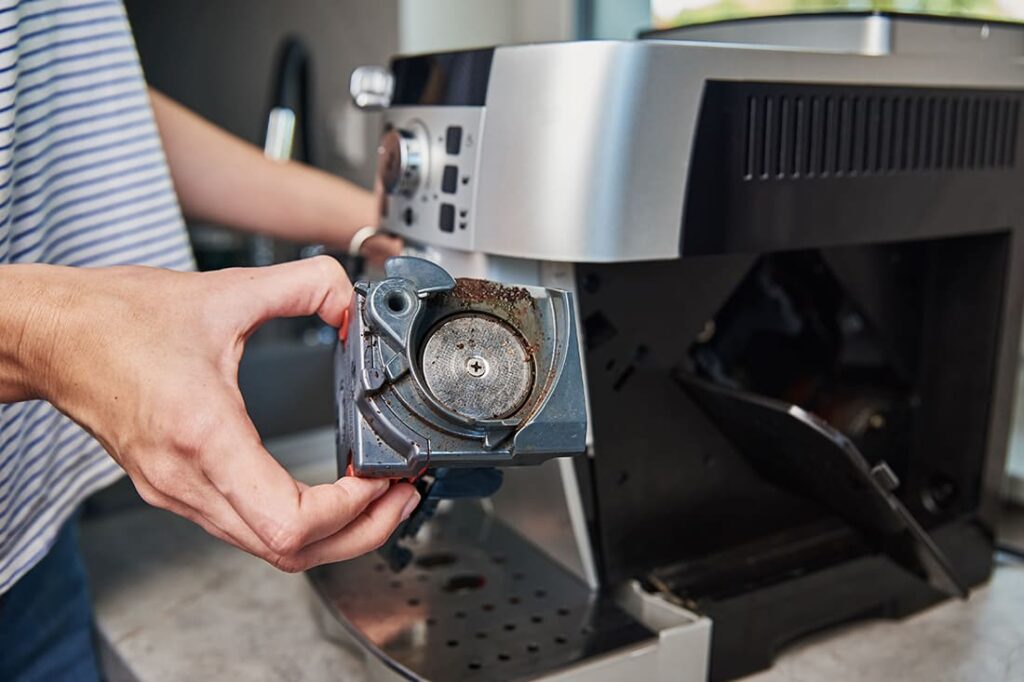
Knowing the most common symptoms of a coffee maker in need of maintenance, and which maintenance task addresses each symptom, is valuable for both extending the machine’s life and for understanding when a problem has progressed beyond what maintenance can address.
Slow brewing: Almost always caused by mineral scale narrowing or partially blocking the water passages. A full descaling cycle is the appropriate response. If the machine is significantly slower than when new and does not return to normal speed after two consecutive descaling cycles, the blockage may be severe enough to warrant contact with the manufacturer or a professional service.
Weak coffee: Can be caused by scale affecting brewing temperature (water that does not reach optimal temperature extracts less from the grounds), by coffee oil buildup on the filter basket restricting water flow, by a clogged permanent filter, or by stale residue in the brew path affecting the flavour profile. Descaling addresses the temperature issue. Cleaning the basket and filter addresses the flow restriction issue.
Bitter coffee: Bitter flavour in the finished cup often indicates that old, rancid coffee oil residue is contaminating the brew. A thorough cleaning of all removable components with soap and a targeted cleaning of the carafe and filter basket is the appropriate response. If bitterness persists after thorough cleaning, check the brewing temperature setting if adjustable, as excessively high brewing temperature also produces bitter over-extraction.
Coffee not as hot as it used to be: Usually indicates significant scale buildup on the heating element, which acts as an insulator and prevents the element from efficiently heating the water. Descaling is the appropriate first response. If temperature does not recover after descaling, the heating element may be damaged or failing.
Machine makes unusual sounds: Gurgling, grinding, or straining sounds during brewing often indicate partial blockages from scale or debris. Descaling and checking the filter basket for debris are the appropriate first steps.
Machine leaks: Leaking from around the basket area is often caused by a filter that is not seated correctly or that has been replaced with an incorrect size. Leaking from the base can indicate a failing internal seal, which is a mechanical issue requiring professional assessment or replacement of the machine if it falls outside the warranty period.
Storing Your Coffee Maker When Not in Use
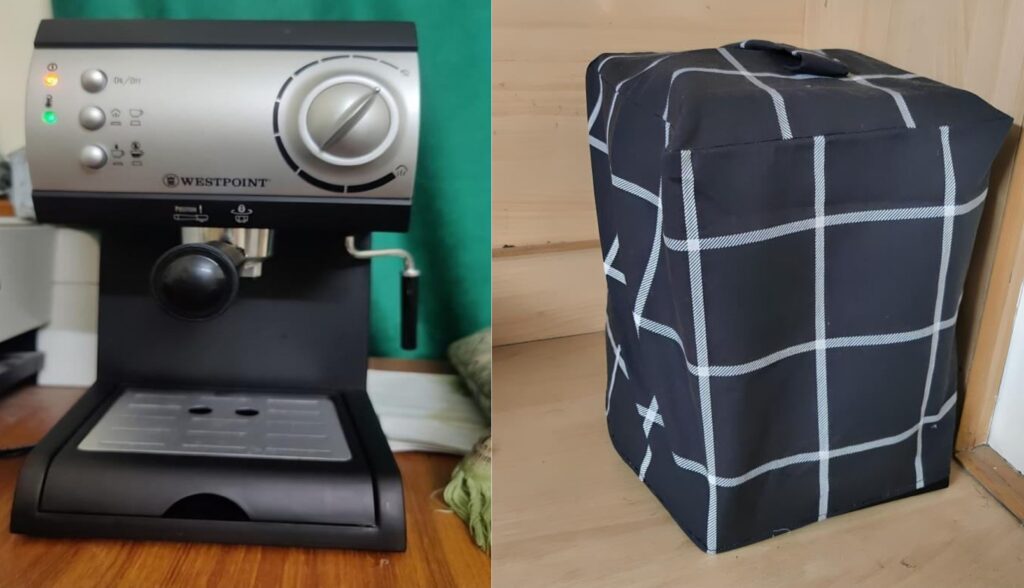
If you plan to store your coffee maker for an extended period, such as when travelling or during a season when it will not be used, a few steps protect the machine and ensure it is in good condition when you return to it.
Empty the water reservoir completely and leave the lid open to allow any residual moisture to evaporate rather than sitting in the dark, warm interior. Remove and wash all removable components before storage. If the machine was due for descaling, complete the descaling before storing rather than after, so scale does not have additional time to harden and adhere more firmly to internal surfaces.
Store the machine in a dry location away from temperature extremes. Before the first use after storage, run a cycle of plain water through the machine before brewing coffee.
When Maintenance Is No Longer Enough
There are situations where even diligent maintenance cannot reverse a coffee maker’s performance decline, and understanding when you have reached that point saves time, effort, and repeated disappointment.
If the machine fails to reach brewing temperature even after thorough descaling, the heating element has likely failed. If the machine leaks from the base or shows signs of internal water damage, the seals or internal components have deteriorated beyond what maintenance can address. If the machine simply does not turn on or loses power intermittently, there is an electrical issue that is beyond the scope of user maintenance and requires either manufacturer service or replacement.
The lifespan of a well-maintained coffee maker from a quality brand is typically five to ten years, and some machines last considerably longer. A machine that receives no maintenance may begin declining in performance within the first year or two and may fail entirely within three to four years. The difference between these outcomes is not the machine. It is the maintenance it receives.
The Simple Routine That Makes All the Difference
If this article has convinced you that coffee maker maintenance matters but the comprehensive schedule feels like too much to track, here is the simplified version that addresses the most impactful tasks:
After every use, rinse the carafe and filter basket. Once a week, wash them with soap. Once a month, descale the machine and wipe the water reservoir. Use filtered water if your tap water is hard. These four habits, none of which take more than a few minutes, extend the practical life of your coffee maker dramatically and ensure that the coffee it produces tastes as good on day one thousand as it did on day one.
A coffee maker that is properly cared for is a genuinely long-term kitchen appliance. The maintenance required to keep it that way is minimal once it becomes routine.