
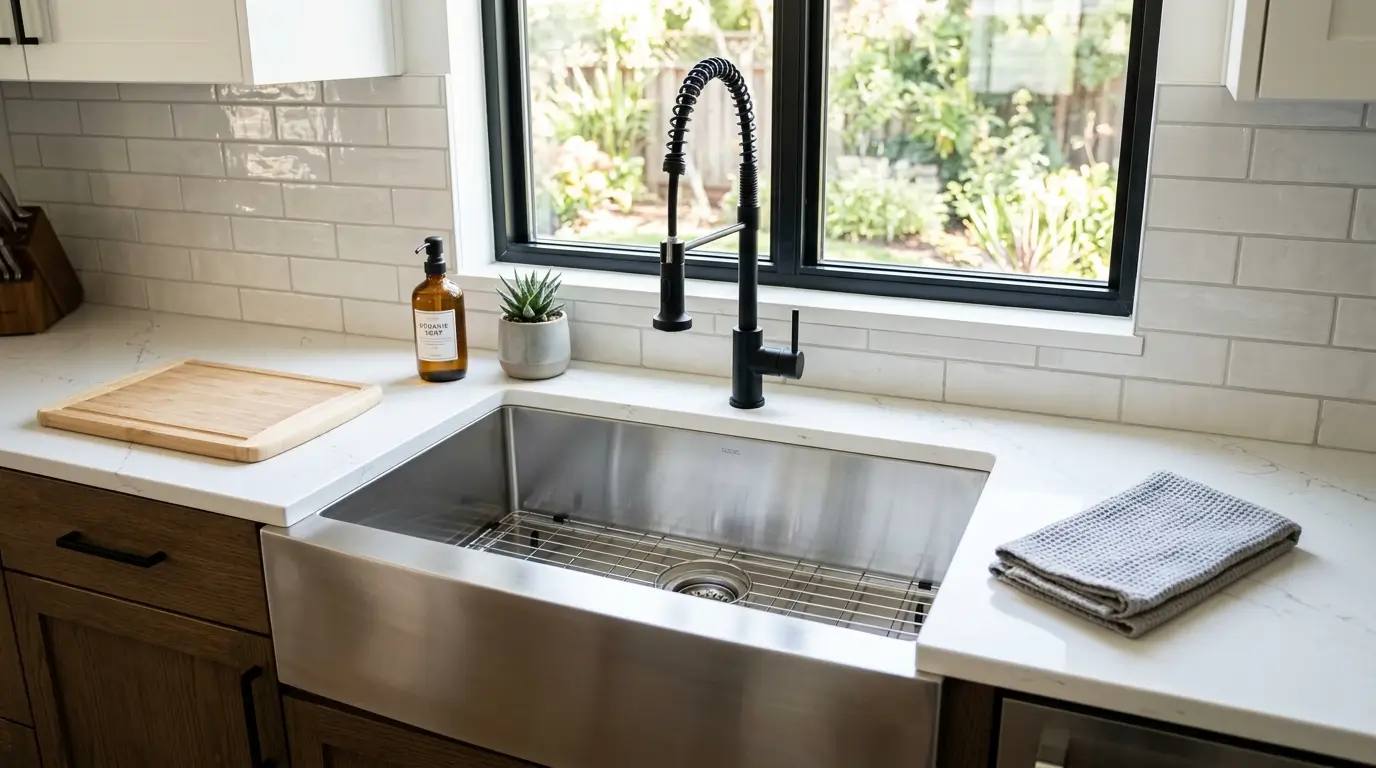
Easy Ways to Keep Your Sink Looking New (No Matter What Material It Is)
By Amelia Harper | Kitchen and Home Living Writer | Updated July 2026
The kitchen sink is the most used fixture in the entire home. It handles dishes, raw meat, vegetable prep, cleaning tools, and everything in between, multiple times every single day. And yet most people only give it real attention when it has visibly deteriorated to the point where something has to be done. By then, the staining, the mineral deposits, and the surface degradation are significantly harder to address than they would have been with a few minutes of consistent care along the way.
The good news is that keeping a sink looking genuinely new is not difficult. It does not require expensive products, specialist knowledge, or significant time. It requires understanding what causes the specific problems that affect your sink’s material and then addressing those causes consistently rather than reacting to the results after they appear.
This article covers every major sink material, what damages each one, and the specific habits and cleaning approaches that keep each type looking its best over years of daily use.
A spotless sink is one of the biggest secrets to a tidy kitchen. Discover the daily habits that keep kitchens looking spotless and learn simple routines that make a noticeable difference.
Understand What Your Sink Is Made From First
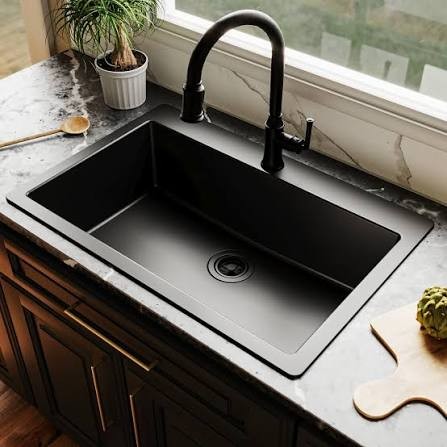
Before any cleaning or maintenance advice is useful, you need to know what your sink is made from, because the approach that keeps one material looking new can damage another.
The most common residential kitchen sink materials are stainless steel, porcelain enamel, cast iron with enamel coating, fireclay, composite granite, acrylic, and undermount stone. Each has different sensitivities, different staining mechanisms, and different cleaning requirements.
Stainless steel is the most forgiving in terms of material durability but the most revealing when it comes to scratches and water spots. Porcelain and enamel are highly resistant to bacteria and staining agents but chip and crack when impacted and are damaged by abrasive cleaners.
Composite granite resists scratching well but can develop mineral buildup and staining from oils and dyes if not properly sealed. Fireclay is extremely durable but porous at a microscopic level and stains from prolonged contact with pigmented substances.
Taking ten seconds to identify your sink material correctly means every tip below applies to your specific situation rather than potentially causing the damage it was meant to prevent.
Rinse the Sink After Every Use
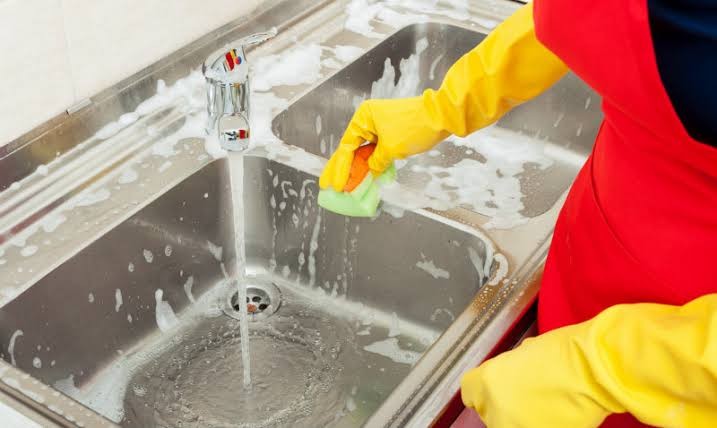
This is the single habit with the highest impact on sink appearance over time, and it requires almost no effort if it becomes reflexive rather than deliberate.
Every time you use the sink, residue is left behind. Food particles, soap film, grease, mineral-laden water, and cleaning product residue all sit on the sink surface after each use. These substances either stain, corrode, or build up over time if left to dry.
A ten-second rinse with clean water after every use washes away the majority of this residue before it has a chance to dry and adhere to the surface. The difference between a sink rinsed after every use and one that is not is visible within days and dramatic within weeks.
The rinse does not need to be thorough or involve any product. A quick spray or pour of clean water directed across the full surface of the sink and down the drain is sufficient to remove the loose residue that would otherwise begin drying and bonding to the surface.
Dry the Sink After Rinsing
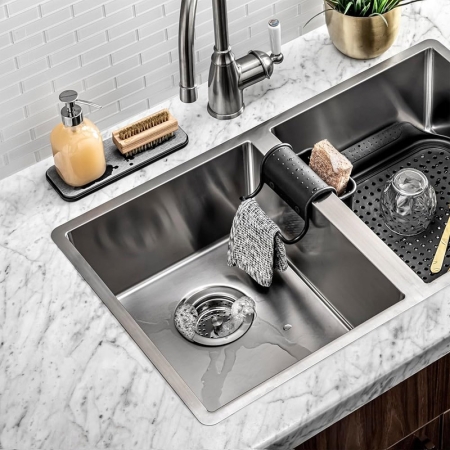
Rinsing removes the residue but does not address the minerals in the water itself, and this is where the second habit comes in. Water contains dissolved minerals, primarily calcium and magnesium, that are left behind as a deposit on whatever surface the water evaporates from.
These mineral deposits are what produce the white, hazy, or chalky film that develops on sink surfaces over time, particularly around the drain and on the flat basin where water tends to pool. On stainless steel, they appear as cloudy marks and dull spots. On porcelain, they appear as white haze. On composite granite, they appear as a whitish film that dulls the surface colour.
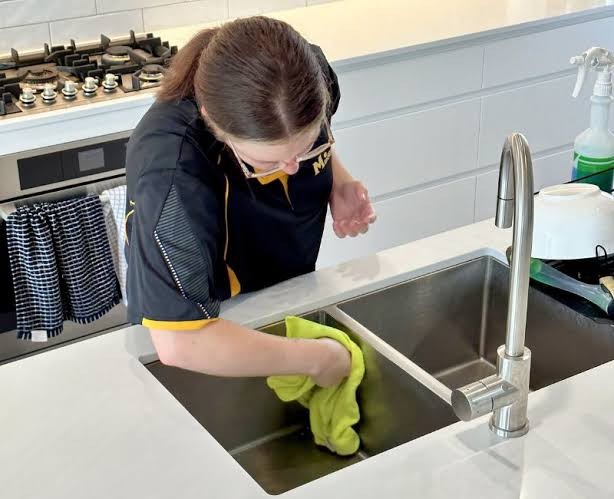
Wiping the sink dry after rinsing, with a clean cloth or paper towel, prevents the water from sitting and evaporating on the surface. This single step addresses the primary mechanism of mineral deposit formation entirely and is what separates sinks that always look clean and new from sinks that develop that persistent hazy dulled appearance despite regular cleaning.
It takes approximately fifteen seconds and genuinely requires nothing more than a cloth within reach of the sink.
A clean, well-maintained sink can make your entire kitchen feel brighter and more spacious. Explore our guide to simple ways to make your kitchen look bigger for easy design and organization tips.
Daily Light Cleaning Is Better Than Occasional Deep Cleaning
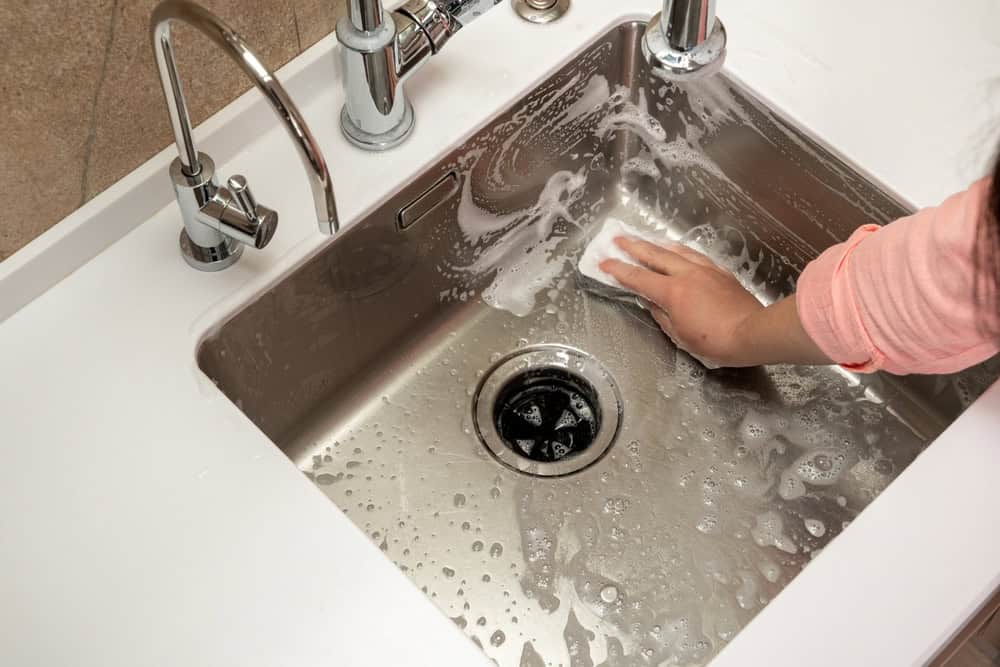
Most people clean their kitchen sink when it looks noticeably dirty, which typically means weekly or less. This approach requires more effort per cleaning session because stains and deposits have had time to set, and it means the sink spends most of its life in a less-than-new condition.
Daily light cleaning, taking two to three minutes after the last dish of the evening, keeps the sink in consistently good condition without the effort of deep cleaning becoming necessary as frequently.
The daily routine that works for most sinks is simple: rinse the sink completely, apply a small amount of dish soap to a soft sponge, scrub the full surface including the sides, the drain area, and the area around the faucet base, rinse again, and dry with a clean cloth. This addresses soap scum, light staining, and residue before any of them have time to set.
The time investment is minimal and the difference in appearance over weeks and months compared to less frequent cleaning is substantial.
Use the Right Cleaning Tool for Your Sink Material
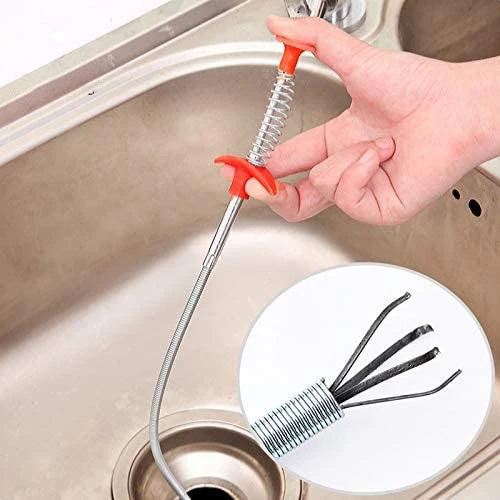
The cleaning tool matters as much as the cleaning product, because using an abrasive tool on a material that scratches easily produces damage that no amount of subsequent care can fully reverse.
For stainless steel, soft sponges and microfibre cloths are appropriate. Steel wool and rough scrubbing pads scratch the surface and create the micro-abrasions that trap dirt and dull the finish permanently. Even the green scrubbing side of a standard dual-sided kitchen sponge is too abrasive for stainless steel surfaces over repeated use.
For porcelain and enamel, the same soft-tool principle applies. The enamel surface is hard and resistant to most cleaning agents but it can be scratched by abrasive pads, and once scratched, the rougher surface is significantly harder to keep clean. A soft cloth or sponge with a non-abrasive cleaner handles almost every cleaning task on porcelain without risk.
For composite granite, a soft nylon brush is useful for working cleaner into the textured surface without scratching the resin binders that hold the material together and give it its stain resistance.
Address Stains Immediately, Not Eventually
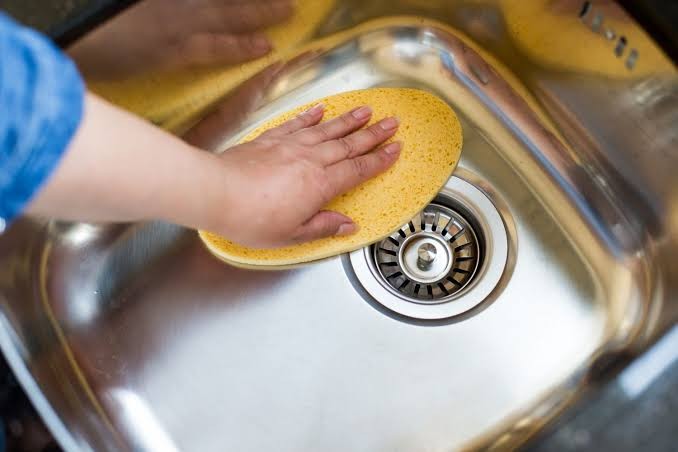
Every sink material has a different set of staining agents that it is most vulnerable to, but what all stains have in common is that they are exponentially easier to remove while fresh than after they have been given time to penetrate and set.
Coffee, tea, red wine, tomato-based foods, and certain fruit juices all have pigmented compounds that bond to porous and semi-porous surfaces over time. On a fireclay or porcelain sink, these stains become progressively harder to remove the longer they are in contact with the surface. A coffee spill wiped up within minutes leaves no mark. The same spill left overnight may require dedicated stain treatment.
The habit of wiping up spills and pigmented substances as they occur, rather than leaving them until the next general cleaning session, is the primary stain prevention practice that keeps sink surfaces looking unstained over years of use.
For stainless steel, the most common immediate-action stain type is iron from water or from the drain area, which appears as reddish-brown rust-coloured marks. These marks are not rust in the steel itself but iron deposits from the water, and they respond very well to immediate treatment with a paste of baking soda and water that is allowed to sit for a few minutes before gentle scrubbing.
Clean in the Direction of the Grain on Stainless Steel
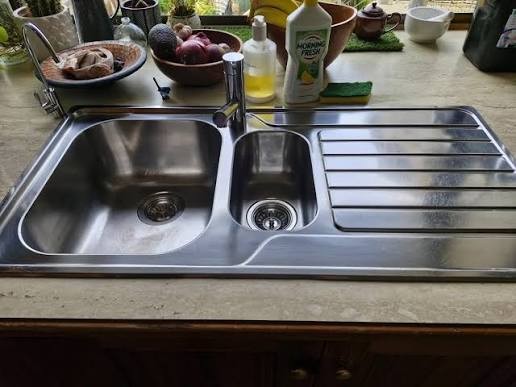
Stainless steel sinks have a visible grain, a directional pattern in the surface finish that runs in one consistent direction. Cleaning against this grain with any scrubbing action, even with a soft sponge, pushes material into the grain rather than along it and can create cross-grain scratches that are visible under light.
Cleaning in the direction of the grain, so that the sponge or cloth moves parallel to the grain lines rather than across them, keeps the surface looking uniform and prevents the cross-grain scratching that makes a stainless steel sink look worn and dull.
This is also the correct approach for polishing stainless steel. Any product used to restore the shine to a stainless steel surface, including mineral oil applied as a finishing treatment, should be applied and buffed in the direction of the grain.
Identifying the grain direction on your specific sink takes a second of observation in direct light. Once seen, it is obvious, and applying this principle to every cleaning session costs nothing and preserves the surface finish significantly.
Remove Mineral Deposits Before They Build Up
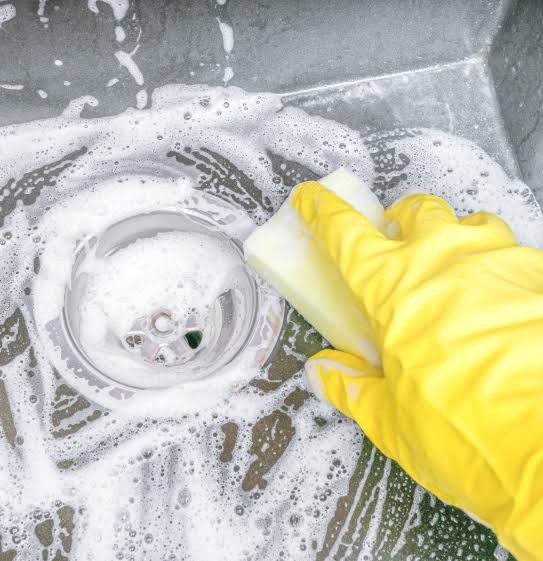
Mineral deposits from hard water are one of the most persistent appearance problems for sink surfaces, and they are best addressed by regular removal rather than waiting until they have become a thick, layered buildup.
White vinegar is the most accessible and effective household solution for dissolving calcium and magnesium mineral deposits. Applied undiluted to a cloth and placed in contact with the deposit for five to fifteen minutes, it dissolves the mineral structure and allows it to be wiped away cleanly. For heavier deposits around the drain and faucet base, applying vinegar-soaked paper towels and leaving them in place for fifteen to thirty minutes before scrubbing produces good results without abrasive tools.
For stainless steel specifically, rinse the vinegar away thoroughly after use because prolonged contact can dull the finish. For porcelain and fireclay, the same rinsing applies. For composite granite, follow the vinegar treatment with a water rinse and then a light application of the sealant recommended for your specific composite material.
The appropriate frequency for mineral deposit treatment depends on your local water hardness. In hard water areas, treating every one to two weeks prevents accumulation. In soft water areas, monthly is usually sufficient.
Use Baking Soda as a Gentle Abrasive
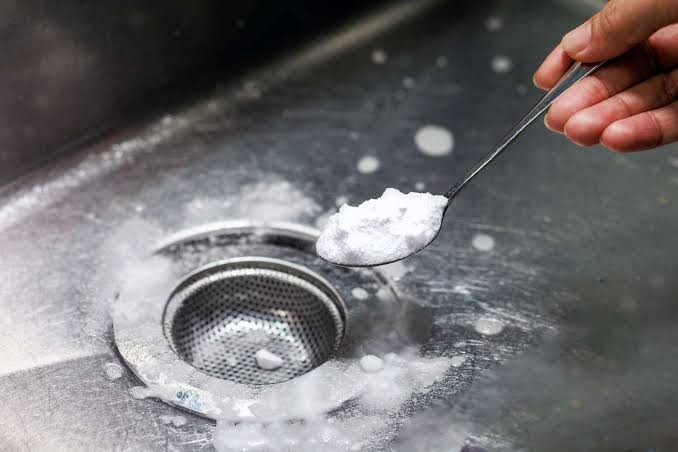
Baking soda is one of the most versatile sink cleaning agents available in any household, and it handles most common sink cleaning tasks without the risk of surface damage that commercial abrasive cleaners carry.
Its mild alkalinity cuts through grease and soap scum effectively. Its fine particle size provides just enough abrasive action to lift staining and residue from sink surfaces without scratching any of the common sink materials when used with a soft sponge or cloth. It deodorises the sink and drain area naturally. And it is inexpensive, widely available, and safe for use around food preparation areas without any concern about chemical residue.
The standard application is to wet the sink surface, sprinkle baking soda generously across it, and scrub gently with a soft sponge before rinsing thoroughly. For tougher cleaning tasks, making a paste of baking soda with a small amount of water and allowing it to sit on the surface for five minutes before scrubbing provides additional dwell time that improves results without increasing abrasion.
It can be used safely on stainless steel, porcelain, fireclay, composite granite, and acrylic sinks, making it one of the few genuinely universal sink cleaning agents.
Polish Stainless Steel with Mineral Oil
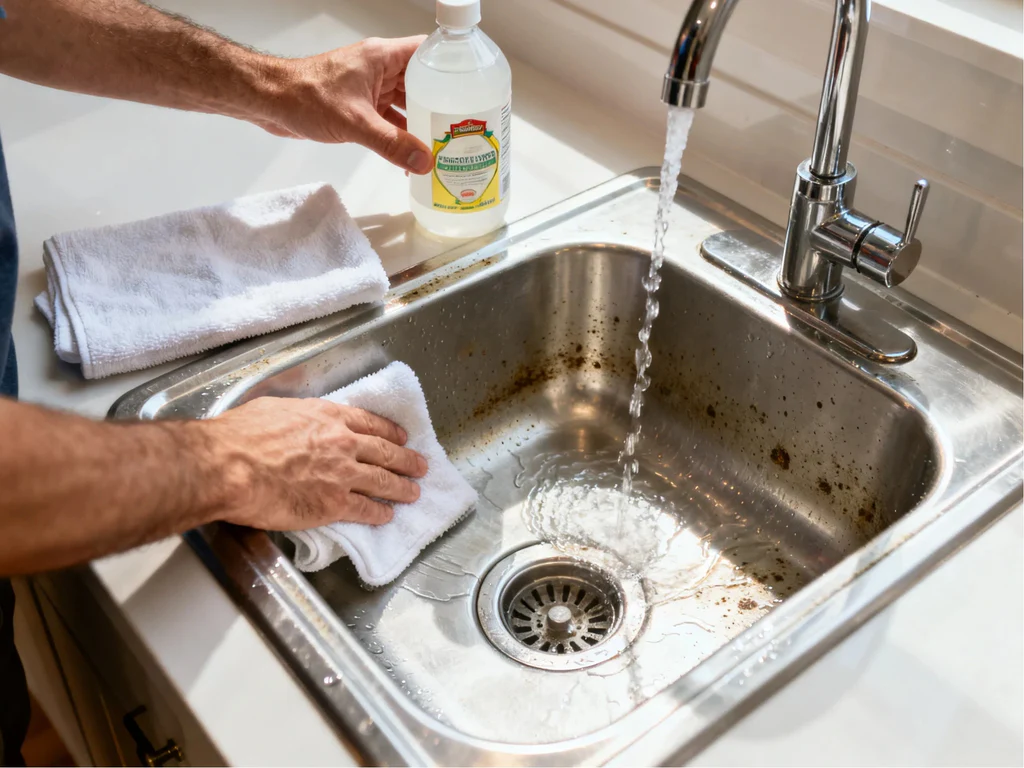
A stainless steel sink that has been properly cleaned can still look dull and spotted in comparison to its original finish, and the tool that restores that new-looking finish most effectively is not a specialty product but simply mineral oil applied correctly.
After cleaning and drying the sink completely, applying a few drops of mineral oil to a clean soft cloth and buffing it into the stainless steel surface in the direction of the grain produces a remarkable improvement in appearance. The oil fills the micro-scratches that create the dull, hazy appearance, restores the reflective quality of the surface, and leaves a thin protective layer that repels water and reduces the rate at which subsequent water spots form.
The effect lasts approximately one to two weeks with regular use before needing to be reapplied. This frequency makes it a practical periodic treatment rather than a daily step, and the improvement in appearance between an unpolished and polished stainless steel sink is substantial enough that most people who try it once make it a routine practice.
Mineral oil is food-safe, inexpensive, and available at pharmacies. It should be applied to a completely clean and dry sink to avoid sealing residue under the oil layer.
Protect the Basin from Scratches with a Sink Grid
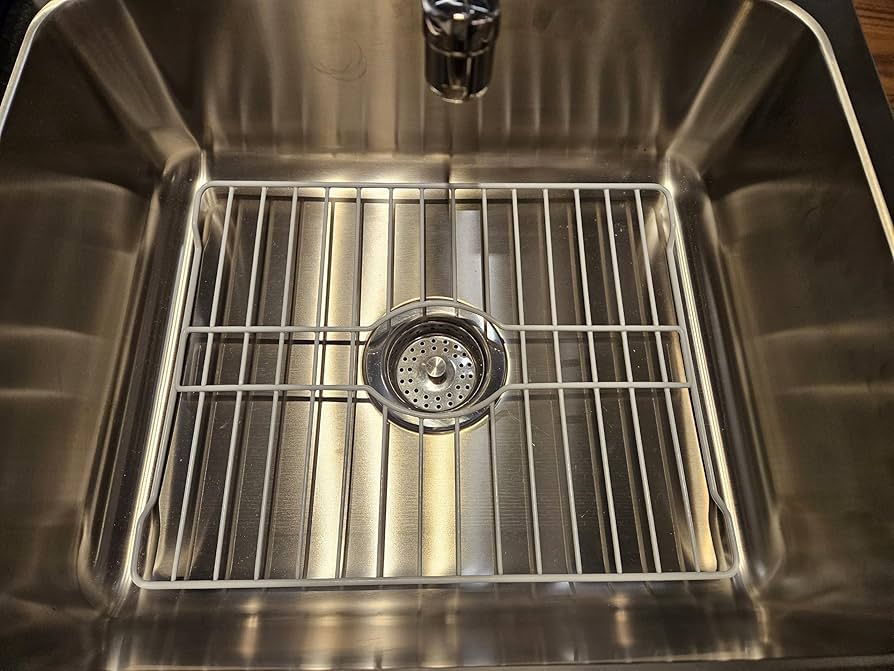
Physical protection of the sink basin is a prevention approach rather than a cleaning one, but it belongs in any discussion of keeping a sink looking new because the scratches and marks that accumulate from daily dish contact are often the primary source of a sink’s visual deterioration over time.
A sink grid, which is a wire rack that sits on the floor of the sink basin above the drain and provides a raised surface for dishes to rest on, prevents the direct metal-on-surface contact that causes scratching in stainless steel and chipping in porcelain. Dishes, pots, and utensils rest on the grid rather than on the sink surface, and the few contact points between the grid and the sink itself are protected by rubber or silicone feet.
Grids are available for most standard sink sizes and both single and double basin configurations. They do not interfere with sink function, are easily lifted for cleaning the sink surface beneath them, and are themselves easy to clean by running them through the dishwasher.
The investment is small and the long-term protection of the sink surface is significant, particularly for enamel and porcelain sinks where chipping from heavy pot contact is the primary surface damage concern.
Keep the Drain Area Clean and Clear
The drain area is the part of the sink that accumulates the most residue and is the most frequently neglected during routine cleaning. Food particles, grease, and soap scum collect at the drain opening and around any decorative drain cover, and mineral deposits tend to be thickest in this area because water concentrates here before draining.
Cleaning the drain area as part of every routine sink cleaning session, with particular attention to the crevices around the drain strainer or stopper, prevents the buildup that is both visually unappealing and eventually obstructive to drainage.
Pouring a mixture of hot water and a small amount of dish soap directly down the drain weekly, followed by a rinse of clean hot water, addresses the accumulation of grease and soap in the drain pipe below the visible area. For minor drain odours, a half cup of baking soda followed by a cup of white vinegar, allowed to fizz and then flushed with hot water, deodorises effectively without the need for chemical drain products.
Keeping the drain strainer in place when the sink is being used for food prep ensures food particles go into the strainer rather than into the drain, making disposal easier and preventing organic material from building up in the pipe where it generates odour.
Keeping your sink in great condition is easier with the right tools. Check out our guide to essential kitchen tools every home needs and discover practical items that simplify cleaning and everyday cooking.
Protect the Faucet and Fixtures as Well as the Basin
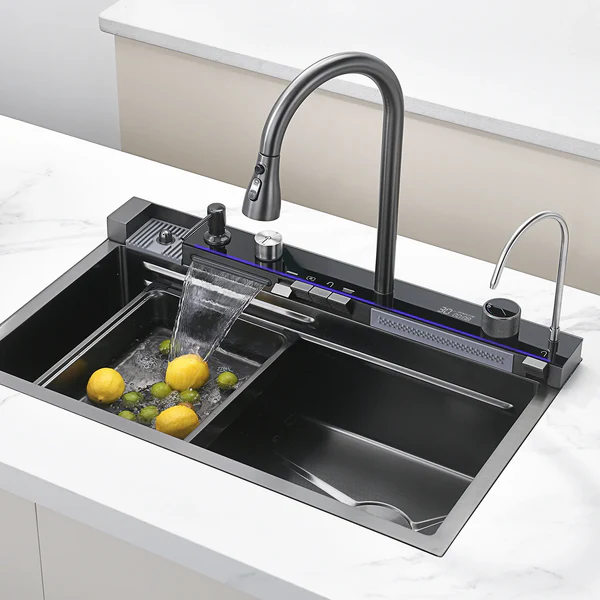
The faucet, handles, and the area immediately around them are part of the overall sink appearance and deserve the same attention as the basin itself, yet they are often cleaned only incidentally during basin cleaning.
Mineral deposits accumulate particularly quickly around the base of the faucet and on the faucet aerator, the small screen at the tip of the faucet where water exits. These deposits are more pronounced in hard water areas and appear as a white or yellowish crust that makes fixtures look old and neglected even when the sink basin itself is clean.
Wiping the faucet and handles with a damp cloth as part of the daily sink cleaning routine removes the water spots and light mineral film that accumulate with each day’s use. For heavier mineral buildup around the faucet base, the same vinegar treatment used for the basin applies here and produces the same dissolving effect on the mineral deposits.
The aerator on most standard faucets is removable by unscrewing it from the faucet tip, and soaking it in undiluted white vinegar for twenty to thirty minutes dissolves the mineral buildup inside the screen that reduces water flow pressure over time.
Re-Seal Composite Granite and Natural Stone Sinks Annually

Composite granite and natural stone sinks have a porous surface that, when properly sealed, resists staining and maintains its appearance effectively. When the seal degrades, the surface becomes more porous and staining from oils, coffee, wine, and pigmented foods penetrates more deeply and becomes harder to remove.
Resealing once a year, or according to the specific manufacturer’s recommendation for your sink model, is the maintenance task that keeps these sink types performing as they should over many years of use. The process involves cleaning the sink thoroughly, allowing it to dry completely, applying the appropriate stone or composite sealer according to the product instructions, and allowing the sealer to cure before returning the sink to use.
The test for whether a reseal is needed is the water bead test. Apply a few drops of water to the dry sink surface and observe whether the water beads up and sits on the surface or whether it spreads flat and begins to soak in. Beading indicates an adequate seal. Spreading and absorbing indicates a degraded seal that needs refreshing.
Neglecting to reseal does not cause immediate visible damage, but over time the progressive staining that results from an unsealed porous surface produces a permanently discoloured sink that even professional restoration cannot fully correct.
Avoid Leaving Metal Items in the Sink
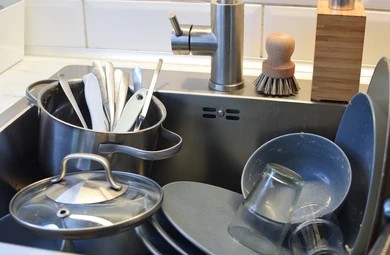
Metal items left sitting in contact with sink surfaces are a frequently overlooked cause of visible deterioration, particularly rust marks and surface staining that look like rust from the sink material itself but are actually caused by external metal contact.
Cast iron cookware left sitting in a stainless steel or porcelain sink transfers iron oxide from its surface to the sink surface, producing reddish-brown marks that are mistaken for rust originating in the sink. Metal utensils with iron content left sitting in a wet sink for extended periods produce similar marks. Steel wool or metal scrubbing pads left in the sink between uses are particularly problematic because they transfer iron directly to the surface and can cause visible rust marks within hours.
The solution is straightforward. Do not leave cast iron, iron-containing utensils, or metal scrubbing tools sitting in the sink between uses. If cast iron needs to be soaked or washed in the sink, dry the sink surface immediately afterward.
Existing iron marks on stainless steel and porcelain respond well to a paste of cream of tartar and hydrogen peroxide, applied to the mark and left for fifteen minutes before scrubbing gently and rinsing. Baking soda paste also reduces these marks significantly with a few minutes of contact time.
The Routine That Makes All the Difference
Looking across all of these practices, the ones with the highest combined impact on long-term sink appearance are the simplest: rinse after every use, dry after rinsing, clean lightly daily, and address stains and mineral deposits before they have time to set.
Everything else in this article enhances those four habits and addresses specific situations where additional care is needed. But the foundation of a sink that looks consistently new over many years of hard daily use is these four automatic habits applied every time the sink is used.
A kitchen sink that receives this level of consistent attention does not require the periodic intensive restoration cleaning that a neglected sink demands. It stays in good condition because that condition is maintained daily rather than periodically recovered from a deteriorated state.