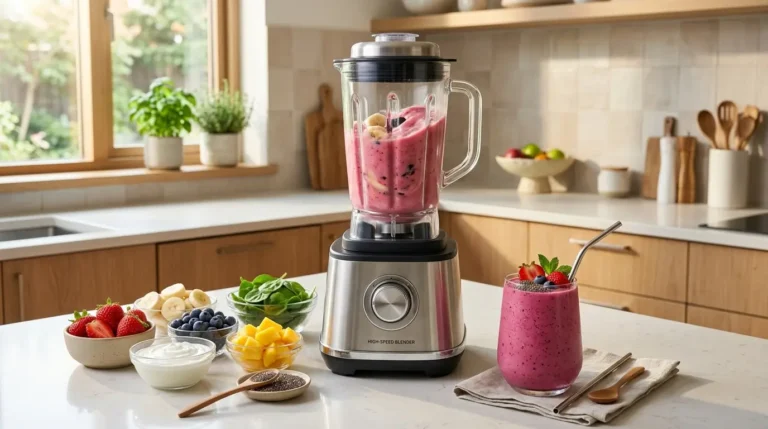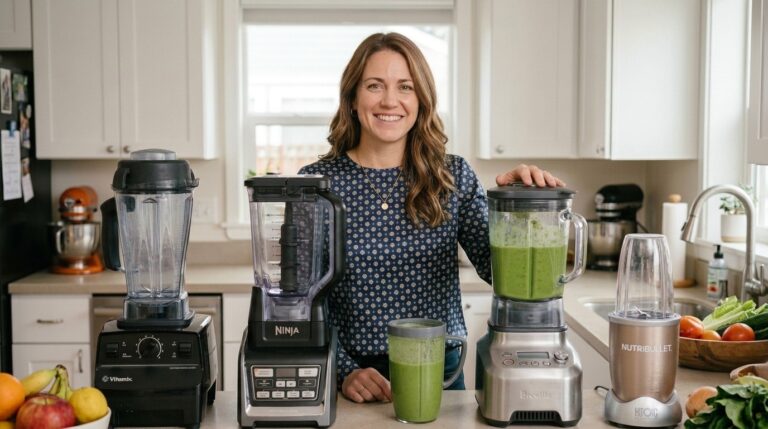

Why Your Blender Isn’t Blending Smoothly (And How to Fix Every Cause)
By Amelia Harper | Kitchen and Home Appliance Writer | Updated July 2026
A blender is one of those appliances that seems deceptively simple. You put things in, you press a button, and they blend. Except sometimes they do not. Sometimes the motor strains and the blades spin but the contents barely move. Sometimes the result is lumpy and inconsistent despite running the machine for a full minute.
Sometimes one portion of the contents is perfectly smooth while another section near the top is completely untouched. And sometimes the blender simply stops mid-cycle, as if it has decided it has had enough.
Every one of these outcomes has a specific cause, and most of them are fixable. In nearly a decade of writing about kitchen appliances, I have tested more blenders than I can count, read through thousands of real-world user reports, and talked to home cooks who are frustrated by exactly these problems.
What I have found consistently is that blending problems are almost never caused by a defective machine. They are almost always caused by how the machine is being used, what is being put in it, in what order, and in what quantities.
This article goes through every reason a blender fails to blend smoothly, in order of how commonly each one occurs. Understanding the actual cause of your specific problem is the first step toward fixing it, and most of the fixes require no new equipment and no expense.
If your blender still struggles after troubleshooting, it may be time for an upgrade. Explore our guide to the top-performing blenders for home use and find a model that delivers smoother, more consistent results.
You Are Not Adding Liquid First
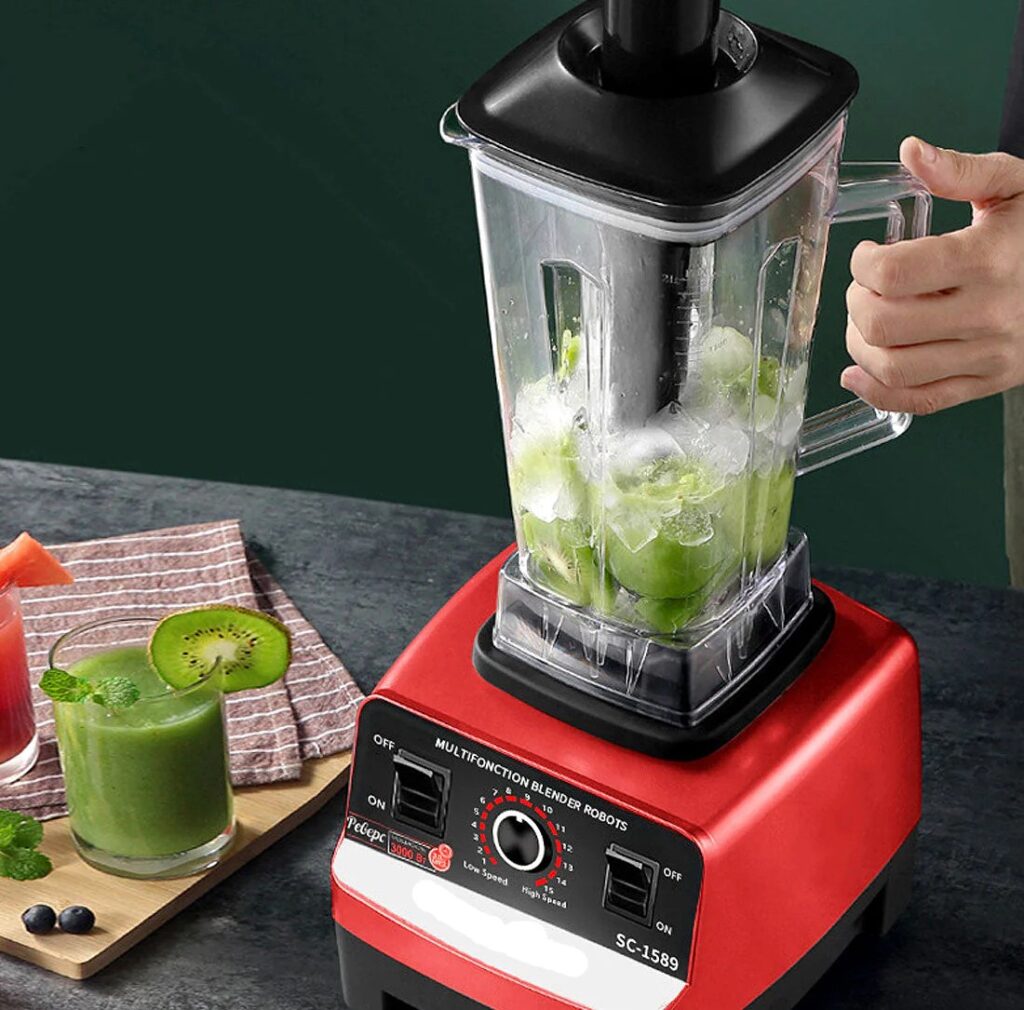
This is the most common cause of poor blending results, and it is the one that surprises people most when they first hear it because the instruction seems almost too simple. The order in which you add ingredients to a blender is not arbitrary. It matters significantly, and getting it wrong is the single quickest way to end up with an unblended mess despite using a perfectly capable machine.
Blenders work by creating a vortex, a circular current of material that draws everything in the container continuously toward the blade assembly. For this vortex to form and maintain itself, there needs to be enough liquid at the bottom of the container to get the vortex started. Without liquid at the base, the blades spin in air or in direct contact with solid ingredients but cannot create the fluid motion that pulls everything through the blade zone.
The correct order for almost every blend is: liquid first, then softer ingredients, then harder or frozen ingredients on top. When you pour liquid into the container first, it settles at the bottom near the blade assembly. When the motor starts, the liquid begins moving immediately, creating the vortex.
Softer ingredients added above the liquid get drawn into that vortex quickly. Harder or frozen ingredients added on top are gradually pulled down through the vortex as the softer material around them liquefies and creates more flow.
Reversing this order, with frozen fruit or ice at the bottom and liquid on top, means the blade is working against a frozen mass from a stopped position. The liquid above it cannot create a vortex until it reaches the blade zone, and the solid material directly in contact with the blade either stops the blade entirely or creates the air pocket problem described in the next section.
An Air Pocket Is Forming Around the Blades
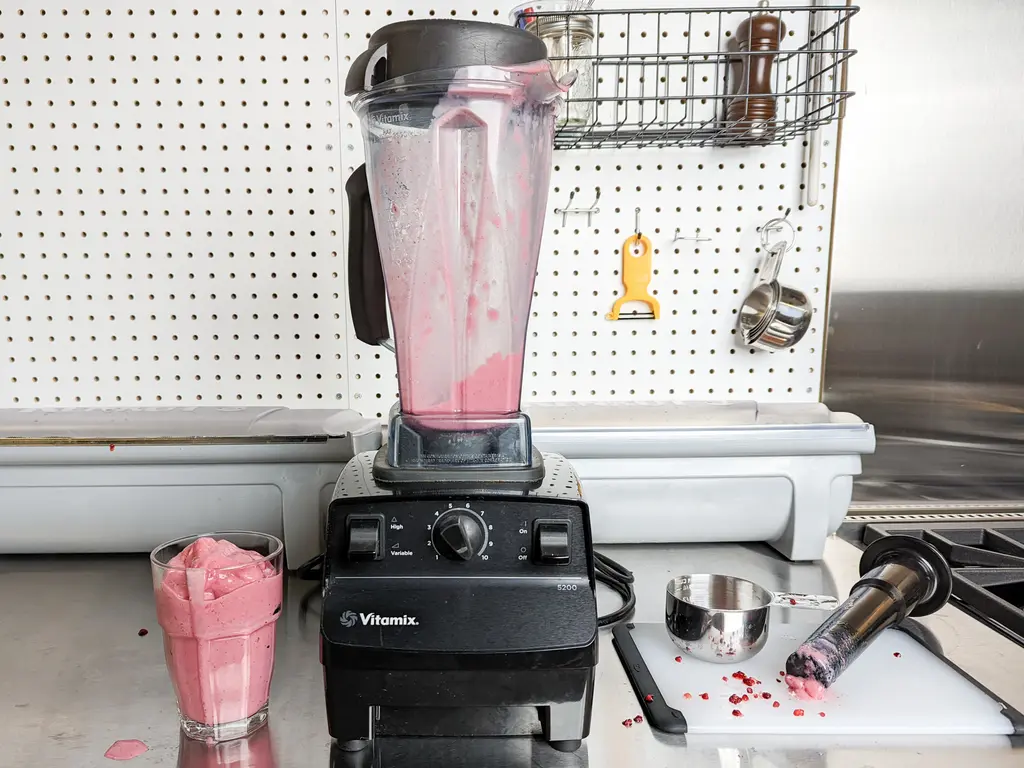
Air pockets are the second most common cause of blending failure, and they are responsible for the specific frustrating scenario where the motor runs, the blades appear to be spinning when you look through the side of the container, but the contents are barely moving and the blend is not progressing.
An air pocket forms when solid or semi-solid ingredients pack tightly around the blade assembly, creating a sealed void of air between the blade and the surrounding material. The blade spins freely in this air pocket, creating no friction and no vortex, while the material above it sits unmoved.
From the outside, the blender sounds like it is running normally because the motor is indeed running. But it is producing no useful blending because there is nothing for the blades to actually contact.
There are several specific conditions that reliably create air pockets. Very thick preparations with a high ratio of solid to liquid are the most common cause. Nut butters, thick smoothies with mostly frozen fruit and very little liquid, and thick vegetable soups where the vegetables have not been softened first are the typical offenders.
The other common cause is over-filling the container. When the container is too full, the weight of ingredients above compresses the material near the blade and seals out the small amount of liquid that would otherwise allow a vortex to form.
The solutions for air pockets are straightforward. Stop the blender, remove the lid, and use a spatula or the tamper that most quality blenders include to physically break the seal around the blade assembly and redistribute the contents. Add a small amount of additional liquid if possible.
Replace the lid and restart. On blenders with a tamper hole in the lid, you can often resolve an air pocket without stopping the machine by using the tamper while it runs. This is what the tamper is specifically designed for.
There Is Not Enough Liquid in the Blend
Related to but distinct from the ordering problem and the air pocket problem, a simple insufficient liquid ratio is one of the most consistent causes of incomplete blending. Even if liquid was added first and the order was correct, if there is not enough total liquid relative to the solid ingredients, the blend will not be able to move properly through the vortex.
Different preparations require different minimum liquid ratios to blend smoothly. A standard fruit smoothie typically needs at least half a cup of liquid per cup of frozen fruit to blend properly in a standard home blender.
Very fibrous vegetables like raw kale and carrot require more liquid than softer ingredients to blend smoothly at the same ratio. Very dense preparations like nut butters and hummus require a very high ratio of liquid to solid, which is why hummus recipes include a significant amount of chickpea cooking liquid and olive oil relative to the solid chickpeas.
The adjustment for insufficient liquid is simply adding more. Add it in small increments rather than all at once, since a small addition is often enough to reestablish flow and a large addition can make the preparation too thin if you are aiming for a specific consistency. After each addition, run the blender briefly and observe whether the vortex has reestablished. When it has, continue blending to completion.
The Frozen Ingredients Are Too Large or Too Hard
Frozen ingredients create a specific challenge that fresh ingredients do not. The blending mechanics that work for soft or room-temperature materials do not translate directly to frozen solid ingredients, particularly when those ingredients are in large, dense pieces.
A large frozen banana, a whole frozen mango cheek, or large chunks of frozen berry all present much more resistance to the blade than small pieces of the same ingredient would. The blade is designed to cut through materials, and it can do this efficiently when it can reach the edge of a piece and slice through it.
When the piece is larger than the blade can get around, or when multiple large pieces press together and prevent the blade from making contact with any individual piece effectively, the result is the motor laboring or the air pocket forming.
The practical solution is simple: cut frozen fruit and vegetables into smaller pieces before freezing, or before adding them to the blender if you are working with pre-frozen items. Pieces no larger than one inch across blend significantly more easily than larger pieces in most home blenders.
For very hard frozen items like frozen raw vegetables or very dense frozen fruit, allowing the frozen items to sit at room temperature for five to ten minutes before blending softens the outer layer just enough to significantly reduce the resistance the blade encounters.
For ice crushing specifically, using smaller ice cubes or partially crushed ice rather than full-size ice cubes makes a meaningful difference in how smoothly the blender handles the task. Many blenders that struggle with large whole ice cubes handle the same volume of ice without difficulty when the cubes are smaller.
The Blender Is Overfilled
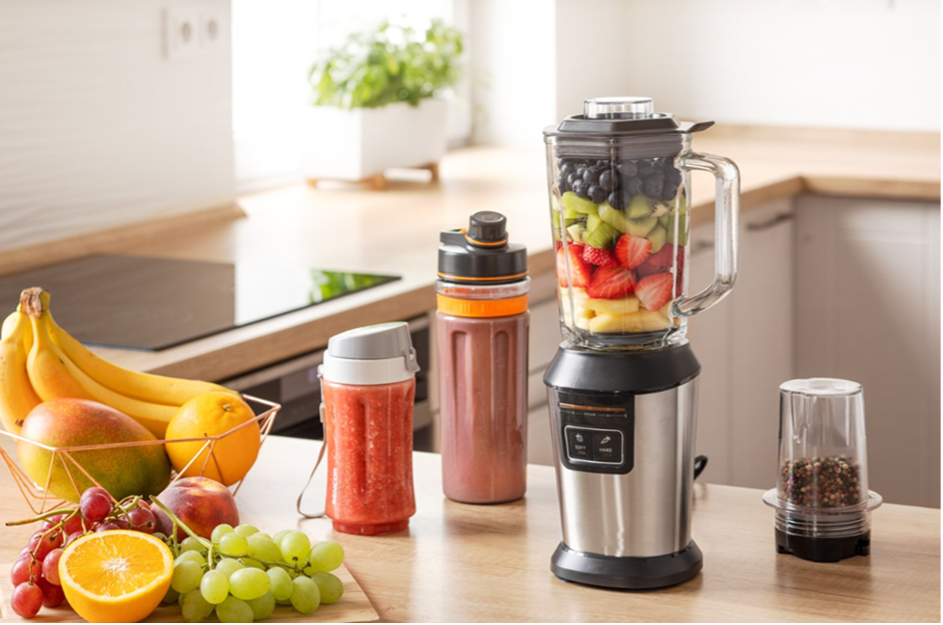
Fill lines on blender containers are not suggestions. They represent the maximum volume of material that can be safely and effectively processed in that container, and exceeding them reliably produces poor blending results along with potential safety issues.
When a blender is overfilled, the vortex that the blade creates at the bottom cannot extend through the full height of the material to reach and process what is near the top. The material in the lower half of the container blends while the material in the upper half sits largely undisturbed, requiring frequent stopping and scraping to redistribute.
Additionally, an overfilled container creates significant pressure against the lid during operation, particularly with warm liquids, which can cause the lid to leak or blow off, creating a genuine safety hazard.
The effective processing volume is typically about two-thirds of the container’s total capacity, not the fill line marked on the container, which usually represents a maximum rather than an optimal level. For most preparations, filling to the halfway point produces better blending results than filling to the maximum, because there is enough space for the vortex to develop fully and for all the material to circulate through the blade zone.
If you need to blend more volume than the container handles in one batch, it is worth splitting the preparation into two separate batches rather than overfilling. Two batches blended properly take less total time than one overfilled batch that requires repeated stopping, redistributing, and re-running to reach a smooth result.
The Motor Is Overheating and Shutting Down
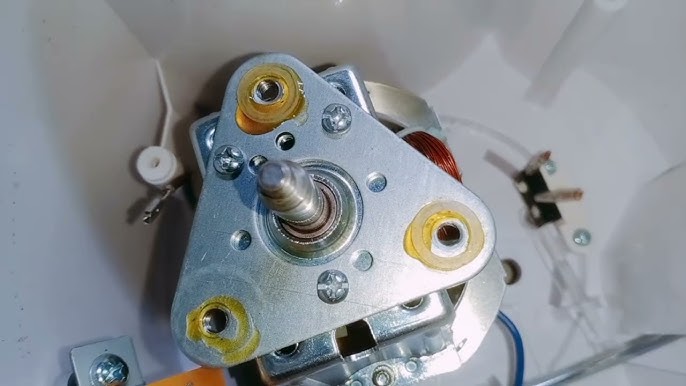
If your blender stops mid-cycle without any warning, starts and stops repeatedly, or simply refuses to run after a brief period of operation, thermal overload protection is almost certainly the cause.
Most blenders include a thermal protection circuit that monitors motor temperature and cuts power to the motor when it reaches a temperature that could damage the windings or other internal components. This protection mechanism is designed to prevent permanent motor damage from overheating and is an important safety feature rather than a defect. When it triggers, the solution is to stop using the blender and allow it to rest until the motor cools.
Blender motors overheat for three primary reasons. The first is processing loads that exceed the motor’s continuous duty cycle. Some blenders are designed for thirty-second bursts rather than continuous multi-minute operation, and running them at high load for longer than they are designed for triggers the thermal cut-out.
The second is air pocket formation, which causes the motor to spin at high speed under load without any productive work being done, converting all the motor’s energy into heat rather than into fluid motion. The third is attempting to process ingredients that are too hard or too dense for the motor’s power level.
After a thermal shutdown, allow the blender to rest for at least fifteen minutes before attempting to use it again. During this rest period, look at what caused the overheating and address it before restarting. If it was an air pocket, redistribute the contents.
If it was a high-resistance ingredient, add more liquid or cut the ingredient smaller. If it was a continuous long run, structure the blend as multiple shorter bursts with brief pauses between them rather than one sustained high-speed run.
You Are Using the Wrong Speed for the Task
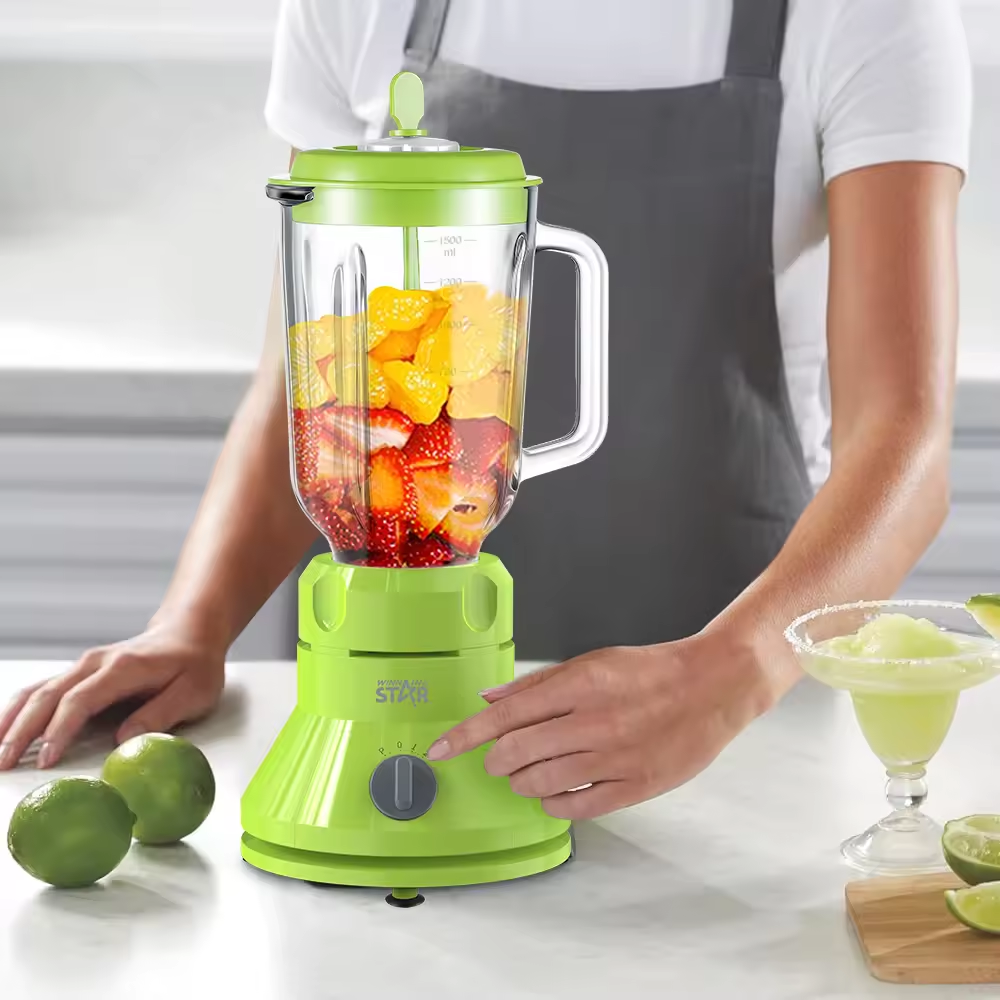
Blender speed selection affects blending quality in ways that most people do not consider, because the intuitive assumption is that higher speed is always better. This assumption is wrong in several specific circumstances.
For very light ingredients like fresh leafy greens, starting at a low speed before increasing to a higher speed allows the initial liquid to begin circulating and to draw the greens gradually into the vortex. Starting at maximum speed with leafy greens on top of a liquid base can scatter them against the sides of the container before they have a chance to enter the vortex, leaving large pieces stuck above the blade zone that require stopping and redistribution.
For pulse blending, which is the technique of using short repeated bursts of power rather than sustained running, most blenders offer a dedicated pulse function that delivers full motor torque in controlled bursts.
Using pulse at the beginning of a thick blend, to break up the initial resistance and establish flow before switching to sustained speed, is more effective than starting at sustained maximum speed against a solid load. Pulse at the start, then transition to sustained speed once the initial resistance is reduced.
For hot liquids and warm soups, starting at low speed rather than high speed is important for safety as well as effectiveness. Hot liquids expand under blending and can create pressure surges that are more significant at higher speeds. Starting low and increasing gradually allows the liquid to establish a steady vortex before maximum energy is applied.
The Blades Are Dull or Damaged
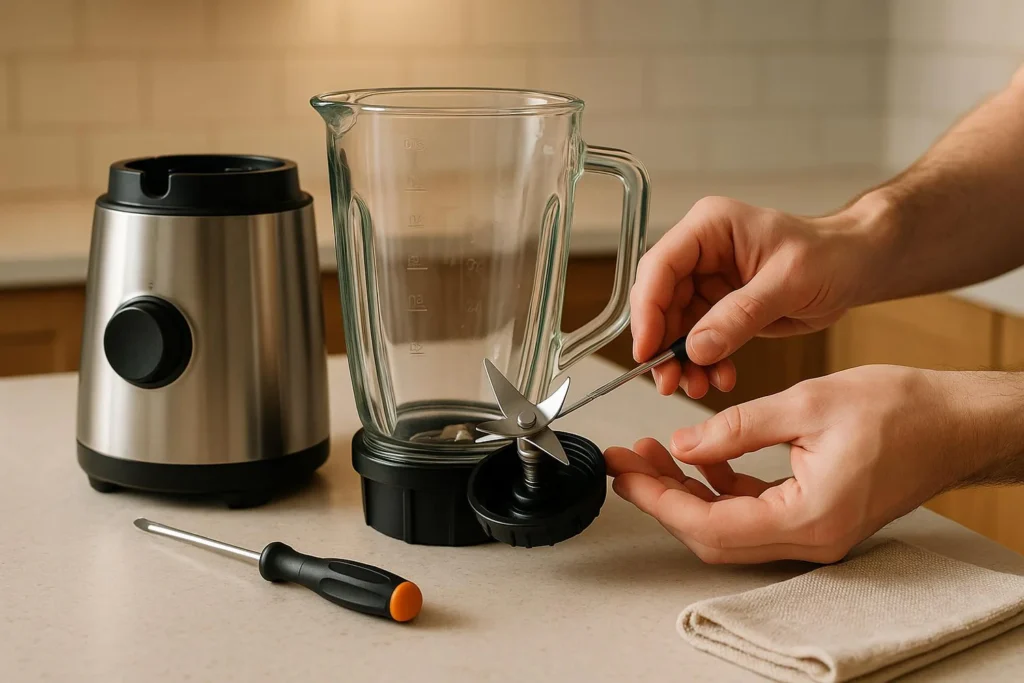
Blades do not last forever, and in blenders used frequently, particularly for processing ice, hard frozen fruit, nuts, and seeds, blade dulling over time is a genuine and often overlooked cause of degraded blending performance.
A sharp blade slices through ingredients efficiently, creating the cutting action that initiates and maintains the vortex. A dull blade pushes through ingredients rather than slicing through them, requiring more motor energy to do less work. The result is longer blend times, more heat generation, more frequent thermal overload shutdowns, and less smooth results from the same ingredients that previously blended easily.
Diagnosing blade dullness requires inspecting the blade edges. On a clean, uninstalled blade assembly, the blade edges should be sharp enough that you can feel their sharpness when you run your fingertip carefully along the edge. Dull blades feel flat or rounded at the edge. Damaged blades may show visible nicks, bends, or missing pieces.
Blade assemblies on most home blenders are replaceable rather than requiring full machine replacement. The blades are typically attached to a removable assembly that connects to the drive socket at the base of the container, and replacement assemblies are available from most manufacturers or through third-party parts suppliers. Replacing the blade assembly in a blender that otherwise runs well is significantly more economical than replacing the whole machine.
The Container Is Warped or Cracked
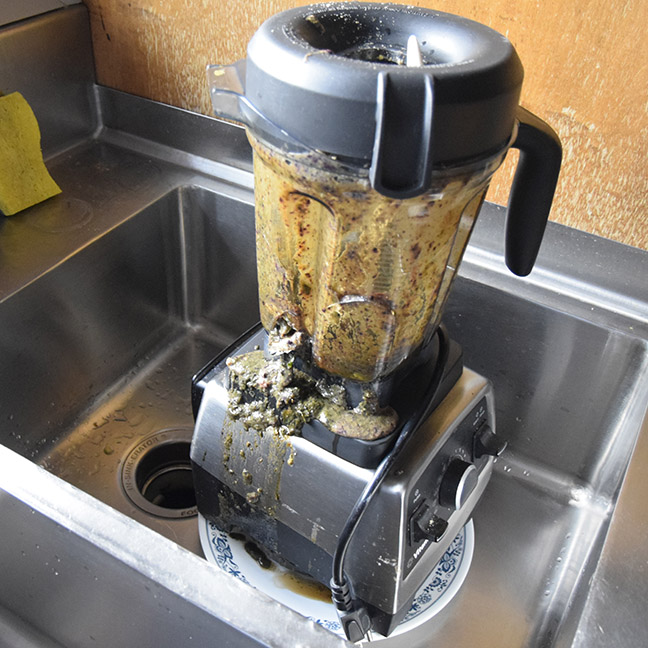
Blender containers are made from polycarbonate or other plastics that, over time and with repeated heating from warm or hot ingredients, can warp subtly. A warped container may not sit correctly on the base, may not seal properly with the lid, and may not position the blade assembly in the correct relationship to the container walls that creates optimal vortex geometry.
This is a less common cause of blending problems than the others in this article, but it is worth knowing because it is a cause that is entirely invisible during casual inspection. The container looks fine. The blade assembly seats in the base normally. But the blend results are noticeably worse than they were when the machine was new, and no adjustment to liquid level, ingredient order, or speed makes a significant difference.
Inspect the container by placing it on a flat surface and observing whether it sits level without rocking. Look along the top rim of the container from the side to see whether it is true and flat. Check whether the lid seats evenly around the full circumference of the container rim without any gaps. A container that fails any of these checks may need replacement even if there is no crack or visible damage.
The Machine Is Not Powerful Enough for What You Are Asking It to Do
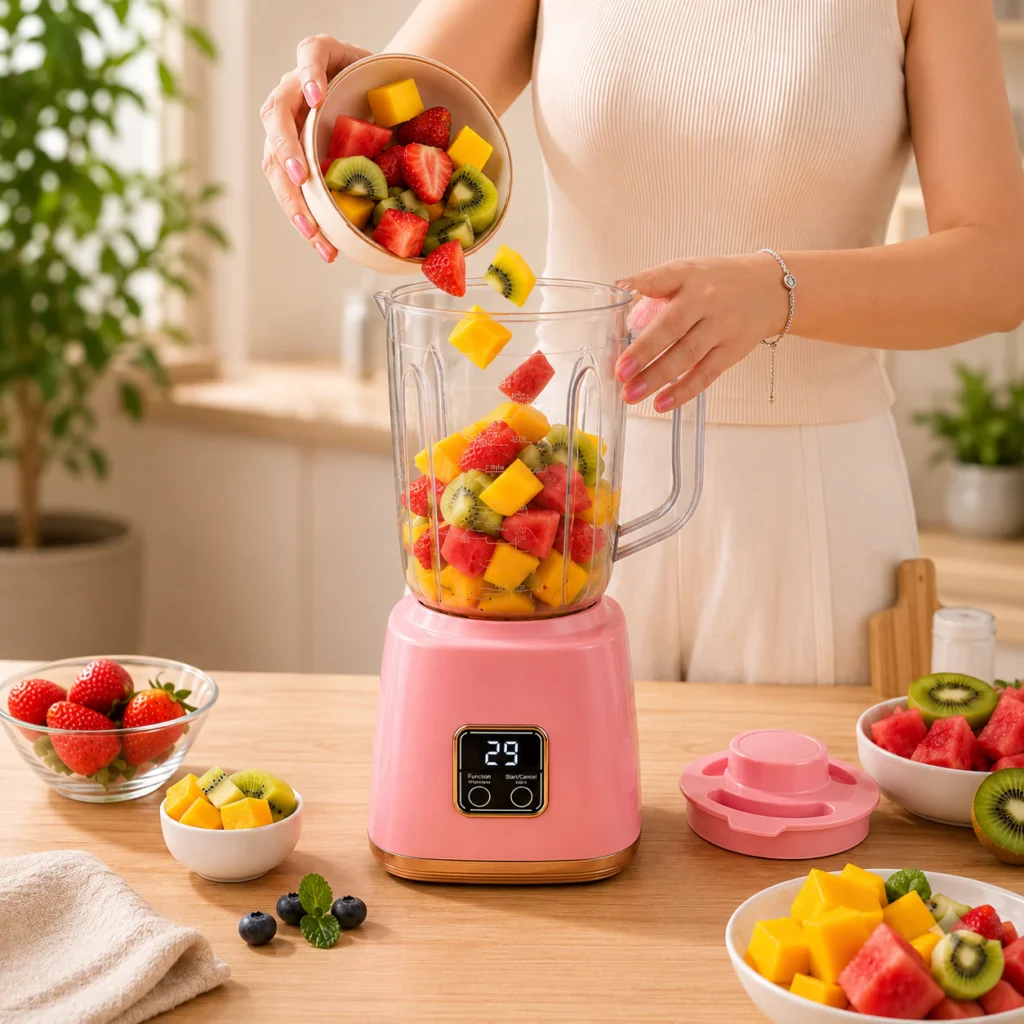
This is the most honest answer for a specific subset of blending problems, and it is worth being direct about because no technique or adjustment can fully compensate for a fundamental mismatch between what the machine can do and what is being asked of it.
Different blending tasks have genuinely different power requirements. Blending a soft fruit smoothie with mostly unfrozen fruit and a generous amount of liquid is a low-resistance task that a 300 to 400-watt blender handles without difficulty.
Blending a smoothie with mostly frozen fruit and minimal liquid is a moderate-resistance task that requires 600 to 700 watts at minimum to perform without overheating or stalling. Making nut butter from raw nuts with no added oil is a very high-resistance task that benefits significantly from 1000 watts or more. Crushing ice thoroughly requires high torque at the blade shaft, which is a function of motor power and gear ratio rather than just rated wattage.
If you are consistently experiencing blending problems with a specific type of preparation and have addressed all the technique issues in this article, the machine’s power may genuinely be the limiting factor for that preparation. Adding more liquid, cutting ingredients smaller, and working in smaller batches are all techniques that can partially compensate for lower power, but they have limits.
Understanding what your specific blender is and is not capable of helps you make better use of what it can do rather than repeatedly fighting against what it cannot.
The Container Is Not Seated Correctly on the Base
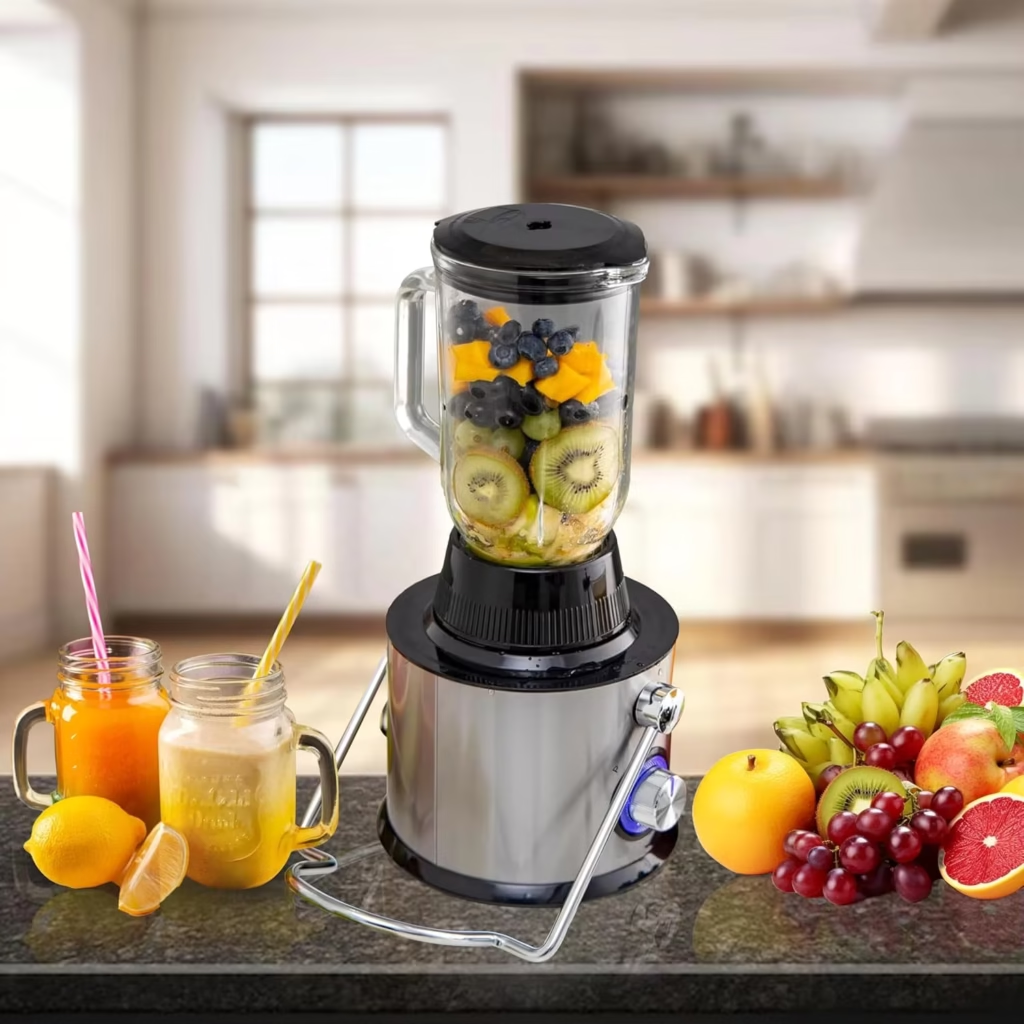
This sounds too obvious to include, but it is a cause of blending problems often enough that it deserves mention. If the container is not fully and correctly seated on the motor base, the drive coupler that connects the motor shaft to the blade assembly does not engage properly.
The motor may run, but the blades may not turn at full speed, or may not turn at all, and the sound of the motor running without full blade engagement is distinctive once you know what to listen for.
Always ensure the container is seated and locked into position on the base according to the manufacturer’s instructions before starting the motor.
Most containers have a twist-lock mechanism that requires a specific amount of rotation to engage, and stopping the twist halfway leaves the drive coupler in partial contact that prevents full torque transfer. Pressing down firmly on the container while twisting ensures full engagement in cases where the seal has become stiff with age.
The Gasket or Seal Is Leaking
Leaking around the blade assembly, which manifests as liquid escaping from the base of the container during blending, is technically a different problem from incomplete blending but it is worth addressing here because it often accompanies blending problems and has an impact on effective liquid level in the container.
The rubber or silicone gasket that seals the blade assembly against the container base wears over time, particularly in blenders used frequently with acidic ingredients like citrus and vinegar. A degraded gasket allows liquid to escape from the container during operation, which reduces the available liquid volume for the blend and can create the same poor-vortex conditions as insufficient liquid from the start.
Gaskets are typically the least expensive replaceable component in a blender and are available as individual parts from most manufacturers. Replacing a worn gasket is a simple fix that restores the seal integrity and stops the liquid loss that compromises both safety and blending performance.
The Blender Has Not Been Cleaned Properly
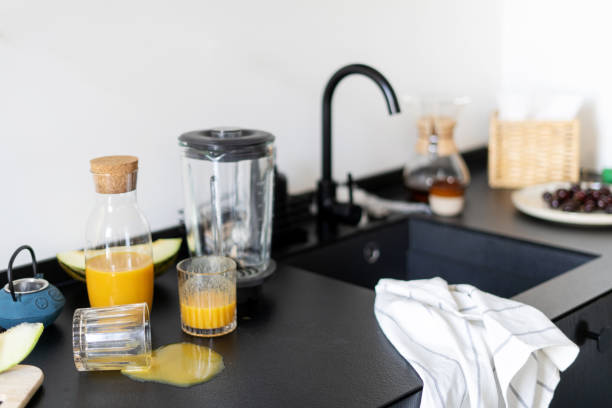
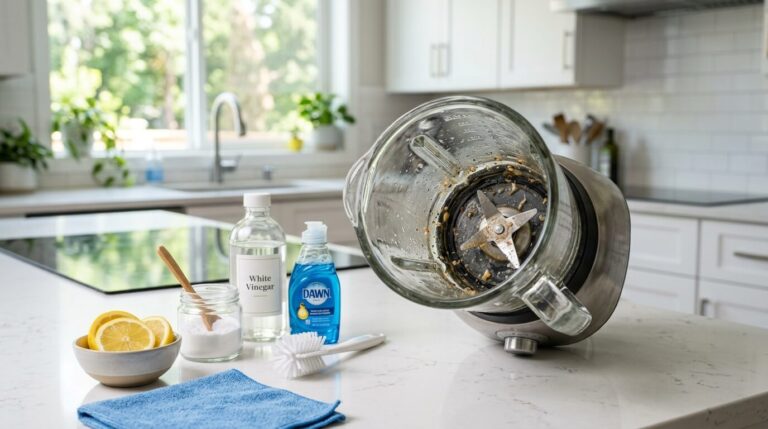
Residue from previous blending sessions, particularly from protein powders, fibrous greens, and dense fruits, can accumulate in the blade assembly and around the base of the container in ways that interfere with the blade’s ability to spin freely and create the vortex.
A blade assembly that has residue packed tightly around its hub turns with more resistance than a clean one, requiring the motor to work harder to achieve the same blade speed. Over time, accumulated residue can actually reduce effective blade speed enough to affect vortex formation and blending quality in preparations that would have blended easily in a clean machine.
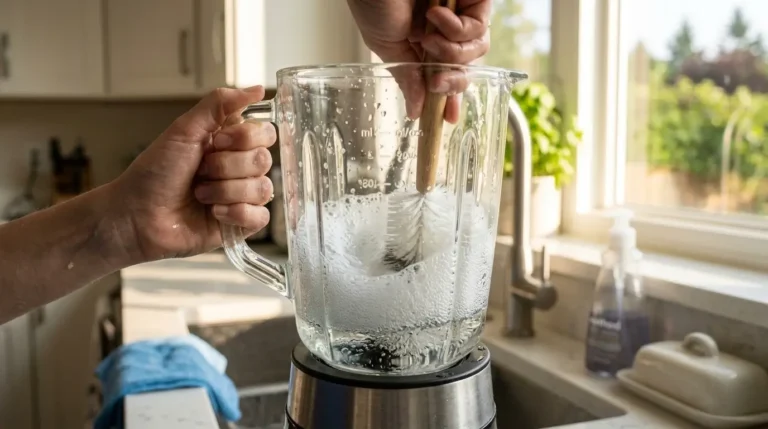
Self-cleaning cycles, which most quality blenders include as a feature, involve running the blender with warm water and a drop of dish soap for thirty to sixty seconds and then rinsing. This handles the majority of residue on inner surfaces.
However, the blade assembly hub, the underside of the blade, and the area where the assembly meets the container base are locations where residue can accumulate in ways that self-cleaning cycles do not fully address. Disassembling the blade assembly periodically for thorough manual cleaning, if your blender allows this, ensures these areas are kept free of accumulation.
Bringing All of This Together
Blending problems that feel mysterious usually have a straightforward cause when you know what to look for. The vast majority of cases come down to a small number of variables: liquid level, ingredient order, ingredient size, container fill level, and speed selection. Getting these right solves most blending problems entirely without any equipment changes.
The remaining problems, thermal overload, dull blades, worn gaskets, warped containers, and genuine power limitations, are all diagnosable through observation and each has a specific and manageable solution.
A blender that produces consistently smooth, well-blended results is not a matter of luck or an unusually capable machine. It is a matter of understanding the mechanics of how blenders work and applying that understanding to how you load and operate the machine every time.
The principles in this article are the ones that professional kitchen staff learn during training. They apply equally well at home, and applying them is the difference between fighting your blender and working with it.